Android is a powerful operating system that offers a wide range of features and functionalities for its users. One of the key aspects of using an Android device is the ability to install and use various apps that enhance the user experience. These apps can be downloaded from the Google Play Store or other third-party sources.
However, it is important to ensure that your app data is backed up regularly to prevent any loss of important information. While there are several methods to backup app data on Android, one popular option is to use Google’s backup service. This service allows you to automatically backup your app data to the cloud, making it easy to restore your data on a new device or after a factory reset.
To backup app data using Google’s backup service, you need to enable automatic backup on your Android device. Here’s how you can do it:
1. Open the Settings app on your Android device.
2. Scroll down and tap on “System” or “Backup and reset”, depending on your device.
3. Tap on “Backup” or “Backup & restore”.
4. Enable the toggle switch for “Back up to Google Drive” or a similar option.
5. You may be prompted to sign in to your Google account if you haven’t already done so. Sign in with your Google account credentials.
6. Once you have enabled automatic backup, your app data will be backed up to your Google account periodically.
It is worth noting that not all apps support Google’s backup service. Some apps may have their own backup options or require manual backup. In such cases, you can use third-party backup apps available on the Google Play Store to backup your app data.
Can You Backup App Data Without Root?
It is possible to backup app data on an Android device without rooting it. One effective method to do this is by using a third-party tool called iMyFone D-Back for Android. This tool allows you to make a full backup of your Android app data without requiring root access.
To begin, you will need to download and install iMyFone D-Back for Android on your computer. Once installed, open the tool and click on the “Recover Phone Data” option. This will initiate the process of backing up your app data.
Next, you will be prompted to enter the make and model of your Android device. This information is necessary for the tool to download the appropriate data package for your device. Once you have provided the required details, the data package will be downloaded.
Once the data package is downloaded, you can proceed with the backup process. iMyFone D-Back for Android will guide you through the steps to connect your Android device to the computer and initiate the backup. It is important to follow the instructions carefully to ensure a successful backup.
During the backup process, the tool will scan your Android device and retrieve all the app data that can be backed up. This includes app settings, preferences, game progress, and other relevant data. The tool will then create a backup file containing this data, which can be saved to your computer for safekeeping.
By using iMyFone D-Back for Android, you can easily backup your Android app data without the need for root access. This ensures that your valuable app data is securely backed up, providing you with peace of mind.
Can You Backup App Data on Android?
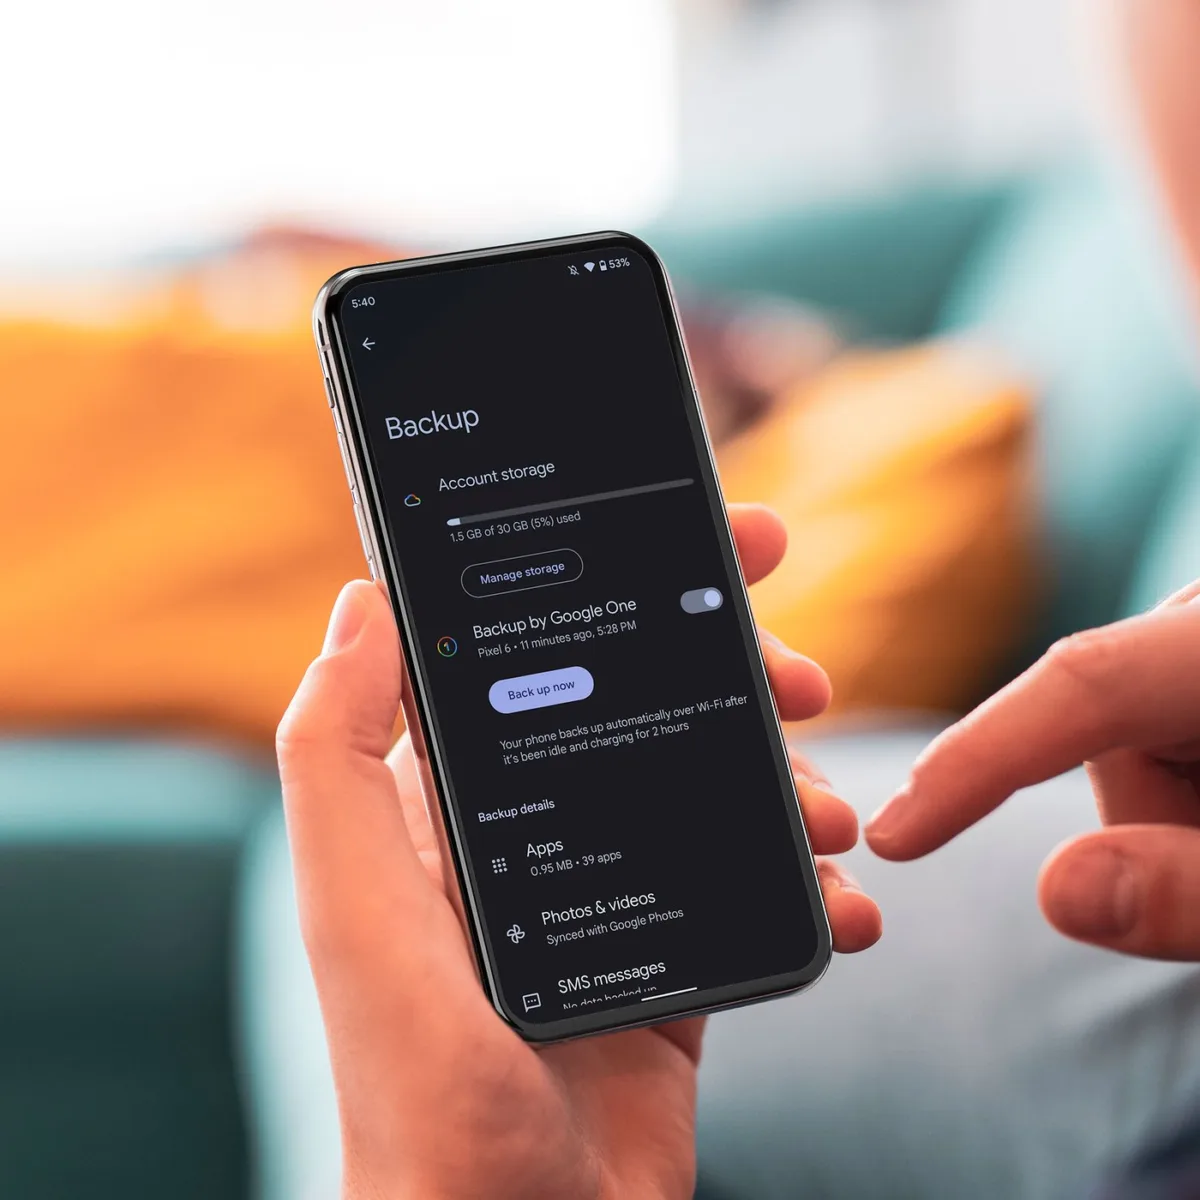
It is possible to backup App data on Android using Google One. When you enable the backup feature, Google One will automatically save data from your phone, including App data. This means that your app settings, preferences, and other related data will be securely stored in the cloud.
Here is how you can backup App data with Google One on Android:
1. Install the Google One app from the Google Play Store, if you haven’t already done so.
2. Open the Google One app and sign in with your Google account.
3. Tap on the “Backup” tab at the bottom of the screen.
4. Under the “Backup services” section, make sure the toggle switch next to “Backup by Google One” is turned on.
5. Tap on the “Settings” gear icon next to “Backup by Google One” to customize your backup preferences.
6. In the settings, you can choose which types of data to backup. Make sure the toggle switch next to “Apps & App data” is turned on.
7. You can also select specific apps to be included or excluded from the backup by tapping on “Manage backup”.
8. Once you have configured your backup settings, your App data will be automatically backed up to your Google One storage on a regular basis.
How Do You Copy App Data on Android?
To copy apps and data on your new Android device, you can follow these steps:
1. Tap on the “Copy” option on your new device. This will initiate the app and data transfer process.
2. Connect both your old and new devices using a compatible cable. It is important to note that if you don’t have a compatible cable, you may need to use an adapter or opt for a wireless transfer method.
3. On your old device, locate and tap on the “Copy” option. This will allow the transfer of your apps and data from the old device to the new one.
4. Follow the on-screen instructions that appear on both devices. These instructions will guide you through the process and ensure a successful transfer.
5. Once the transfer is complete, your new device should have all the apps and data from your old device. You can now access and use them on your new Android device.
It is worth mentioning that some apps and data may not be transferable, especially if they are not compatible with the new device or if there are restrictions set by the app developers. In such cases, you may need to manually download the apps from the Google Play Store and transfer any relevant data separately.
By following these steps, you can easily copy your app data to your new Android device and continue using your favorite apps without any hassle.
How Do You Restore App Data on Android?
To restore app data on Android, follow these steps:
1. Enable Automatic Backup:
– Go to your device’s Settings.
– Scroll down and tap on “System” or “Backup & reset” (depending on your device model).
– Tap on “Backup” or “Backup & restore”.
– Make sure the “Back up to Google Drive” or “Automatic restore” option is turned on.
2. Add Your Google Account:
– Open the Settings app on your Android device.
– Scroll down and tap on “Accounts” or “Users & accounts”.
– Tap on “Add account” or “Add Google Account”.
– Follow the on-screen instructions to sign in with your Google account.
3. Restore App Data:
– On your new or reset Android device, sign in with the same Google account you used for backup.
– During the initial setup, you will be prompted to restore your apps and app data.
– Tap on “Restore” or “Restore from backup”.
– Wait for the process to complete. This may take some time depending on the amount of data being restored.
Conclusion
Android is a versatile and powerful operating system that offers a wide range of features and functionality for users. It provides a user-friendly interface, customizable options, and a vast selection of apps and games from the Google Play Store. With its seamless integration with Google services, Android users can easily access their emails, calendars, and contacts, as well as enjoy the benefits of cloud storage and automatic backup of their app data. The ability to personalize and customize the look and feel of the device, along with the option to choose from a variety of devices from different manufacturers, makes Android a popular choice among users. Additionally, Android offers a robust security system and regular updates to ensure the safety and privacy of user data. Android provides a rich and immersive experience for users, making it a top choice for smartphone and tablet users worldwide.


