In today’s digital age, we are constantly capturing and storing memories on our iPhones. From precious family photos to important documents, our iPhones hold a wealth of valuable data. However, relying solely on our iPhone’s internal storage can be risky, as accidents happen and devices can get lost or damaged. That’s where Network-attached storage (NAS) comes in.
NAS, or Network-attached storage, is a personal data storage server that connects with multiple devices, providing a secure and convenient way to store and access your data. One of the many benefits of using NAS is the ability to backup your iPhone data directly to your NAS drive. This ensures that your valuable files are safe and accessible, even if something happens to your iPhone.
So, how do you backup your iPhone to NAS? Well, there are a few different methods you can use, but one popular option is to use a third-party app called PhotoSync. PhotoSync is a powerful tool that allows you to wirelessly transfer, backup, and share photos and videos from your iPhone to various destinations, including your NAS drive.
To get started, you’ll first need to set up your NAS drive and make sure it’s connected to your network. Most NAS drives come with their own setup instructions, so be sure to follow those to get your drive up and running.
Once your NAS drive is set up, you’ll need to download and install the PhotoSync app on your iPhone. You can find PhotoSync in the App Store, and it’s compatible with both iPhones and iPads. Once the app is installed, open it up and follow the on-screen instructions to set up your NAS drive as a destination.
Next, you’ll need to connect your iPhone to the same Wi-Fi network as your NAS drive. This is important because PhotoSync uses your local network to transfer the files from your iPhone to your NAS drive.
With everything set up and connected, you can now start backing up your iPhone to your NAS drive. Open the PhotoSync app on your iPhone and select the photos and videos you want to backup. You can choose individual files or select entire albums to backup.
Once you’ve made your selections, tap on the destination button in the bottom toolbar and select your NAS drive as the destination. PhotoSync will then start transferring your files to your NAS drive. The transfer speed will depend on the size of the files and the speed of your Wi-Fi network, so be patient while the transfer completes.
Once the transfer is finished, you can rest easy knowing that your iPhone data is safely backed up to your NAS drive. You can access and view these files anytime you need them, either directly from your NAS drive or through the PhotoSync app.
Backing up your iPhone to NAS is not only a convenient way to free up space on your device, but it also provides an extra layer of security for your valuable data. With NAS, you have full control over your files and can rest easy knowing that your memories and important documents are safe and accessible.
Backing up your iPhone to NAS is a smart and efficient way to protect your data. With the help of apps like PhotoSync, you can easily transfer and backup your photos, videos, and other files to your NAS drive. So, don’t wait until it’s too late – start backing up your iPhone to NAS today and ensure that your valuable data is always safe and secure.
Can You Backup iPhone to a NAS Drive?
It is possible to backup your iPhone data to a NAS drive. NAS, or Network-attached storage, allows you to store and access your files on a personal data storage server that is connected to multiple devices in your network.
To backup your iPhone to a NAS drive, you first need to ensure that your iPhone and the NAS drive are connected to the same network. This can be done by connecting both devices to your home Wi-Fi network.
Once the devices are connected, you can use various methods to backup your iPhone data to the NAS drive:
1. Use built-in iOS backup: Your iPhone has a built-in feature called iCloud Backup that allows you to automatically backup your device to the iCloud storage. To enable this feature, go to “Settings” on your iPhone, tap on your name at the top, then select “iCloud” and “iCloud Backup.” Toggle the switch to enable iCloud Backup. Your iPhone will then backup your data to the iCloud storage, which can be accessed from your NAS drive if it supports iCloud integration.
2. Use third-party apps: There are several third-party apps available on the App Store that allow you to backup your iPhone data directly to a NAS drive. These apps usually require you to install a companion app on your NAS drive and configure the backup settings on both your iPhone and the NAS drive. Some popular apps for this purpose include FileBrowser, GoodReader, and DS file (for Synology NAS drives).
3. Manually transfer files: If you prefer more control over the backup process, you can manually transfer files from your iPhone to the NAS drive. This can be done by connecting your iPhone to your computer using a USB cable and transferring the files to the NAS drive using file management software. Alternatively, you can use file transfer apps like FileBrowser or Documents by Readdle to transfer files wirelessly from your iPhone to the NAS drive.
It is important to note that the specific steps and options may vary depending on the NAS drive and the apps you choose to use. It is recommended to refer to the user manual or documentation provided by the NAS drive manufacturer or app developer for detailed instructions on how to backup your iPhone to a NAS drive.
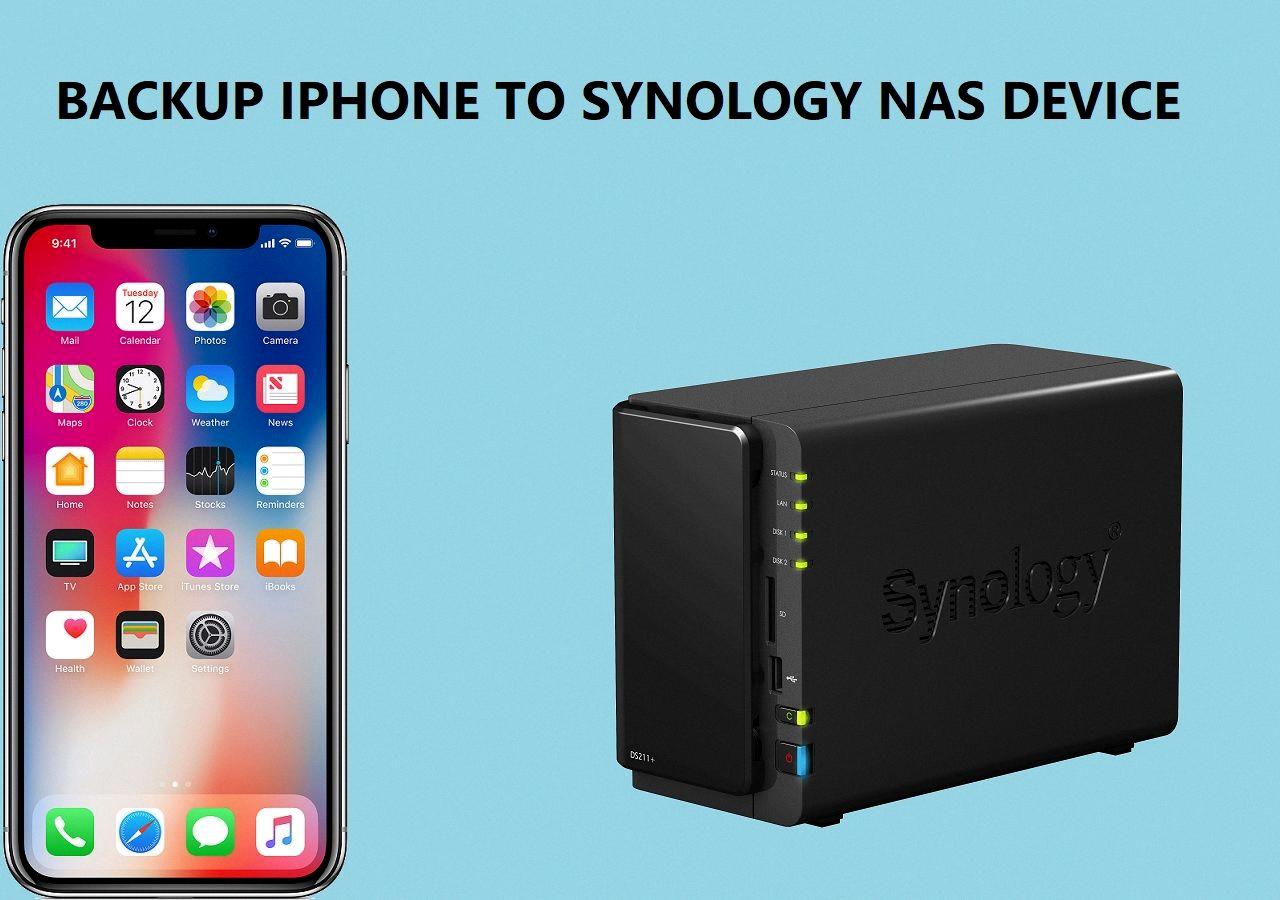
What App is Used to Backup iPhone to NAS?
When it comes to backing up your iPhone to a NAS (Network Attached Storage), one highly recommended app is PhotoSync. This app offers a seamless solution for wirelessly transferring, backing up, and sharing your photos and videos from your iPhone to a NAS device.
Here are some key features and benefits of using PhotoSync for iPhone backup to NAS:
1. Wireless Transfer: PhotoSync allows you to transfer your photos and videos from your iPhone to a NAS device without the need for any cables or additional hardware. This makes the backup process convenient and hassle-free.
2. Backup and Sync: With PhotoSync, you can not only backup your photos and videos to a NAS, but also keep them in sync across multiple devices. This ensures that your precious memories are safely stored and easily accessible whenever you need them.
3. Versatile Compatibility: PhotoSync is compatible with a wide range of NAS devices, including popular brands like Synology, QNAP, Western Digital, and more. This means you can use the app with your existing NAS setup without any compatibility issues.
4. Secure and Private: PhotoSync prioritizes the security and privacy of your data. All transfers and backups are done directly between your iPhone and the NAS device, without involving any third-party servers. This ensures that your personal photos and videos remain private and protected.
5. Multiple Backup Options: PhotoSync offers various backup options to suit your preferences. You can choose to backup all your photos and videos at once, or selectively backup specific albums or folders. This flexibility allows you to customize your backup process according to your needs.
6. Integration with Cloud Services: In addition to NAS backup, PhotoSync also supports integration with popular cloud storage services like Dropbox, Google Drive, OneDrive, and more. This means you can backup your iPhone photos and videos to both your NAS and cloud storage simultaneously, providing an extra layer of data redundancy.
Can You Backup Your Phone to a NAS?
You can backup your phone to a NAS (Network Attached Storage) device. A NAS is a centralized storage device that allows you to store and access files from multiple devices on your network. By backing up your phone to a NAS, you can ensure that your valuable data is securely stored and easily accessible.
There are several methods you can use to backup your phone to a NAS, depending on the type of phone and the NAS device you have. Here, I will explain one method using the DS File app on an Android phone and a Synology NAS as an example.
To backup your Android phone to a Synology NAS using the DS File app, follow these steps:
1. Install the DS File app on your Android phone from the Google Play Store.
2. Open the DS File app and log in to your Synology NAS account.
3. Once logged in, you will see the file directory of your Synology NAS. Navigate to the folder where you want to save your phone backup.
4. To backup your phone, tap on the “+” icon or the “Upload” button, depending on the version of the app.
5. Select the files or folders you want to backup from your Android phone. You can choose to backup photos, videos, documents, or any other files stored on your phone.
6. After selecting the files, tap on the “Upload” button to start the backup process. The DS File app will transfer the selected files from your Android phone to the designated folder on your Synology NAS.
7. Depending on the size of the files and the speed of your network connection, the backup process may take some time. Once the backup is complete, you will see the files in the designated folder on your Synology NAS.
By using the DS File app, you can easily backup your Android phone to a Synology NAS. This method provides a convenient way to keep your files safe and accessible, as well as freeing up space on your phone.
Benefits of Backing Up Your Phone to a NAS
– Secure storage: NAS devices offer secure storage for your backups, protecting your data from loss or damage.
– Centralized access: By backing up your phone to a NAS, you can access your files from any device connected to your network, making it easy to retrieve or share them.
– Storage expansion: NAS devices typically offer large storage capacities, allowing you to backup and store a significant amount of data from your phone.
– Automatic backups: Some NAS devices and apps allow you to schedule automatic backups, ensuring that your phone data is regularly backed up without manual intervention.
Remember to regularly check and update your phone backups on the NAS to ensure you have the latest files and data securely stored.
Can You Backup Your iPhone to External Storage?
You can backup your iPhone to external storage. To do this, you will need a USB-to-lightning adapter and follow these steps:
1. Connect your iPhone to an external hard drive using the adapter. Make sure the hard drive is formatted in a compatible file system such as FAT32 or exFAT.
2. Wait for your iPhone to detect the external hard drive. You should receive a notification or see the hard drive appear in the Files app on your iPhone.
3. Open your iPhone and navigate to the files or data you want to back up. This can include photos, videos, documents, and other important files.
4. Select the files you want to back up by tapping on them. You can also choose multiple files by selecting them one by one or using the select all option.
5. Once you have selected the files, you can either copy them to the external hard drive or move them directly. Copying the files will create a duplicate on the hard drive, while moving them will remove them from your iPhone and transfer them to the hard drive.
6. Wait for the transfer process to complete. The time it takes will depend on the size of the files and the speed of your iPhone and the external hard drive.
7. After the transfer is finished, you can safely disconnect your iPhone from the external hard drive. Remember to eject the hard drive properly to avoid data corruption.
By following these steps, you can backup your iPhone to external storage and ensure that your important data is safely stored on a separate device.
Conclusion
Backing up your iPhone data to a NAS drive is a convenient and secure way to ensure that your important files are safely stored and easily accessible. With a NAS server, you can wirelessly transfer and backup photos, videos, music, and other data from your iPhone to your own personal storage device. This allows you to free up storage space on your iPhone while still keeping your files accessible whenever you need them. Additionally, using a NAS drive provides an extra layer of security, as your data is stored on your own server rather than relying on third-party cloud services. backing up your iPhone to a NAS drive is a smart and efficient way to protect and manage your valuable data.


