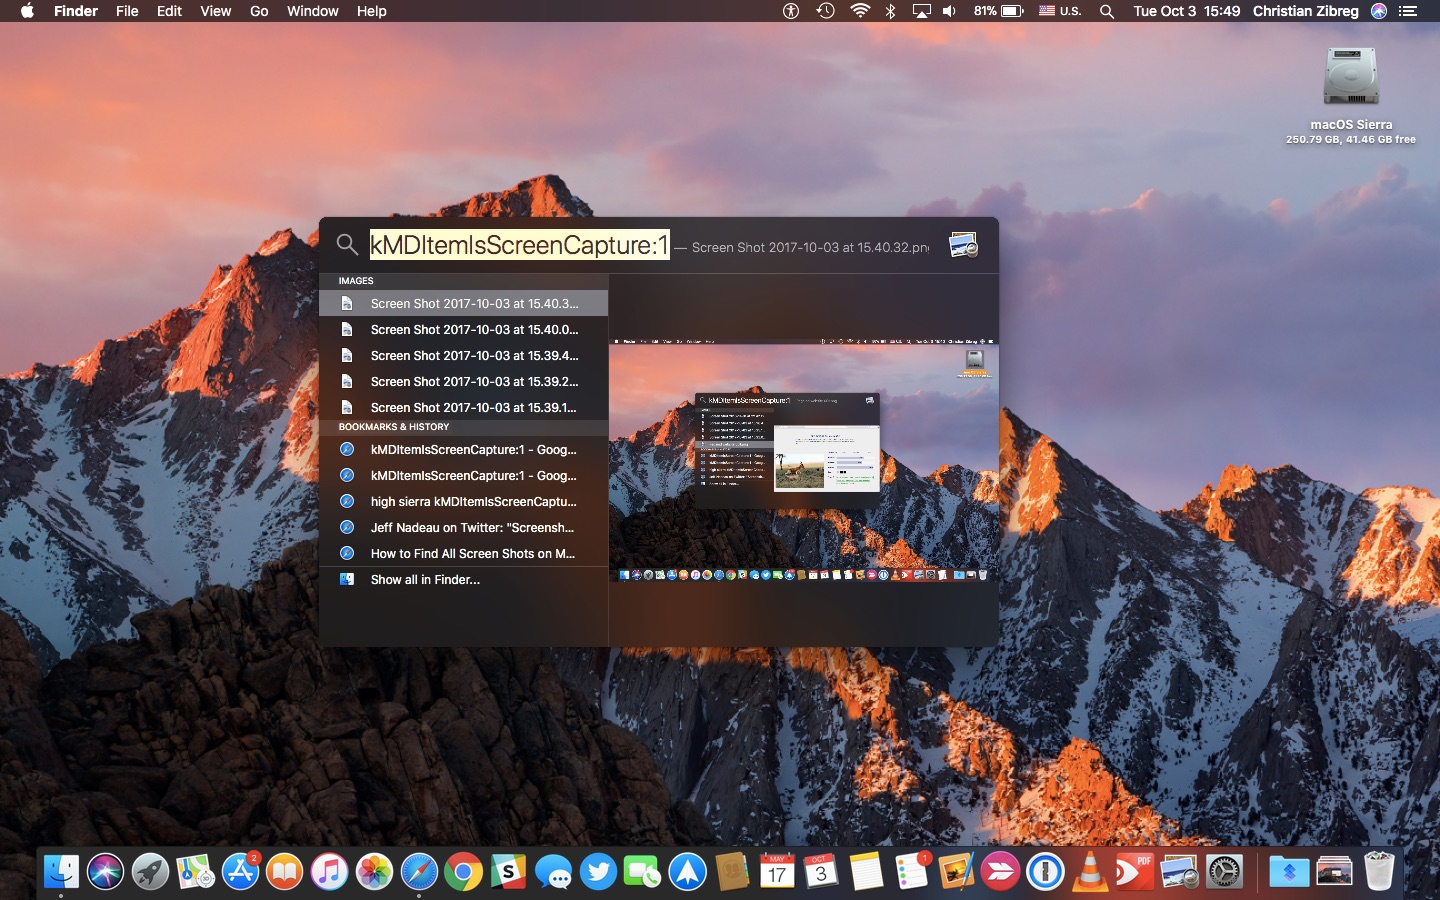
Mac devices are powerful tools that come with a range of features and capabilities, including the ability to capture and edit screenshots. Screenshots are a great way to capture information quickly, whether you’re capturing a website, an app, or something else entirely.
Capturing screenshots on your Mac is easy. Simply press Command-Shift-3 to take a screenshot of your entire screen, or Command-Shift-4 to capture a specific area of the screen. You can also use the built-in ‘Snipping Tool’ for more detailed screenshots. Just press Shift+Command+5 and select the area you want to capture from the menu.
Once you’ve taken your screenshot, you can edit it with Preview. Preview allows you to crop and resize images, add text boxes and highlights, change fonts, adjust brightness and contrast levels, and much more! There’s also a handy Markup Tool that enables you to draw on your screenshots or add shapes such as circles or arrows.
If you want to take things further, there are a number of third-party apps which can help you edit your screenshots even more effectively. Skitch is a popular option that allows users to easily annotate screenshots with text boxes and shapes or blur out sensitive information. Pixlr is another great choice for editing photos and screenshots on Mac devices – it comes with loads of filters, effects, and other editing tools so you can get creative with your images!
Overall, Mac devices offer plenty of options when it comes to capturing and editing screenshots – from basic tools like Preview to more advanced features like Skitch or Pixlr – so no matter what kind of image editing needs you have there’s something for everyone!

Editing Text on a Screenshot on a Mac
Editing text on a screenshot on a Mac is easy to do. First, open the screenshot in Preview and enable the Markup tool. Next, click on the Text tool to add a text box where you want the text to appear. After that, click on the Text Style tool to change the fonts, font size, and color of the text box as desired. Lastly, click inside the text box and type in your desired text. You can easily edit or delete any part of the text by highlighting it and making changes or hitting backspace to delete it.
Editing and Highlighting Screenshots on a Mac
On a Mac, you can easily highlight and edit screenshots by using the Preview app. To take a screenshot, press Command + Shift + 4 and click and drag the mouse over the area you want to capture. When you release the mouse, the screenshot will be saved to your desktop or chosen folder.
To edit the screenshot, open it in Preview by double-clicking on it. At the top of the window, select “Tools” and then select “Annotate”. This will open up a range of tools that you can use to annotate your screenshot. You can draw lines, shapes, and arrows, and even add text notes. Once you have finished making edits to your screenshot, save it as a new file or overwrite the existing one.
Availability of Snipping Tool on Mac
Yes, there is a snipping tool available on Mac devices. This handy tool can capture screenshots and/or screen recordings in just a few easy steps. To access the snipping tool, simply press and hold the Shift+Command+5 combination of keys. The snipping tool for Mac provides a variety of options to ensure that you get the exact screenshot or recording that you need.
Marking Up a Screenshot on Mac
To markup a screenshot on Mac, open the Preview app and click the Show Markup Toolbar button (if the Markup toolbar isn’t showing). The tools in the toolbar allow you to add annotations, shapes, text, signatures, and more. You can select any of these tools to draw on or write directly onto your screenshot. Additionally, you can use the Touch Bar to quickly access these tools and instantly start annotating your screenshot. When you’re finished marking up your image, click File in the menu bar at the top of your screen and select Save As to save it.
Conclusion
In conclusion, Mac devices offer a versatile and user-friendly snipping tool for capturing screenshots and screen recordings. With the combination of Shift+Command+5, users are easily able to capture any part of the screen in a matter of seconds. Additionally, the screenshot editor, Preview app, offers advanced tools such as Draw and Shapes to draw and highlight screenshots. With these features, Mac provides a convenient way to capture and edit screenshots quickly.


