Apple ID, as we all know, is a crucial component of the Apple ecosystem. It serves as a unique identifier that allows users to access various Apple services and products seamlessly. However, there may be instances where you want to block someone’s Apple ID on your iPhone. This article will guide you through the steps to block an Apple ID on your iPhone, ensuring a hassle-free user experience.
Before we delve into the process, it’s important to understand why you might want to block an Apple ID. Perhaps you’re facing unwanted messages or calls from a particular individual, or maybe you wish to restrict access to certain features or settings. Whatever the reason, blocking an Apple ID can provide the necessary control and peace of mind.
To begin, let’s outline the steps to block an Apple ID on your iPhone:
Step 1: Open the Settings app on your iPhone.
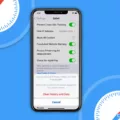
Step 2: Scroll down and tap on “Screen Time.”
Step 3: If prompted, enter your passcode to proceed.
Step 4: Under “Content & Privacy Restrictions,” select “Allowed Changes.”
Step 5: Here, you will find a list of features and settings that can be changed. Choose the options you want to allow changes to, and select either “Allow” or “Don’t Allow” accordingly.
By following these steps, you can effectively control which features and settings can be modified on your iPhone. This level of customization ensures that your device remains secure and tailored to your preferences.
Now, let’s shift our focus to blocking an Apple ID in the Messages app on your iPhone:
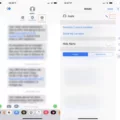
Step 1: Open the Messages app on your iPhone.
Step 2: Select the conversation with the individual whose Apple ID you wish to block.
Step 3: Tap on the name or number at the top of the conversation.
Step 4: In the subsequent options, tap on the “info” button.
Step 5: Scroll down and tap on “Block this Caller.”
Following these steps, you can effectively block the Apple ID of the person in question. This ensures that you no longer receive messages or calls from them, providing a more peaceful and hassle-free communication experience.
It’s worth noting that if you want to block their Apple ID completely, you can also do so by following these additional steps:
Step 1: Open the Settings app on your iPhone.
Step 2: Scroll down and tap on “Phone.”
Step 3: Select “Blocked” from the list of options.
Step 4: Tap on “Add New…” to proceed.
Step 5: Search for and select the Apple ID you wish to block.
By following these supplementary steps, you can block the Apple ID in its entirety, ensuring that you have complete control over who can contact you.
Blocking an Apple ID on your iPhone is a simple yet effective way to manage unwanted messages, calls, and access to certain features or settings. By following the steps outlined in this article, you can regain control over your device and tailor it to your specific needs. Remember, it’s important to utilize these features responsibly and considerately.
How Do You Block Access to Your Apple ID On Your iPhone?
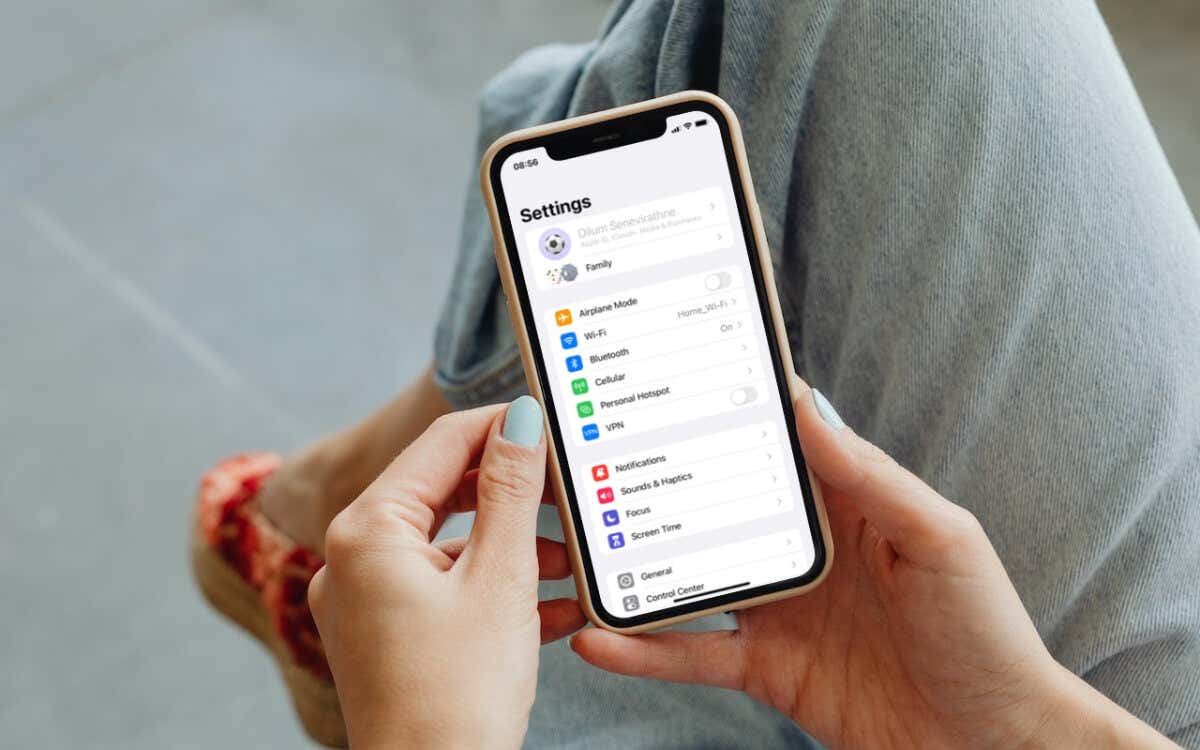
To block access to your Apple ID on your iPhone, follow these steps:
1. Open the Settings app on your iPhone.
2. Scroll down and tap on “Screen Time.”
3. If prompted, enter your passcode to proceed.
4. In the Screen Time menu, tap on “Content & Privacy Restrictions.”
5. Under the “Privacy” section, tap on “iTunes & App Store Purchases.”
6. Here, you have a few options to restrict access to your Apple ID:
– To block all purchases and downloads, select “Don’t Allow.”
– To allow free downloads but require a password for purchases, choose “Require Password” and set it to “Immediately” or a time frame that suits your needs.
– If you want to allow unrestricted access, you can choose “Allow” to remove any restrictions.
7. To prevent changes to your Apple ID settings, go back to the Content & Privacy Restrictions menu and tap on “Account Changes.”
8. In the Account Changes menu, you can select the features or settings that you want to allow changes to:
– To block any changes to your Apple ID, select “Don’t Allow.”
– If you want to allow changes, choose “Allow” for the specific features or settings you wish to enable.
9. Once you’ve made your desired selections, exit the Settings app.
By following these steps, you can effectively block access to your Apple ID on your iPhone and ensure that unauthorized changes or purchases cannot be made without your permission.
Can You Block An Apple ID From Messaging You?
You can block an Apple ID from messaging you in the Messages app on your Mac. Here’s how you can do it:
1. Open the Messages app on your Mac.
2. In the menu bar at the top, click on “Messages” and then select “Settings.”
3. In the Settings window, click on the “iMessage” tab.
4. Next, click on the “Blocked” tab.
To block a specific Apple ID from messaging you, follow these steps:
1. Click on the “+” (Add) button located at the bottom-left corner of the Blocked tab.
2. A list of contacts will appear. Select the name associated with the Apple ID you want to block from the list.
3. Once you’ve selected the contact, click on the “Block” button.
After following these steps, the selected Apple ID will be blocked from sending you messages. You will no longer receive any messages from that Apple ID in your Messages app on your Mac.
If you want to block multiple Apple IDs, repeat the steps above for each contact you wish to block.
How Do You Block An Apple ID From iMessage?
To block an Apple ID from iMessage, follow these steps:
1. Open the Messages app on your iPhone.
2. Find the conversation with the Apple ID you want to block.
3. Tap on the name or number at the top of the conversation to access additional options.
4. Scroll down and tap on the “Info” button.
5. Look for the “Block this Caller” option and tap on it.
6. A confirmation message will appear, asking if you want to block the contact. Tap “Block Contact” to proceed.
By following these steps, you will successfully block the Apple ID from sending you iMessages.
Does Blocking A Number Also Block Apple ID?
Blocking a phone number does not automatically block the associated Apple ID. Blocking a phone number on your device only prevents calls and messages from that specific number from reaching you. It does not affect any other associated accounts or services, such as an Apple ID.
If you want to block someone’s Apple ID from contacting you, you would need to take separate steps to block them through your device’s settings. On an iPhone, for example, you can block a contact’s Apple ID by going to Settings, then Phone, and selecting Blocked. From there, you can add the person’s Apple ID to the list of blocked contacts.
It’s worth noting that blocking someone’s Apple ID will not completely prevent them from contacting you through other means, such as email or social media. To block someone across all platforms, you would need to take additional actions specific to those platforms.
To recap, blocking a phone number does not automatically block the associated Apple ID. If you want to block someone’s Apple ID, you need to do so separately through your device’s settings.
Conclusion
Managing your Apple ID is an essential aspect of maintaining control and security over your Apple devices and services. By following the steps outlined in this guide, you can effectively block unwanted contacts, filter messages, and restrict content and settings on your iPhone and Mac. This ensures a safer and more personalized experience while using Apple products.
By utilizing the Screen Time feature in Settings, you can customize the level of access and changes allowed on your device, providing a more tailored experience for you and your family. Additionally, the ability to block specific contacts in the Messages app on both your iPhone and Mac allows for better control over your communication channels.
Remember to always stay vigilant and proactive when it comes to managing your Apple ID. Regularly review and update your blocked contacts list, as well as adjust content and privacy restrictions, to ensure a secure and enjoyable user experience. By taking these steps, you can fully optimize the potential of your Apple devices while maintaining peace of mind.


