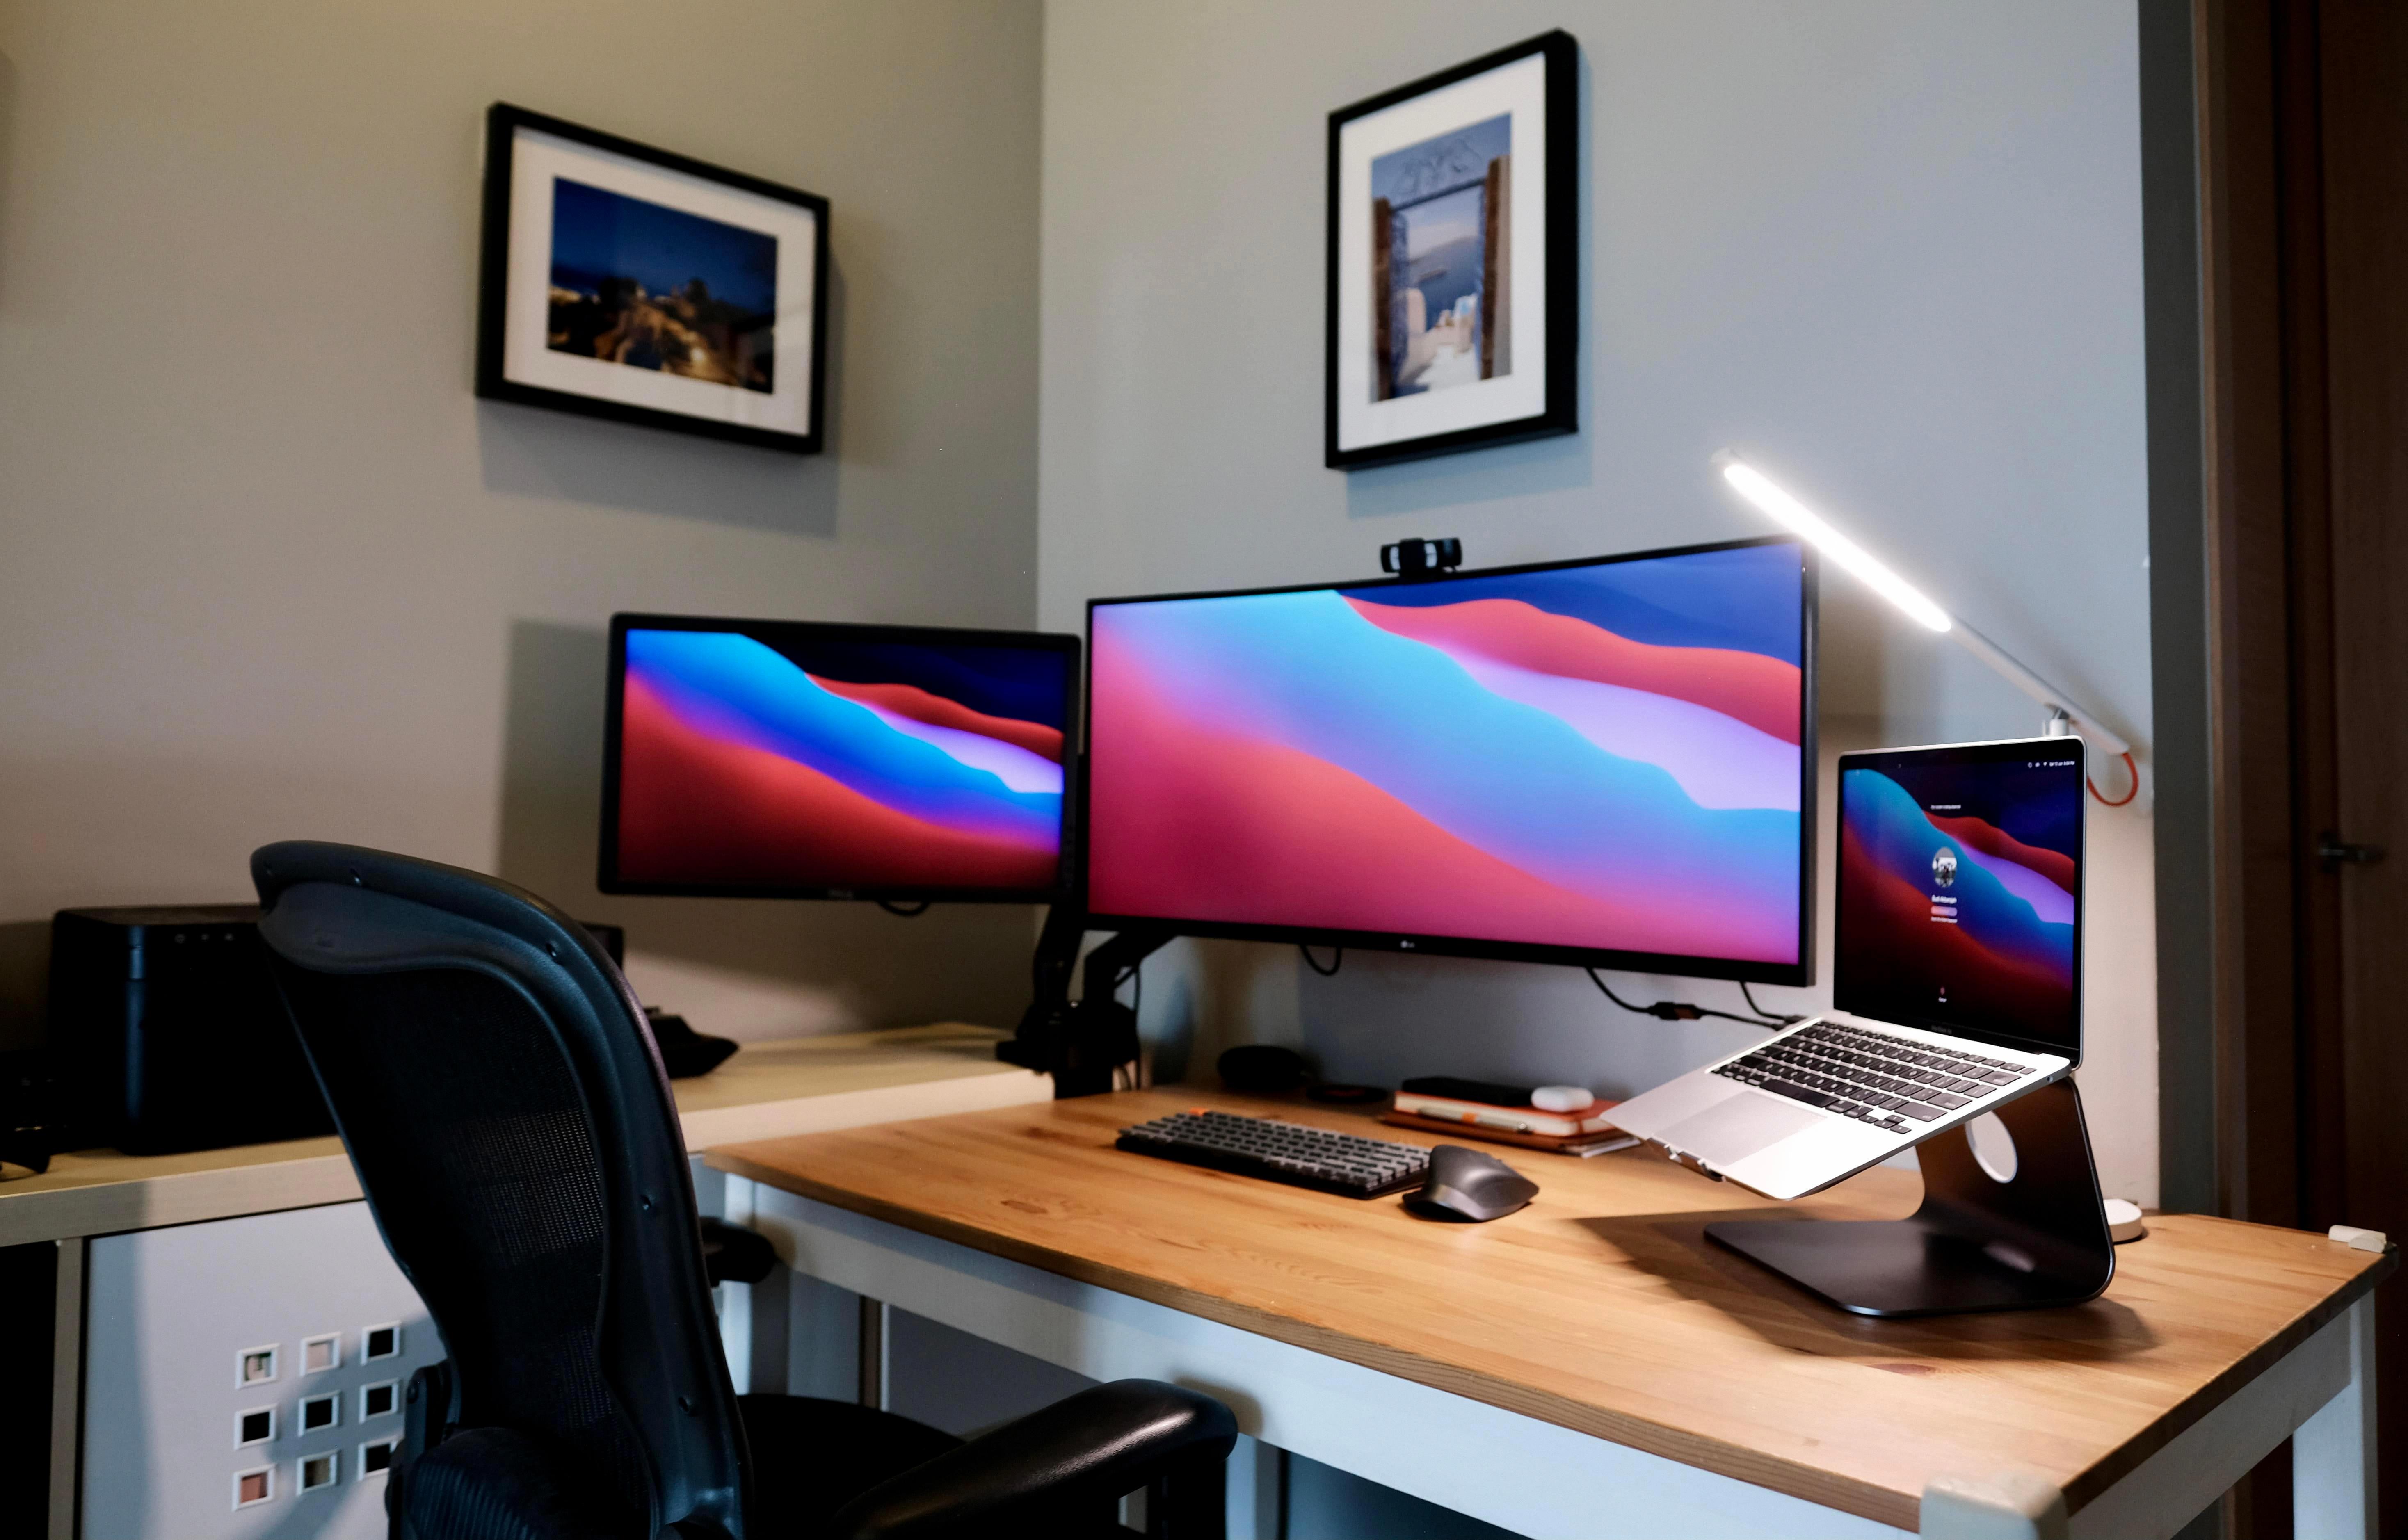
Getting the right HDMI connection on your TV can feel like unlocking a world of high-quality entertainment—whether you’re setting up a new gaming system, hooking up a Roku player, or watching a video from your computer. With an HDMI cable, you can connect nearly any device to your TV, transferring crisp audio and clear video in seconds.
TVs typically come with multiple HDMI ports on TV, allowing you to connect different devices and switch between them seamlessly. Even if a device doesn’t have an HDMI output, adapters can work as a bridge, so you don’t miss out on any viewing possibilities.
There are also several HDMI cable types to consider, including standard, high-speed, and ultra-high-speed, each designed to handle different resolutions and speeds. This guide covers how to use each HDMI connection for a smooth setup, whether you’re working with a modern device or an older one with a little adapter help.
Connecting a Standard HDMI Device
Connecting devices to your TV with an HDMI cable can be as simple as plugging in and pressing play. Whether it’s a laptop, game console, or Blu-ray player, most devices with an HDMI port connect seamlessly to your TV with just a few quick steps.
Step 1: Identifying the HDMI Port on Your TV

To identify the HDMI port location on your TV, begin by checking the back or side panel, where modern TVs commonly position their HDMI ports. These ports are often labeled with “HDMI” and numbered, such as HDMI 1 or HDMI 2, to help distinguish between multiple inputs.
For easy recognition, HDMI ports are generally rectangular and measure approximately 13.9 mm by 4.45 mm. In many TVs, including models by brands like LG and Sony, ports are either centrally located on the back panel or positioned for quick access on the side, offering flexibility for connecting various devices.
Step 2: Selecting the Appropriate HDMI Cable

When connecting a standard HDMI device, choosing the right HDMI cable type is essential. There are three main types: Type A (standard HDMI), Type C (Mini-HDMI), and Type D (Micro-HDMI).
Type A, the most common, connects directly to most TVs, Blu-ray players, and consoles. If you’re working with smaller devices like DSLRs or camcorders, you’ll likely need a Mini-HDMI Type C, while ultra-compact devices like action cameras and some tablets use the Micro-HDMI Type D for their tiny ports.
The right cable type ensures seamless compatibility with your device and TV, so it’s crucial to check your device’s port before making a purchase
Step 3: Attaching the HDMI Cable to Your Device

Getting a secure HDMI port connection starts with making sure you’re inserting the cable smoothly—lining up the HDMI cable’s shape with the device’s HDMI port connection so that it fits right in without resistance. Once everything lines up, push gently but firmly to connect; you should feel it “click” into place.
If you notice any difficulty or resistance when trying to connect an HDMI device, avoid pushing harder; forcing it can damage both the port and the cable, leading to connection issues later on. Taking these steps will ensure your connection is stable without any risk of damage.
Step 4: Connecting the HDMI Cable to the TV

Once you’ve plugged one end of the HDMI cable into your device, it’s time to connect HDMI to TV. First, locate the HDMI port on TV—it’s typically on the side or back, labeled with numbers like HDMI 1 or HDMI 2.
Make a note of which port you’re using, as you’ll select this input later on. Switching the TV on before you plug in the HDMI cable can also make setup a breeze, as you’ll immediately see any confirmation prompts or changes in input. This small step makes it feel less like guesswork and more like setting up with purpose.
Step 5: Changing the TV Input to HDMI

Grab your remote and press the Source or Input button—most TVs have one or the other, and it’s often located right near the top. This will bring up a list of available inputs, and all you need to do is scroll until you find the correct option and switch to HDMI input.
If you’ve got multiple HDMI ports, each might have a number (like HDMI 1, HDMI 2), so double-check the port where your device is connected. Once you’ve selected the right TV HDMI source, you should see your device display. If not, try another HDMI input on the list or unplug and reattach the cable to ensure a solid connection.
Step 6: Configuring Computer Audio Output
If you’re looking to route audio through your TV speakers after connecting an HDMI cable to your computer, configuring HDMI audio settings on your device is straightforward. On Windows, right-click the sound icon in the taskbar, select “Sound settings,” and make sure to choose the TV (HDMI) as the default playback device.
For Mac users, go to “System Preferences” > “Sound,” then under “Output,” select your TV or HDMI output. This step is optional but especially helpful for streaming or presentations when you’d like your computer audio to TV for a fuller audio experience. Adjust volume levels as needed on both devices for ideal sound.
Connecting a Non-HDMI Device to the TV’s HDMI Port
Connecting a Non-HDMI device to your TV’s HDMI port might sound tricky, but with the right HDMI adapter, it’s actually a quick setup.
Step 1: Recognizing the Non-HDMI Port on Your Device

Finding a Non-HDMI port on your device often means looking for a few common alternatives, each with its own unique shape and function. Devices without HDMI typically use ports like DisplayPort, DVI, or VGA.
DisplayPort stands out as an HDMI compatible port since it supports both video and audio, making it a popular alternative for connecting modern devices to TVs. DVI and VGA, on the other hand, are video-only, meaning they’ll need additional cables for audio if you’re planning to watch content with sound. Checking the labels or symbols near each port can help quickly confirm its type, so you know exactly which adapter to grab.
Step 2: Choosing the Right Adapter or Cable for Your Device
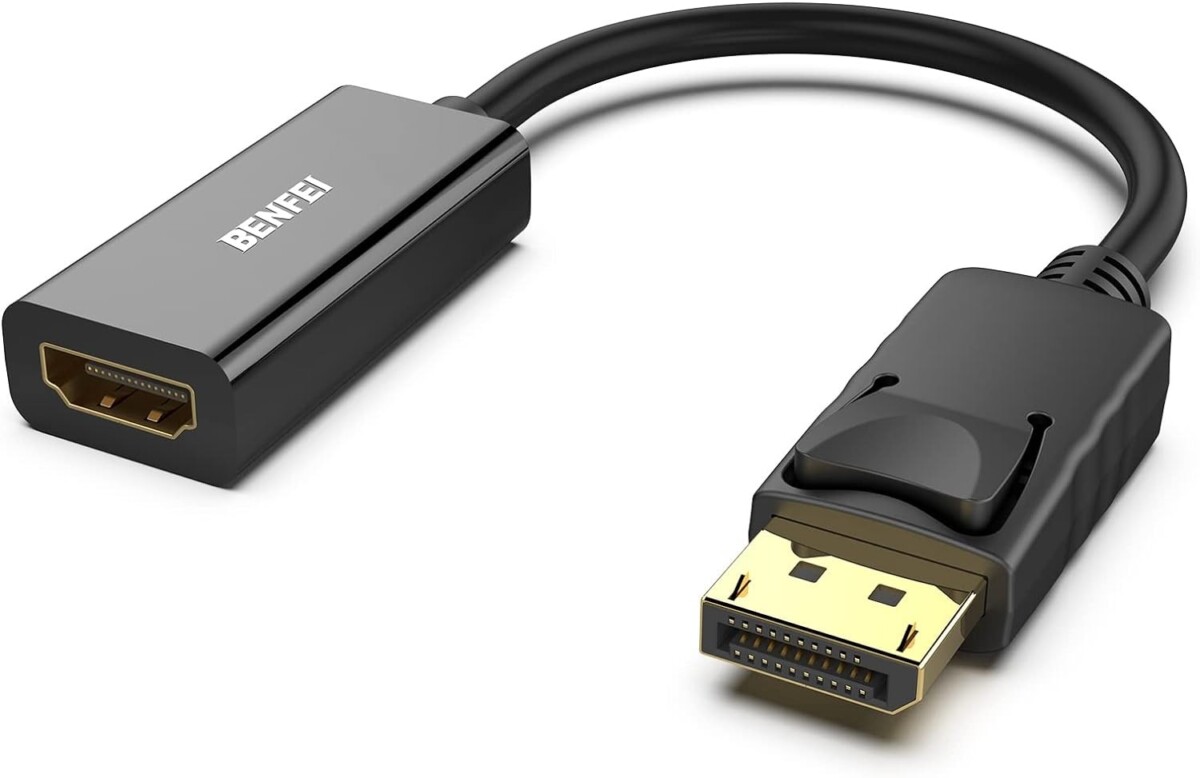
Finding the right HDMI adapter types for your device can make all the difference when connecting non-HDMI gadgets to your TV’s HDMI port. Each adapter fits specific port needs; for instance, a VGA-to-HDMI adapter bridges older devices but may need an extra audio cable since VGA supports only video.
If you’re using a DisplayPort device, a DisplayPort-to-HDMI adapter ensures both audio and video pass smoothly, offering an effortless viewing experience. DVI-to-HDMI adapters work similarly, but like VGA, DVI usually requires a separate audio connection.
Selecting the correct adapter isn’t just about fit but also about getting sound alongside your display setup, so double-check port requirements for a hassle-free connection.
Step 3: Connecting the HDMI Adapter to the TV

When setting up your HDMI to TV connection, a solid start is making sure the HDMI-A connector is securely placed into your TV’s HDMI port. Look for an open HDMI slot on your TV, often labeled “HDMI1” or “HDMI2,” and make sure it’s in a spot where you can easily identify it for later use.
Simply align the HDMI-A end of the adapter with the port, then push it in until you feel a solid connection. It’s helpful to remember which port number you’re using to switch inputs later without any fuss—nothing worse than scrambling through TV settings just to find the right one!
Step 4: Attaching the Adapter to the Non-HDMI Device
Attaching the adapter correctly makes all the difference when getting a secure Non-HDMI device connection to your TV. Begin by lining up the adapter with the device’s port, ensuring it aligns naturally—this helps avoid potential damage if the plug feels stuck or tight.
With gentle pressure, connect the HDMI adapter until you feel a solid, stable fit. Forcing the adapter risks both the port and adapter itself, so if it resists, double-check compatibility or alignment rather than pushing harder.
Step 5: Switching the TV Input to the HDMI Source
Once you’ve connected your non-HDMI device, switch the TV input to the HDMI source to see everything in action. Grab the remote control and look for either the “Source” or “Input” button, often marked near the top.
By pressing this, you’ll open a list of available inputs—just scroll to find the correct TV HDMI input you connected to. Seeing the right source pop up on screen can be rewarding, so if nothing shows or you selected the wrong HDMI port, just toggle back through the inputs until the display appears.
Conclusion
Making sure your TV’s HDMI setup is right can make a world of difference in your viewing experience, whether you’re connecting an HDMI or a non-HDMI device. For HDMI connection troubleshooting, it’s all about choosing the correct cables, securely attaching them to the right ports, and selecting the right TV input to bring your device’s display to life.
If you’re working with a non-HDMI device, finding the correct adapter and adjusting the settings ensures smooth video and sound. These quick HDMI setup tips help ensure a reliable connection, so you’re ready to enjoy your favorite content.

