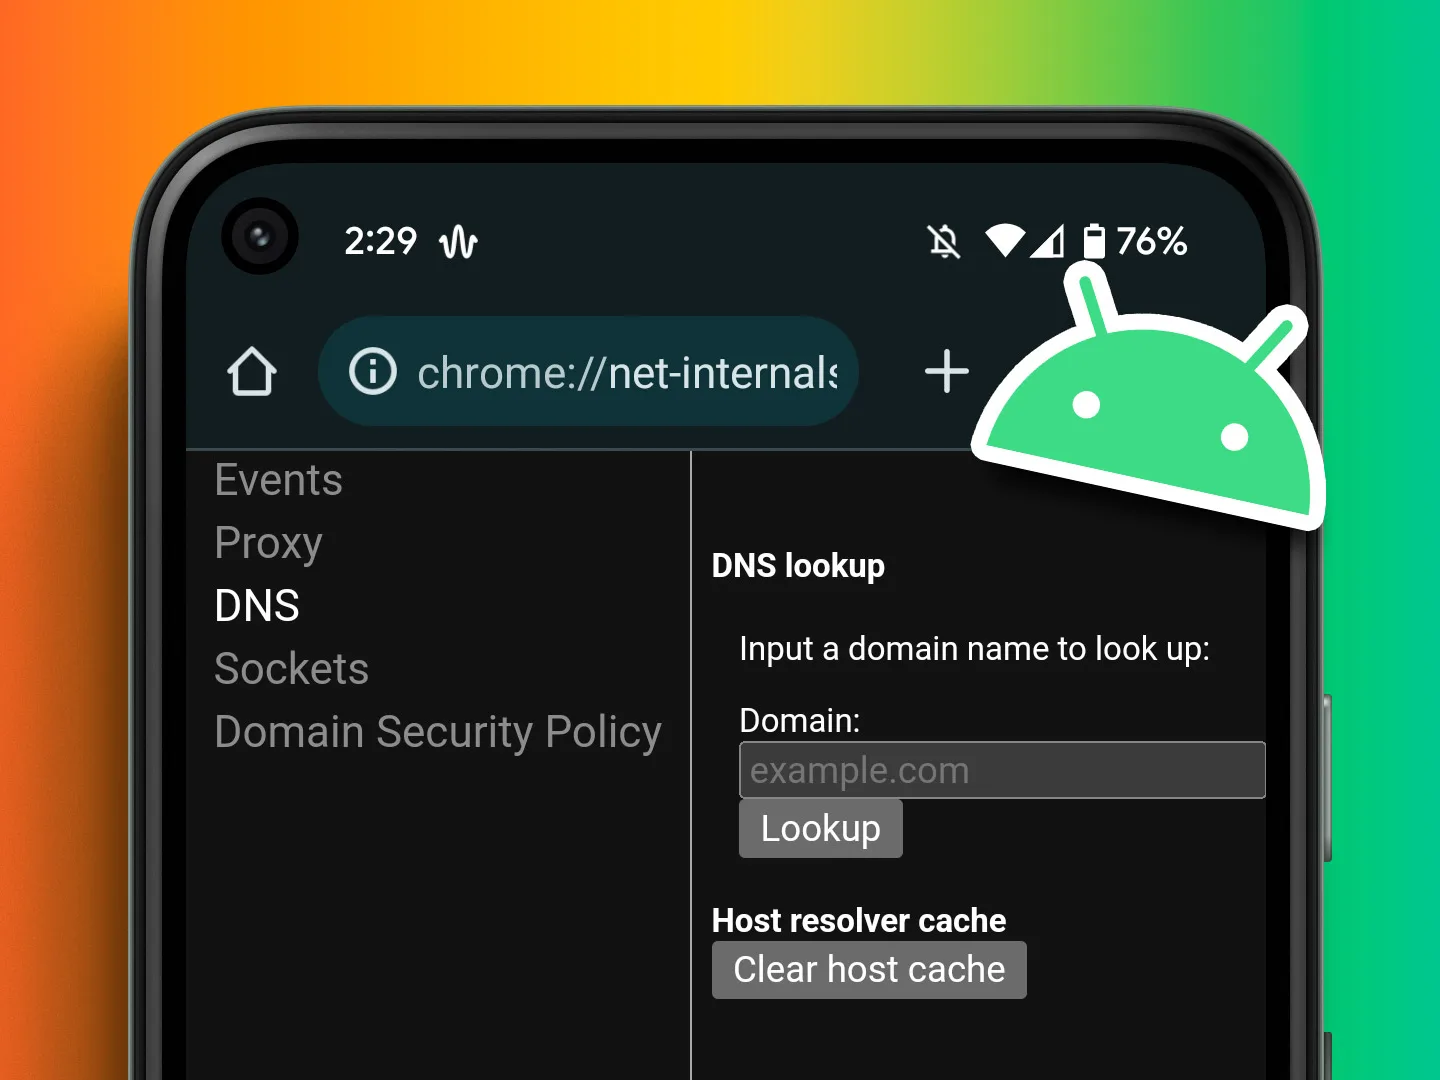
When it comes to resolving network issues on your Android device, flushing the DNS cache and switching DNS servers can be effective solutions. In this article, we will discuss how to perform these actions to improve your internet experience.
Clearing the DNS cache on your Android device can help resolve problems such as slow internet speeds, DNS resolution issues, or incorrect IP addresses. Here’s how you can do it:
1. Open the Settings app on your Android device.
2. Select “Network & Internet”.
3. Scroll down and tap on “Private DNS”.
4. Choose the option for “Private DNS provider hostname”.
5. Enter the hostname of a DNS provider, such as “dns.google”.
6. Tap on “Save” to apply the changes.
By switching to a different DNS provider, you can potentially enhance your internet connection speed and reliability. Here’s how you can switch DNS servers on your Android device:
1. Go to the Settings app.
2. Find and select “Network & Internet”.
3. Scroll down and tap on “Advanced”.
4. Look for the “Private DNS” option and click on it.
5. Choose the option for “Private DNS provider hostname”.
6. Enter the hostname of the DNS provider you want to use, such as “dns.google”.
7. Click on “Save” to save the changes.
By using a different DNS provider, you can potentially access websites faster, improve security, and overcome any DNS-related issues you may be experiencing.
Flushing the DNS cache and switching DNS servers can be beneficial if you are encountering network problems on your Android device. These steps are relatively simple to perform and can make a noticeable difference in your internet browsing experience.
Remember, clearing the cache and switching DNS servers can be helpful, but it may not solve all network issues. If you continue to experience problems, it is always a good idea to contact your internet service provider or seek further technical assistance.
Clearing the cache and switching DNS servers on your Android device can help resolve network issues and improve your internet experience. Give these steps a try and see if they make a difference for you.

Can You Flush DNS Cache on Android?
You can flush the DNS cache on Android devices to resolve network issues. Flushing the DNS cache helps in clearing any stored DNS data, such as IP addresses and domain names, that might be causing problems with internet connectivity.
To flush the DNS cache on Android devices, follow these steps:
1. Open the Settings app on your Android device.
2. Scroll down and tap on “Network & internet” or “Connections” (the exact wording may vary depending on your device).
3. Tap on “Wi-Fi” or “Mobile network” (again, the wording may vary).
4. Look for the network you are currently connected to and tap on it.
5. A settings page for the selected network will open. Tap on “Advanced” or “Modify network” (the option may differ).
6. Scroll down and locate the “IP settings” or “IP settings type” section.
7. Change the IP settings to “Static” if it is currently set to “DHCP” or “Automatic”.
8. Now, you should see an option called “DNS 1” and “DNS 2”. Note down the IP addresses mentioned there (if any) so you can revert to them later if needed.
9. Clear the existing IP addresses and enter the new DNS servers you want to use. You can use public DNS servers like Google DNS (8.8.8.8 and 8.8.4.4) or Cloudflare DNS (1.1.1.1 and 1.0.0.1).
10. Save the changes and exit the settings.
By changing the DNS settings, you effectively flush the DNS cache on your Android device. This clears any previously stored DNS data and forces your device to fetch fresh DNS information when accessing websites or services.
Remember to revert to your original DNS settings if you encounter any issues or want to switch back to your default DNS servers.
Flushing the DNS cache can help resolve DNS resolution problems, improve internet speeds, and fix incorrect IP address issues on your Android device.
How Do You Reset Your DNS Server on Android?
To reset your DNS server on an Android device, you can follow these steps:
1. Open the Settings app on your Android device.
2. Look for the “Network & Internet” option and tap on it.
3. Scroll down until you find the “Private DNS” option and tap on it.
4. Here, you will see a text input field where you can enter the hostname of your desired DNS provider.
– Some popular DNS providers include Google DNS (dns.google), Cloudflare DNS (1dot1dot1dot1.cloudflare-dns.com), and OpenDNS (208dot67dot222dot222).
– You can also check with your internet service provider or network administrator for recommended DNS provider hostnames.
5. Enter the hostname of your preferred DNS provider in the text field.
6. Tap on the “Save” button to apply the changes.
By following these steps, you will be able to reset your DNS server on your Android device and start using the DNS provider you have specified.
How to Change DNS in Android?
To change DNS in Android, follow these steps:
1. Go to the Settings on your Android device.
2. Scroll down and select “Network & Internet.”
3. Tap on “Advanced” to access more network settings.
4. Look for the option called “Private DNS” and tap on it.
5. Select “Private DNS provider hostname.”
6. In the input field for the hostname, enter “dns.google.”
7. Tap the “Save” button to apply the changes.
By following these steps, you can easily configure the DNS settings on your Android device.
Conclusion
Flushing the DNS cache on Android devices can be a helpful solution for resolving network issues. Whether you are experiencing DNS resolution problems, slow internet speeds, or incorrect IP addresses, clearing the DNS cache can provide a fresh start for your device’s network connections. By following a few simple steps, you can easily switch DNS servers on your Android device and configure it to use a specific DNS provider hostname, such as dns.google. This can potentially improve your internet browsing experience and ensure that your device is using the most reliable and efficient DNS server available. So, if you are facing any network-related problems on your Android device, don’t hesitate to try clearing the DNS cache and switching DNS servers to see if it helps resolve the issue.


