If you’re looking to start recording music with Garageband, one of the first things you need to do is connect a microphone. While it can seem daunting at first, connecting a mic to Garageband is actually quite simple once you know how!
The first thing you need to do is make sure your microphone is properly connected. Most microphones will either use an XLR or USB cable. If your microphone uses an XLR cable, plug it into the XLR port on the back of your Mac. If your microphone uses a USB cable, plug it into any available USB port on your Mac. Make sure that both ends of the cable are securely plugged in and that there are no loose connections.
Once everything is connected, launch Garageband and open the Preferences window from the Garageband Menu (or press Cmd + Comma). In the Audio/Midi tab of Preferences, select your microphone from the Input Device drop-down menu. This will ensure that all audio coming from your microphone will be routed through to Garageband for recording purposes.
Now that everything has been set up correctly, you should be able to record audio in Garageband without any issues! Just make sure to check the Monitoring toggle in Smart Controls or on the track header before you hit Record! That way, you’ll be able to hear yourself as you record and make adjustments accordingly.
And there you have it – now that you know how easy it is to connect a mic to Garageband, why not give it a try? With a little practice and some patience, you’ll soon be creating some amazing music with Garageband!
Troubleshooting Issues with Microphone Not Working in GarageBand
The most likely reason your microphone isn’t working with Garageband is that it hasn’t been set up properly. First, make sure you have selected the correct input source in Garageband’s Preferences. Then, check to see if the Monitoring button has been turned on in both the Smart Controls and on the track header. If these settings are all correct, then it’s possible that your microphone might not be compatible with Garageband or that it needs new drivers.
Recording a Microphone on GarageBand for Mac
To record your microphone on GarageBand for Mac, start by connecting your microphone to an audio interface, if necessary. Next, open GarageBand and select “Audio Recorder” from the New Project window. You will be presented with a track containing controls for adjusting levels, setting input and output devices, and more.
Once you have adjusted the settings to your liking, hit the Record button (or press R) in the control bar to begin recording. Start singing or playing your instrument and the recording will appear as a new audio region on the track as you record. When you are finished, click the Stop button (or press the Space bar) to stop recording.
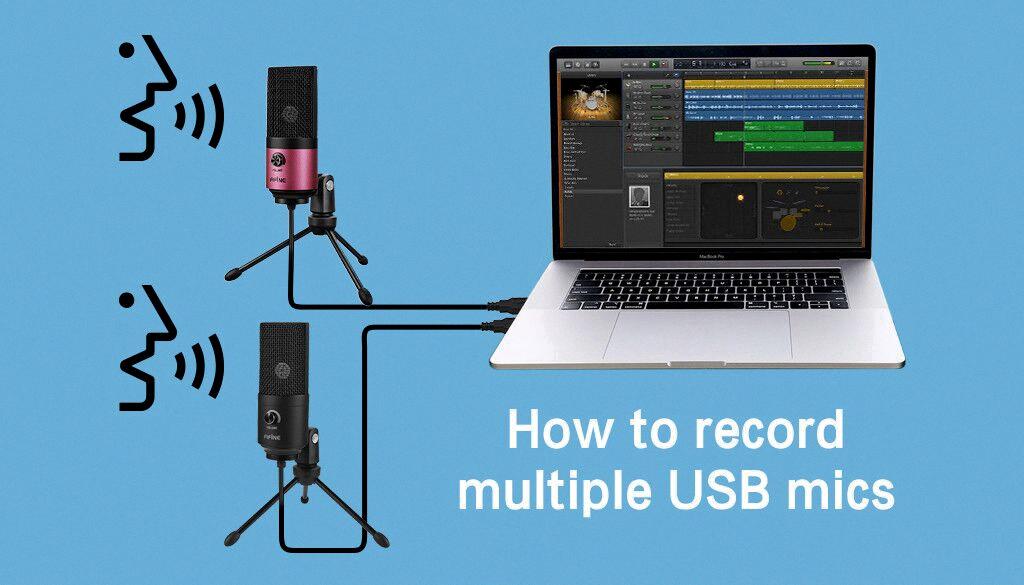
Source: fifinemicrophone.com
Getting Mac to Recognize Microphone
In order to get your Mac to recognize your microphone, first make sure that the microphone is properly connected to your computer. Then open the System Preferences app by going to the Apple Menu and selecting System Preferences. Next, click on ‘Sound’ and select the ‘Input’ tab. From here you should be able to see a list of available microphones. Select your microphone from the list and then check that it is set as the default input device. Finally, click ‘OK’ to save your changes. Your Mac should now be able to recognize your microphone!
Recording Vocals on GarageBand Using a Microphone
To record vocals on GarageBand with a mic, you will need to open a new project and choose the Microphone Audio Track. Next, drag and drop the audio file into the Workspace. Then, connect a USB mic to your computer and select it as the input in Preferences. Finally, choose the “Natural Vocal” preset to begin recording your vocals. Once you’re finished, you can then save your project in GarageBand.
Location of Microphone in GarageBand
The microphone on GarageBand is located in the top left corner of the main window. To access it, click on the “Choose a Track Type” button located in the upper right corner of the window. Once clicked, you will be presented with a menu where you can choose from several different track types. Under the Audio heading, you will see the microphone icon; select it to create a new microphone track.

