Gmail is one of the most widely used email services available and is a great way to stay connected with friends, family, and colleagues. If you’re an iPhone user, you might be wondering how to manage your Gmail inbox on your device. In this blog post, we’ll provide a detailed guide on how to clear your Gmail inbox on your iPhone.
First off, let’s start by opening the Gmail app on your iPhone. Once you’ve opened the app, you’ll see all your emails inboxed in one place. To delete an email, simply tap on it and then tap the trash can icon located in the top right corner of the screen. This will move that email from your inbox into the trash folder.
If you want to delete multiple emails at once, start by tapping the Inbox tab at the top left corner of the screen. You’ll then see a small empty box near the top of the page; select this box and click Select all conversations in Primary at the bottom of the page. Once you have selected all emails, click on Delete located at the top right corner of the page to delete them all at once.
Once you have deleted all emails, they will move into the Trash folder where they will remain for 30 days before being permanently deleted. You can find these emails again by going to the Trash folder or searching for them using keywords or dates associated with them.
We hope this blog post has provided enough information about clearing out your Gmail inbox on your iPhone so that you can keep it organized and clutter-free!
Mass Deleting Emails in Gmail on iPhone
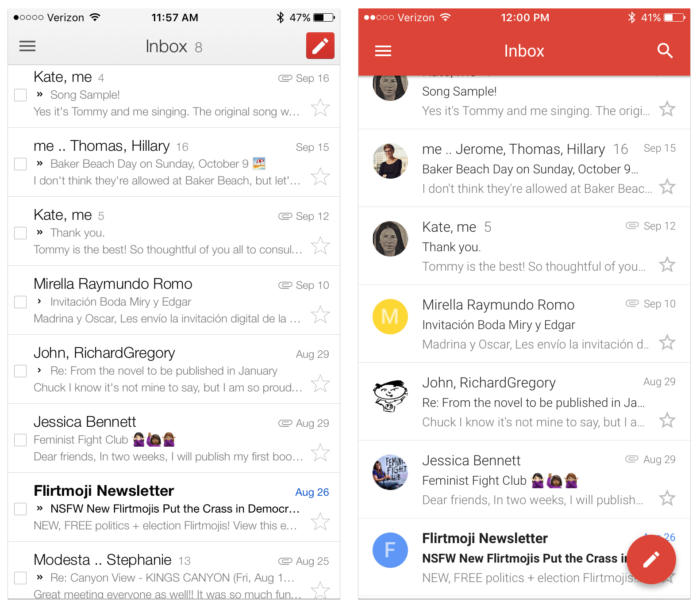
Yes, you can mass delete emails in Gmail on your iPhone. To do so, first select the location (a folder or the main category) from which you would like to delete your emails. Then tap any email icon to turn the thumbnails into checkboxes. Tap on all emails that you want to remove and then tap the trash can icon (delete) at the top of the screen to delete them.
Clearing Your Gmail Inbox Completely
Clearing your Gmail inbox is a simple process. To begin, open your Gmail account and select the tab for the inbox you’d like to clear out (Primary, Promotions, etc.). Next, click on the small empty box located in the top left corner of the page, just above the Compose button. This will select all emails in that inbox. Once selected, click on the trash can icon located at the top of your screen to delete all emails in that folder. Remember to empty your Trash folder as well in order to completely clear your Gmail inbox.
Conclusion
In conclusion, managing your Gmail inbox on an iPhone is a breeze. You can easily organize and delete emails with just a few taps. To delete emails, simply select the location of the emails you want to delete, then tap on their checkboxes and press the delete icon at the top of the screen. You can also mass delete all emails in your inbox by selecting them all and pressing the Delete button. Regardless of how you choose to manage your Gmail inbox, it’s easy to keep it organized and clutter-free on your iPhone.

