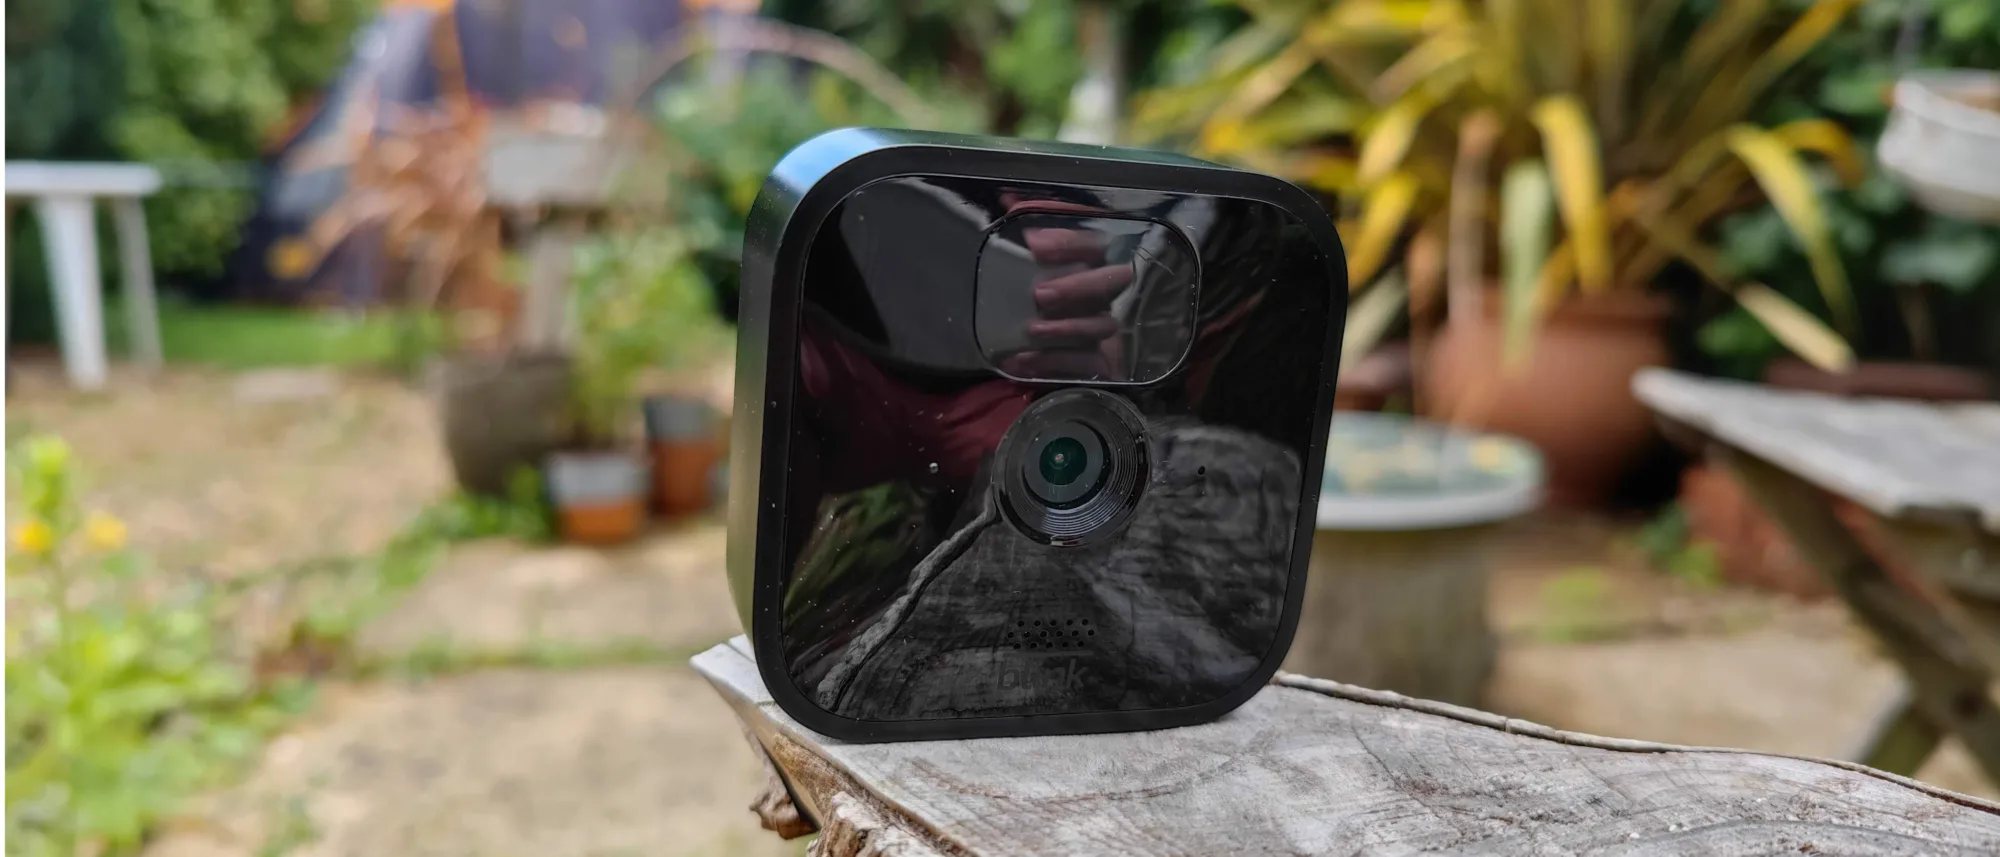
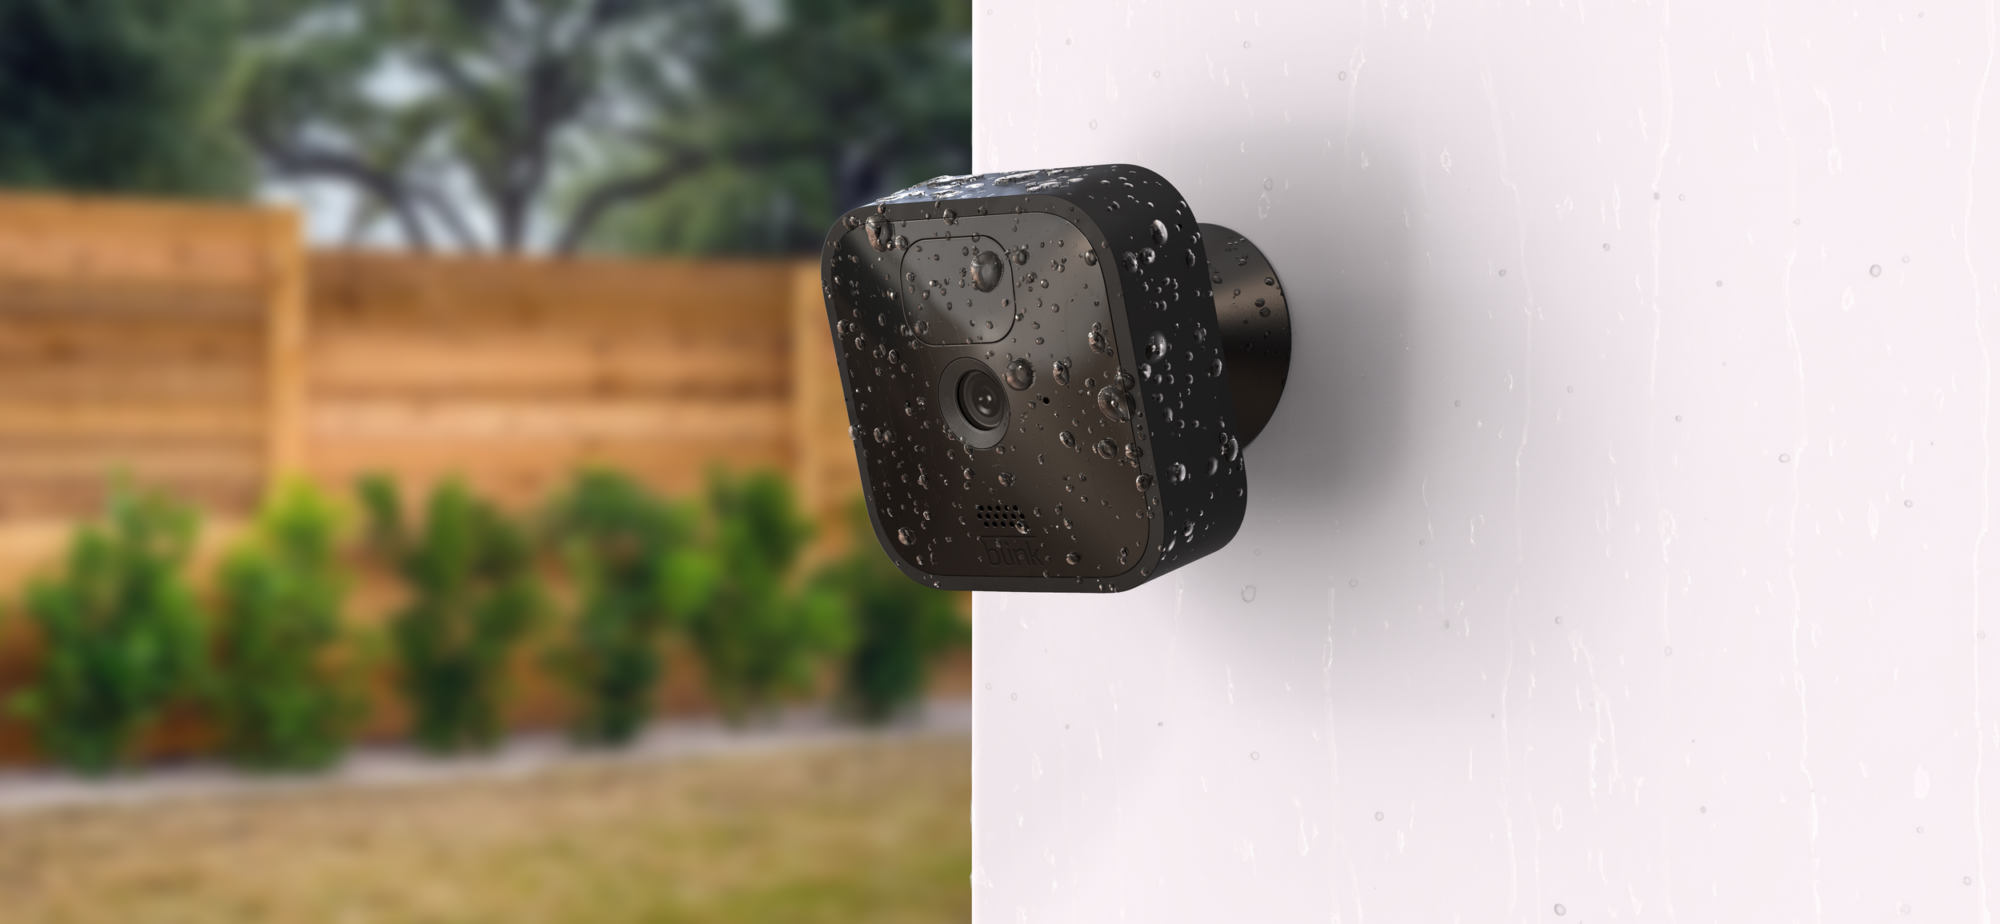
Blink outdoor cameras are a great way to enhance the security of your home or property. These cameras are easy to install and provide high-quality video footage. In this article, we will guide you through the process of installing Blink outdoor cameras.
Firstly, you will need to unbox your Blink outdoor camera and its accessories. The package should include the camera, a mounting bracket, two screws, a USB cable, and a power adapter.
Next, you will need to download the Blink app on your smartphone or tablet. The app is available for both iOS and Android devices. Once you have downloaded and installed the app, you will need to create an account.
After creating an account, you will need to add your Blink outdoor camera to the app. To do this, press the “+” icon in the app and select “Add Device.” Follow the on-screen instructions to connect your camera to your Wi-Fi network.
Once your camera is connected to your Wi-Fi network, it is time to install it outside. The first step is to find a suitable location for your camera. You should choose a location that provides a clear view of the area you want to monitor.
After choosing a location, you will need to attach the mounting bracket to the camera. The mounting bracket should be secured to a wall or a pole using the two screws provided. Ensure that the mounting bracket is level and secure.
Next, attach the camera to the mounting bracket. The camera should snap onto the bracket and be securely held in place.
Connect the USB cable to the camera and plug the other end into the power adapter. The power adapter should be plugged into an electrical outlet.
Your Blink outdoor camera is now installed and ready to use. You can use the Blink app to view live footage from your camera, receive alerts when motion is detected, and customize your camera settings.
Installing Blink outdoor cameras is a simple process that can be done by anyone. These cameras provide a great way to enhance the security of your home or property. By following the steps outlined in this article, you can easily install your Blink outdoor camera and start enjoying its benefits.

Installing an Outdoor Blink Camera
To install an outdoor Blink camera, you will need to follow these steps:
1. Choose the location: First, choose the location where you want to install the camera. You will want to select a spot that has a clear view of the area you want to monitor. It should also be a location that is difficult for someone to tamper with or steal the camera.
2. Mount the camera: Once you have selected the location, use the provided mounting bracket to attach the camera to a wall or other surface. Make sure that the camera is level and securely attached.
3. Connect the camera: Next, connect the camera to your Wi-Fi network. To do this, use the Blink app to scan the QR code on the back of the camera. Follow the on-screen instructions to connect the camera to your home network.
4. Test the camera: After you have connected the camera, test it to make sure it is working properly. You can do this by using the Blink app to view a live stream from the camera.
5. Adjust the settings: Once your camera is installed and connected, you can adjust the settings to suit your needs. You can set up motion detection, adjust the sensitivity of the camera, and set up notifications to alert you when the camera detects motion.
By following these steps, you can easily install an outdoor Blink camera to monitor your home or business.
Range of Blink Outdoor Wi-Fi Cameras When Installed Outside
Blink outdoor Wi-Fi cameras have a maximum motion detection range of approximately 20 feet. However, it is important to note that this range can be affected by several factors such as the sensitivity setting of the app, the placement of the camera, the size of the object being detected, the infrared illumination, and the temperature of the object. Additionally, the range of the Wi-Fi signal can also affect the camera’s ability to transmit data to the user’s device. It is recommended to place the camera in a location that provides a clear view of the intended area and to adjust the sensitivity settings as needed to optimize the camera’s performance.

Do I Need to Pay Monthly for Blink Outdoor Camera?
There is no requirement to pay a monthly fee for the Blink outdoor camera. The camera comes with standard features like motion alerts, live view, and two-way audio that are available without any subscription. However, Blink Subscription Plans offer additional features for those who want them. These features include cloud storage for recorded footage, extended battery life, and advanced alerts. The subscription plans are optional and can be canceled or changed at any time. Blink offers flexibility and options for its customers to choose the features and services that best fit their needs and budget.
Conclusion
Installing a Blink outdoor camera is a simple and effective way to enhance the security of your home. By strategically placing cameras near entry points and common areas, you can monitor and deter potential intruders. It’s important to consider factors such as motion detection range and camera placement when setting up your system. Fortunately, Blink cameras are easy to install and offer a range of features, including motion alerts, live view, and two-way audio, without requiring a subscription. For those who want additional features, Blink Subscription Plans are available. With Blink, you can rest assured that your home is well-protected.


