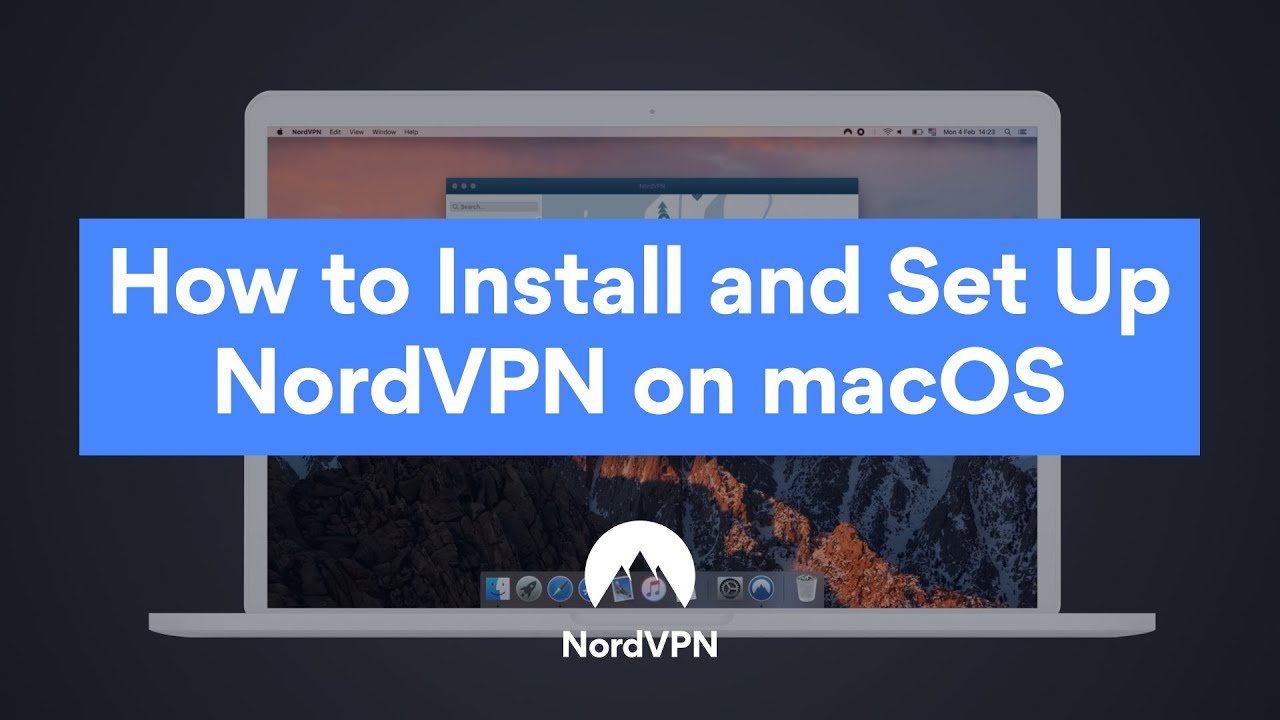
Are you loking to set up NordVPN on your Mac computer? NordVPN is one of the leading virtual private networks (VPNs) available and it’s easy to set up for Mac users. In this blog post, we’ll explain how to get started using NordVPN on a Mac computer.
Setting up NordVPN on your Mac is a straightforward process. First, you’ll need to sign up for a NordVPN account, and then download and install the software. Once you’ve done that, you can connect to any of the servers in the network and begin using the service.
To start usng NordVPN on your Mac:
1. Open the Apple App Store and search for “NordVPN.”
2. Download and install the app onto your computer
3. After installation is complete, open the app and log in with your credentials
4. Select one of the available VPN servers from the list provided or use Quick Connect to automatically select an optimal server based on your location
5. Click “Connect” to begin browsing securely
6. You can now access content that may be blocked due to geo-restrictions or censorship
7. To disconnect from NordVPN, click “Disconnect” in the upper-left corner of the app window
Using NordVPN ensures that all of your online activity remains secure by encrypting your internet traffic with military-grade AES-256 encryption – meaning that no one can snoop on what you do online! Additionally, NordVPN provides additional security features such as double VPN encryption which routes your traffic thrugh two separate servers before being sent out onto the web – making it even more difficult for anyone to intercept or monitor what websites you visit.
By following thee steps, setting up NordVPN on your Mac computer should be simple and straightforward! With its powerful encryption technology, you can rest assured that all of your internet activities will remain safe and secure while browsing online – no matter where you are located in the world!

Troubleshooting NordVPN Connection Issues on Mac
There could be a few reasons why NordVPN won’t connect on your Mac. First, make sure that you have the latest version of NordVPN installed and that you are connected to an active internet connection. If the issue persists, then it is possible that your Mac’s firewall is blocking your connection. You can try disabling the firewall, or adding an exception for NordVPN to the list of allowed applications. Additionally, check if any other security software such as antivirus programs or VPN blockers are interfering with the connection. If all else fails, contact NordVPN’s customer support team for frther assistance.
Installing NordVPN on a Mac Manually
Installing NordVPN on a Mac is an easy process. First, go to the NordVPN website (https://nordvpn.com/download/). Select “Mac” from the list of available platforms and click “Download.” Once the download is complete, run the .dmg file and drag the NordVPN icon to your Applications folder. After installation, open the app and log in with your credentials. To connect to a server, simply click on one of the servers listed in the app and click “Connect.” You can also set up a specific server by using its IP address or domain name. If you encounter any problems during installation or connection, contact customer support for help.
Setting Up a VPN on a Mac
Setting up a VPN on your Mac is easy. First, open System Preferences from the Apple menu and click Network. Then click the “+” button at the bottom of the list on the left side of the window. Select “VPN” from the Interface menu, then choose whch type of VPN connection you want to set up from the VPN Type menu. Enter all of your VPN settings information, including server address, account name, and password, then click Create. Once your connection is established, you can click Connect to connect to your VPN network.
Troubleshooting VPN Connection Issues on Mac
There could be several reasons why your VPN is not connecting on Mac. First, check to make sure that the VPN server you are trying to connect to is up and running. If the server is down, then you won’t be able to connect. Second, make sure that you have entered the correct credentials for the connection. If your uername or password is incorrect, then the connection will not be successful. Finally, if you are using a third-party VPN client, make sure that it is compatible with your Mac operating system and configured correctly. You may need to adjust some settings in order for it to work properly.
Getting NordVPN to Work
To get your NordVPN to work, you need to take the folloing steps:
1. Download and install the NordVPN app from the website or app store.
2. If you don’t already have one, create a new account by signing up. If you do have an account, simply log in with your credentials.
3. Click on ‘Quick Connect’ to let NordVPN automatically select the most suitable server for you.
4. Once connected, you can start enjoying a secure internet connection with NordVPN!

Source: wired.co.uk
The Risks of Using NordVPN
NordVPN is unprotected when you visit the NordVPN.com website because you have not yet connected to our secure servers. Our state-of-the-art encryption technology ensures that any data sent or received throgh our servers is kept safe, private, and secure. Without being connected to one of our servers, your internet connection is vulnerable to hackers, snoopers, and ISPs who may be able to monitor your activities or access your sensitive data. To protect yourself, we recommend downloading and installing our software so that you can start taking advantage of the features that come with being a NordVPN user. With NordVPN, you can browse the web securely and anonymously while enjoying fast speeds and access to geo-restricted content.
Downloading NordVPN on Mac Without App Store
If you don’t want to use the App Store to download NordVPN, you can download and install it directly from NordVPN’s website. First, visit the NordVPN website and click the ‘Download’ button at the top of the page. You will be takn to a page where you can select your device type – in this case, Mac OS X. Select ‘Mac’ and then click ‘Download Now’. This will begin downloading a .pkg file onto your computer.
Once the download is complete, double-click on this file to start the installation process. You may be asked for permission to install Helper, whch is required to establish secure VPN tunnels – enter your Mac’s password and press OK. A new Install window will pop up, guiding you through the rest of the installation process.
Step-by-Step Guide to Using NordVPN
Step 1: Visit NordVPN’s website and select a plan that best meets your needs. Once you’ve purchased a subscription, you will receive an email with your username and password.
Step 2: Download the NordVPN app from the NordVPN website or from the App Store or Play Store. After installation, open the app and log in with your username and password.
Step 3: Choose a server from one of NordVPN’s over 5500+ servers in 59 different countries. You can select a specific server if you know which one you want to use or let NordVPN choose an optimal server for you.
Step 4: Click Connect to establish a secure connection between your device and the selected server. Once it has been established, you can start browsing privately and securely!
Does NordVPN Work With Safari?
NordVPN does not offer a Safari browser extension, but you can still use NordVPN with Safari. By installing the NordVPN app on Mac OS X, macOS, and iOS devices, you can secure your connection and protect your online activity through the Safari browser. Additionally, NordVPN is compatible with Windows and Android devices, and can be manually installed on Linux computers and devices. With NordVPN’s reliable encryption protocols, you can benefit from a secure Internet connection while using the Safari browser.

Source: cnet.com
Finding the Server Address for a VPN
Finding your server address for Virtual Private Network (VPN) can be done easily by accessing the Systems Settings tab in your computer’s settings. From this tab you will find a left column titled Hostid Settings. Within this column, you will see two boxes: Computer/Hostname and Ethernet Address. The Computer/Hostname box will contain your Host Name, which is the server address for VPN that you are looking for. The Ethernet Address box will contain your Physical Address, which is a unique identifier for the network adapter of your computer. Once you have located both of the addresses, you should have the iformation needed to access your server address for VPN.
Conclusion
NordVPN is a secure and reliable virtual private network (VPN) service that allows users to access the internet privately, securely, and anonymously. It offers strong encryption protocols and features such as double VPN, Onion Over VPN, and CyberSec. With NordVPN you can unblock websites that are otherwise restricted in your area, and access streaming services from all over the world. The app is availabe for Windows, MacOS, iOS, Android, Linux, and routers. NordVPN also provides 24/7 customer support to help with any technical issues or questions you may have. All in all, NordVPN is an excellent choice for those looking for a secure and reliable VPN service.


