The Apple iPhone 12 is one of the most advanced phones on the market and connecting it to your Mac is a breeze. With its powerful processor, robust operating system, and expansive range of features, the iPhone 12 offers an incredible experience when used together with a Mac.
To begin the connection process, first, make sure that your Mac is up to date and has the latest version of macOS installed. Then use a compatible USB-C cable or Lightning cable to connect your iPhone 12 to your Mac.
Once you have made the connection, you should see a message on your Mac asking if you want to trust this computer. Click “Trust” on both devices in order for them to be paired. Afterward, you should be able to access all of the iPhone 12’s features from your Mac, including photos, music, contacts, and more.
You can also use Wi-Fi syncing to connect your iPhone 12 to your Mac wirelessly. To set up Wi-Fi syncing first connect your device using a USB or USB-C cable and then turn on Wi-Fi syncing and choose the settings you want. Whenever your device connects to your Mac over Wi-Fi, you can select it in the sidebar and sync it (you can turn on automatic syncing if desired). This makes it easy to move photos and videos between devices without having to physically attach them each time.
Finally, if you want even more control over how data moves between devices it might be worth investing in some third-party software such as iExplorer or PhoneView – both offer great features for managing content between iPhones and computers like Macs.
Overall connecting an iPhone 12 to a mac is easy – all you need is a compatible cable or adapter plus a few moments of time spent setting up Wi-Fi syncing or downloading third-party software if desired – after which point you’ll quickly be able to enjoy all that both devices have to offer!
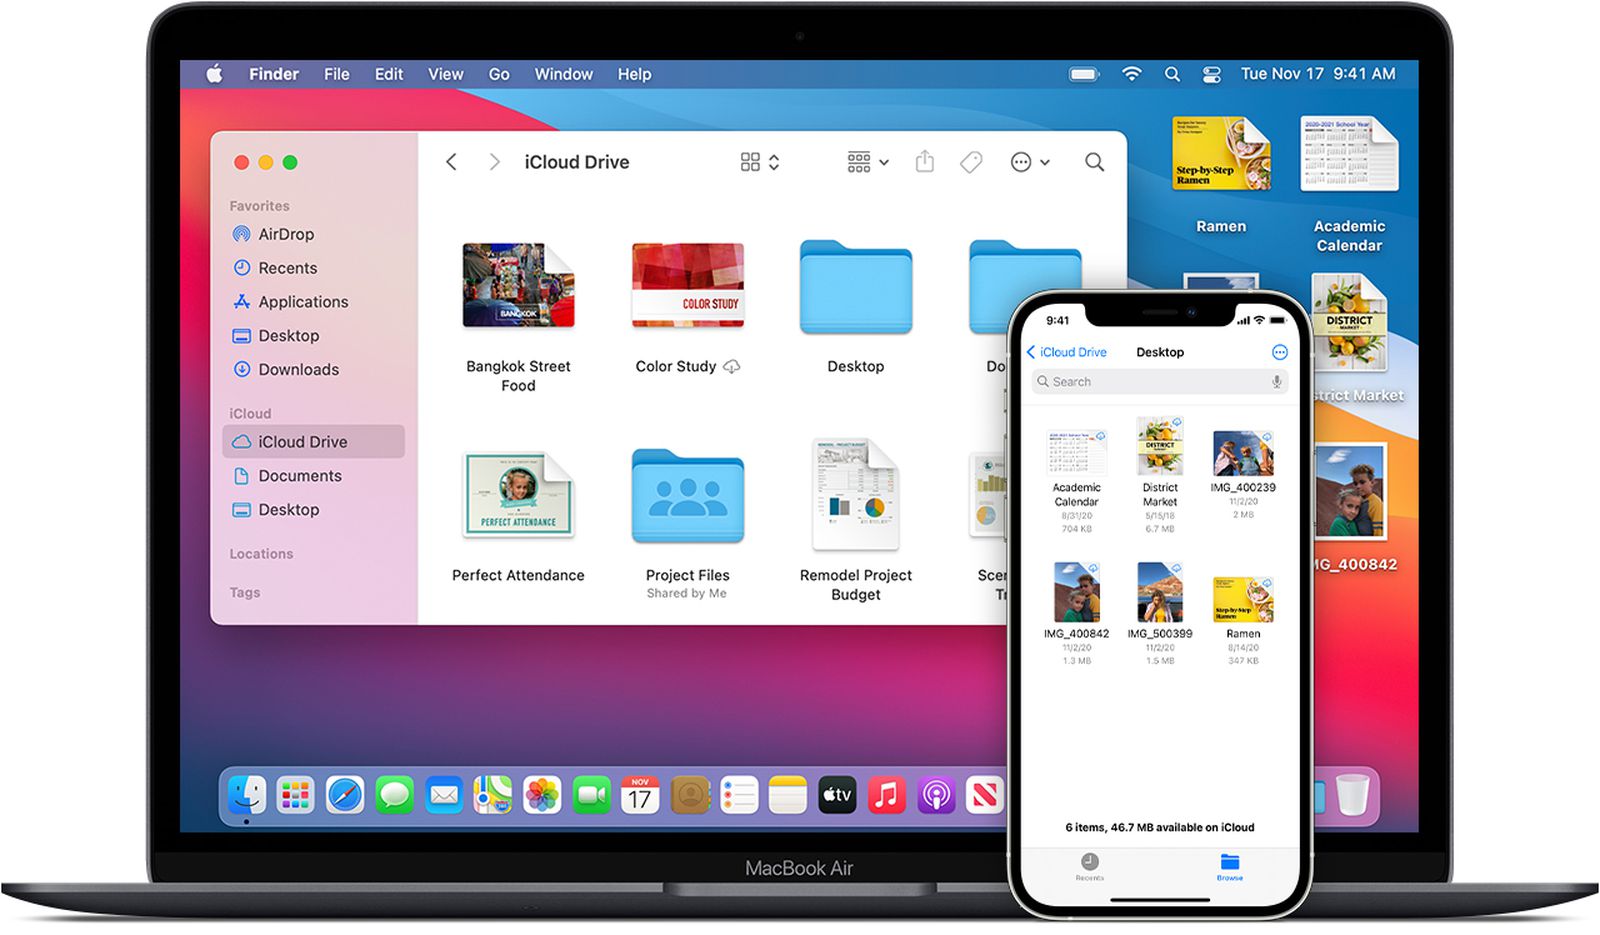
Troubleshooting iPhone 12 Connection Issues With Mac
It’s possible that the connection between your iPhone 12 and your Mac isn’t working because of a software issue or an incompatibility between the devices. To troubleshoot, try restarting both devices and then re-establishing the connection. You should also check to make sure that your Mac is running the latest version of macOS, as well as that your iPhone 12 has the latest version of iOS installed. Additionally, you may want to try a different USB cable or USB port on both devices to see if that helps.
Connecting an iPhone 12 to a MacBook Air Wirelessly
To connect your iPhone 12 wirelessly to your MacBook Air, you will need to first make sure both devices are connected to the same Wi-Fi network. Once that is done, open the Finder on your Mac and select your iPhone from the list of devices in the sidebar. Click on the “Trust” button and enter your device’s passcode when prompted. Then, select the “Sync with this iPhone over Wi-Fi” option and click “Continue”. Your devices should now be able to communicate wirelessly.
Connecting an iPhone Wirelessly to a Mac
Yes, you can connect your iPhone wirelessly to your Mac. First, make sure both devices are connected to the same Wi-Fi network. Then, plug in your iPhone to your Mac using a USB or USB-C cable. Lastly, open iTunes on your Mac and click on the “Devices” tab. Select the device you want to sync with and check the box next to “Wireless Sync”. After that, you can select the settings you want for syncing and your iPhone will be connected wirelessly to your Mac!
Connecting an iPhone 12 to a Computer
To connect your iPhone 12 to your computer, start by using a USB cable to plug your iPhone into the USB port of your computer. Once connected, open iTunes. You’ll see the device icon appear in the top left corner of the iTunes window. Click on it and you’ll be able to access settings for syncing content between your computer and your iPhone. Select the types of content you want to sync from the list, then click Sync in iTunes followed by Apply in the lower right corner. Your iPhone 12 will now successfully be connected to your computer!
Connecting an iPhone to a Mac Without a USB
To connect your iPhone to your Mac without using a USB cable, you’ll need to use Bluetooth. On your iPhone, go to Settings > General > Bluetooth and toggle the switch on. On your Mac, go to the Apple menu > System Preferences > Bluetooth and switch it on. Once both devices have Bluetooth enabled, they should detect each other and you can pair them by selecting the iPhone in the list of available devices. Once connected, you will be able to transfer files between your Mac and iPhone without using a USB cable.
Connecting an iPhone 12 to a Laptop via Bluetooth
To connect your iPhone 12 to your laptop via Bluetooth, you’ll need to make sure that both devices are discoverable. On your iPhone, go to Settings > Bluetooth and ensure that it is turned on. On your laptop, open the Bluetooth settings and make sure it is discoverable as well. Once both devices are discoverable, you should be able to see the laptop in the list of available devices on your iPhone. Tap on the name of your laptop, then follow the on-screen instructions to pair the two devices. Once they’re connected, you can start transferring files between them or using other features that require a Bluetooth connection.
Transferring Files From iPhone to Mac Via USB
Transferring files from your iPhone to your Mac is easy with a USB cable. Begin by connecting the two devices using the USB cable, then open Finder on your Mac. Once Finder has opened, select your iPhone from the list of devices in the left-hand sidebar.
Next, click on the type of files you would like to transfer from your iPhone to your Mac, such as Music, Movies, Files, and more. You will then see a list of apps that contain these types of files. Select which ones you’d like to transfer and click “Transfer” at the bottom right corner of your screen. Depending on how much data you are transferring, this could take a few minutes to complete. Once it is finished you will be able to access all of these files directly from your Mac.
Conclusion
The iPhone 12 is a powerful device and has many features, including connecting to a Mac computer. To do this, you need to use a Lightning-to-USB cable and connect it to the port at the base of the device. You then need to open iTunes on your computer and turn on Wi-Fi syncing if desired. Once connected, you can transfer photos and videos from your iPhone 12 to your Mac, as well as access other features such as music streaming or pairing your devices using Bluetooth. With all these features at your fingertips, you can make the most of your iPhone 12 experience with the help of a Mac computer!

