Garageband for iPad is a powerful music production app that allows you to easily record, edit, and mix your music. One of its most useful features is the ability to split a track into multiple sub-tracks. This can be useful for adding effects, adjusting levels, and more. In this blog post, we’ll show you how to do it.
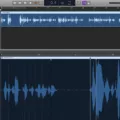
First, open the Garageband app on your iPad and select the track that you want to split. You can then move the play head (the vertical line in the timeline) to where you want to split the track. Once you have done that, tap on the “Edit” tab at the top right of the screen and select “Split Region at Playhead” from the list of options. This will create two separate tracks from your original one; each one with its own set of effects and settings.
You can also use this feature to combine two tracks into one or add additional audio file regions onto an existing track. To do this, simply drag an audio file region onto your existing track until it overlaps with another region, or simply drag it onto an empty part of your timeline. Then press Command+T on your keyboard (or tap Split Region if using a touchscreen device) and this will split both regions into two separate tracks which can then be manipulated individually.
Splitting a track in Garageband for iPad is a great way to create complex arrangements with ease and precision, as well as allowing you to add effects or adjust levels quickly and easily without having to start over from scratch each time! Hopefully, this guide has given you all the information you need so that you can get started exploring all the possibilities available in Garageband for iPad!
Splitting a Track in GarageBand
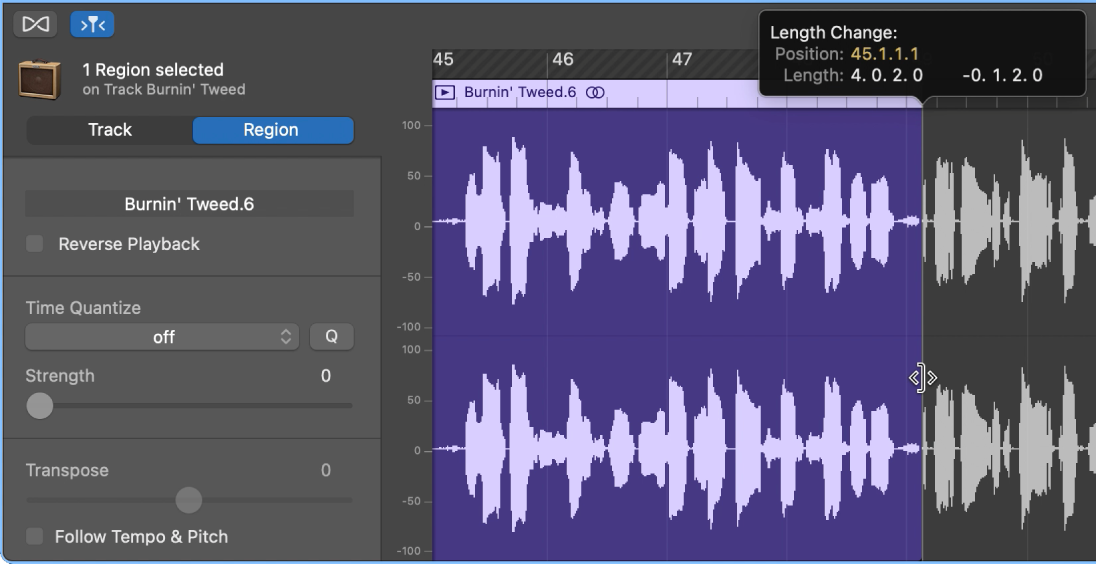
In GarageBand, splitting a track is a simple process. To begin, click on the clip you want to split so that it is highlighted in light blue. Next, drag the play head to the point where you want the clip to be split. Finally, select the Edit tab and then “Split Regions at Playhead” (Shortcut: Command ? + T). This will cut the track into two parts. Splitting a track in GarageBand allows you to edit each part of the clip individually, allowing for more creative control over your project.
Splitting a Clip in GarageBand for iPad
To split a clip in GarageBand for iPad, first, select the track that the clip is on by tapping on the track header in the Tracks panel. Then, move the play head to where you want to split the clip. Finally, tap on the scissors icon at the bottom of the Waveform view to split the clip into two separate pieces. You can also use two fingers and pinch them apart from each other to split a clip.
Splitting Audio in GarageBand iOS
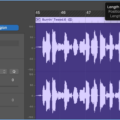
In GarageBand for iOS, you can split audio by tapping the region to select it and then tapping the region again. From there, you can tap the ‘Split’ button and drag the Split marker (with the scissors icon) to the point where you want to split the region. When you’re happy with your selection, drag the Split marker down to separate the audio into two distinct regions.
Editing Songs on GarageBand for iPad
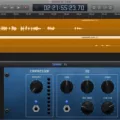
Editing songs on GarageBand IPAD is relatively simple and straightforward. To get started, import the backing track and multiple audio tracks into the Projects Browser by clicking Tracks > Audio Recorder > Instrument. Then, adjust the volume levels for playback to avoid distortion by using the volume controls in the mixing console. Next, align your vocals by setting the volume of your backing track and adjusting the waveform display if necessary. Finally, apply any processing FX effects you choose from the library of options available in GarageBand IPAD. With these few steps, you can quickly and easily edit songs on GarageBand IPAD!
Splitting on an iPad
To split your screen on an iPad, open an app and slide one finger up from the bottom edge of the screen until the Dock appears. Then, touch and hold a second app in the Dock, and immediately drag it up out of the Dock. If you drag the app to the left or right edge of the screen, it will appear in Split View with your current app. You can arrange and resize both apps as desired to create a Split View.
Splitting Audio in GarageBand
Yes, you can split audio in GarageBand. To do so, select the audio region you want to split, position the playhead where you want to split the audio region, then use Edit > Split Regions at Playhead (?T) to split the region. This will create two separate audio regions for you.
Editing Tracks in GarageBand
Editing tracks in GarageBand is easy and straightforward. First, you’ll need to open the track you want to edit by double-clicking it in the Tracks area. Once the track is open, you can use the Editors button in the control bar or select View > Show Editor from the menu bar to access a variety of tools for editing your track.
In the editor window, you can adjust settings like volume, panning, and effects for each audio region on your track. You can also use tools like Scissors tool to split audio regions into smaller pieces or use the Pencil tool to draw or erase parts of a waveform. Once you’re done editing, click Done in the editor window to save your changes and go back to your main project window.
Conclusion
In conclusion, GarageBand iPad is an incredibly powerful and user-friendly piece of music creation software. It offers a great range of features, including Recording and Mixing, Virtual Instruments, Audio Effects, Loops, and Samples. The app enables users to create professional-sounding songs and recordings with ease, as well as provides tutorials and guidance for more experienced producers. GarageBand iPad is truly a great tool for creating music on the go!


