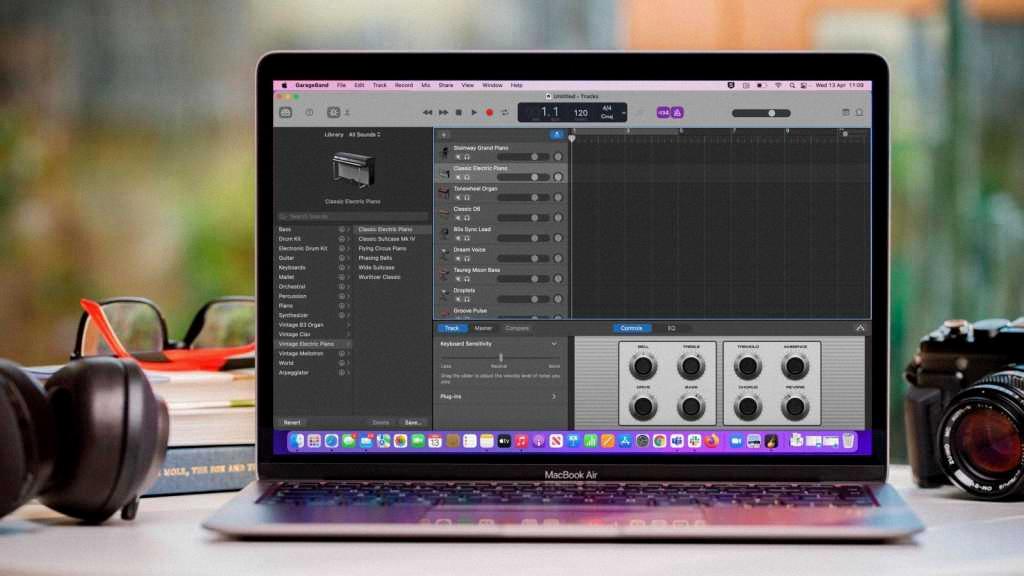
Are you looking to take your music production to the next level with Garageband? Eager to create complex, interesting pieces without spending hours at the mixing board? Then you’ve come to the right place! In this blog post, we’ll be exploring one of Garageband’s most powerful features—sections.
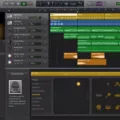
Sections are a great way to quickly break down and organize your track into separate parts. This makes it easier to work on specific sounds or patterns without having to re-listen to the entire song. You can also use sections to easily jump between parts of the track, so you can quickly edit and adjust different sections as needed.
To create a section, open up Garageband’s song section controls. If you have more than one section, tap the Inspector button next to the last section. Next, turn on the Automatic switch and make sure that each section is usually eight bars long or a multiple of eight. Once that’s done, tap anywhre in Tracks view to close the song section controls.
Now that you have created your sections, it’s time to start working on them! You can use Garageband’s Smart Controls feature in each section for quick adjustments of parameters like volume, panning and EQing. You can also split regions if you want even more precision when editing each part of your track.
One of Garageband’s coolest features is its ability to set a section automatically fit the length of your recording. To do this, open up the song section controls and make sure that Automatic switch is turned on. This will ensure that all sections are evenly spaced out and fit perfectly within your recording time frame.
Garageband’s sections feature is an incredibly powerful tool for music producers of all skill levels. Not only does it make it easier for you to organize complex tracks into manageable pieces but it also allows for quick editing adjustments without ever hving to leave Tracks view! So go ahead and give it a try—you won’t be disappointed!
Source: macworld.com
Adding Sections in GarageBand
To add sections in GarageBand, tap the “+” button at the top of the project window. This will open a menu of available sections. Select the type of section you want to add from the list, and it will be added below your current section. You can also drag and drop sections from the Library into your project. When adding multiple sections, you can use the Inspector button next to each section to adjust settings like timing, length, and tempo.
Source: idownloadblog.com
Separating Sections in GarageBand
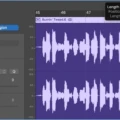
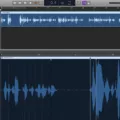
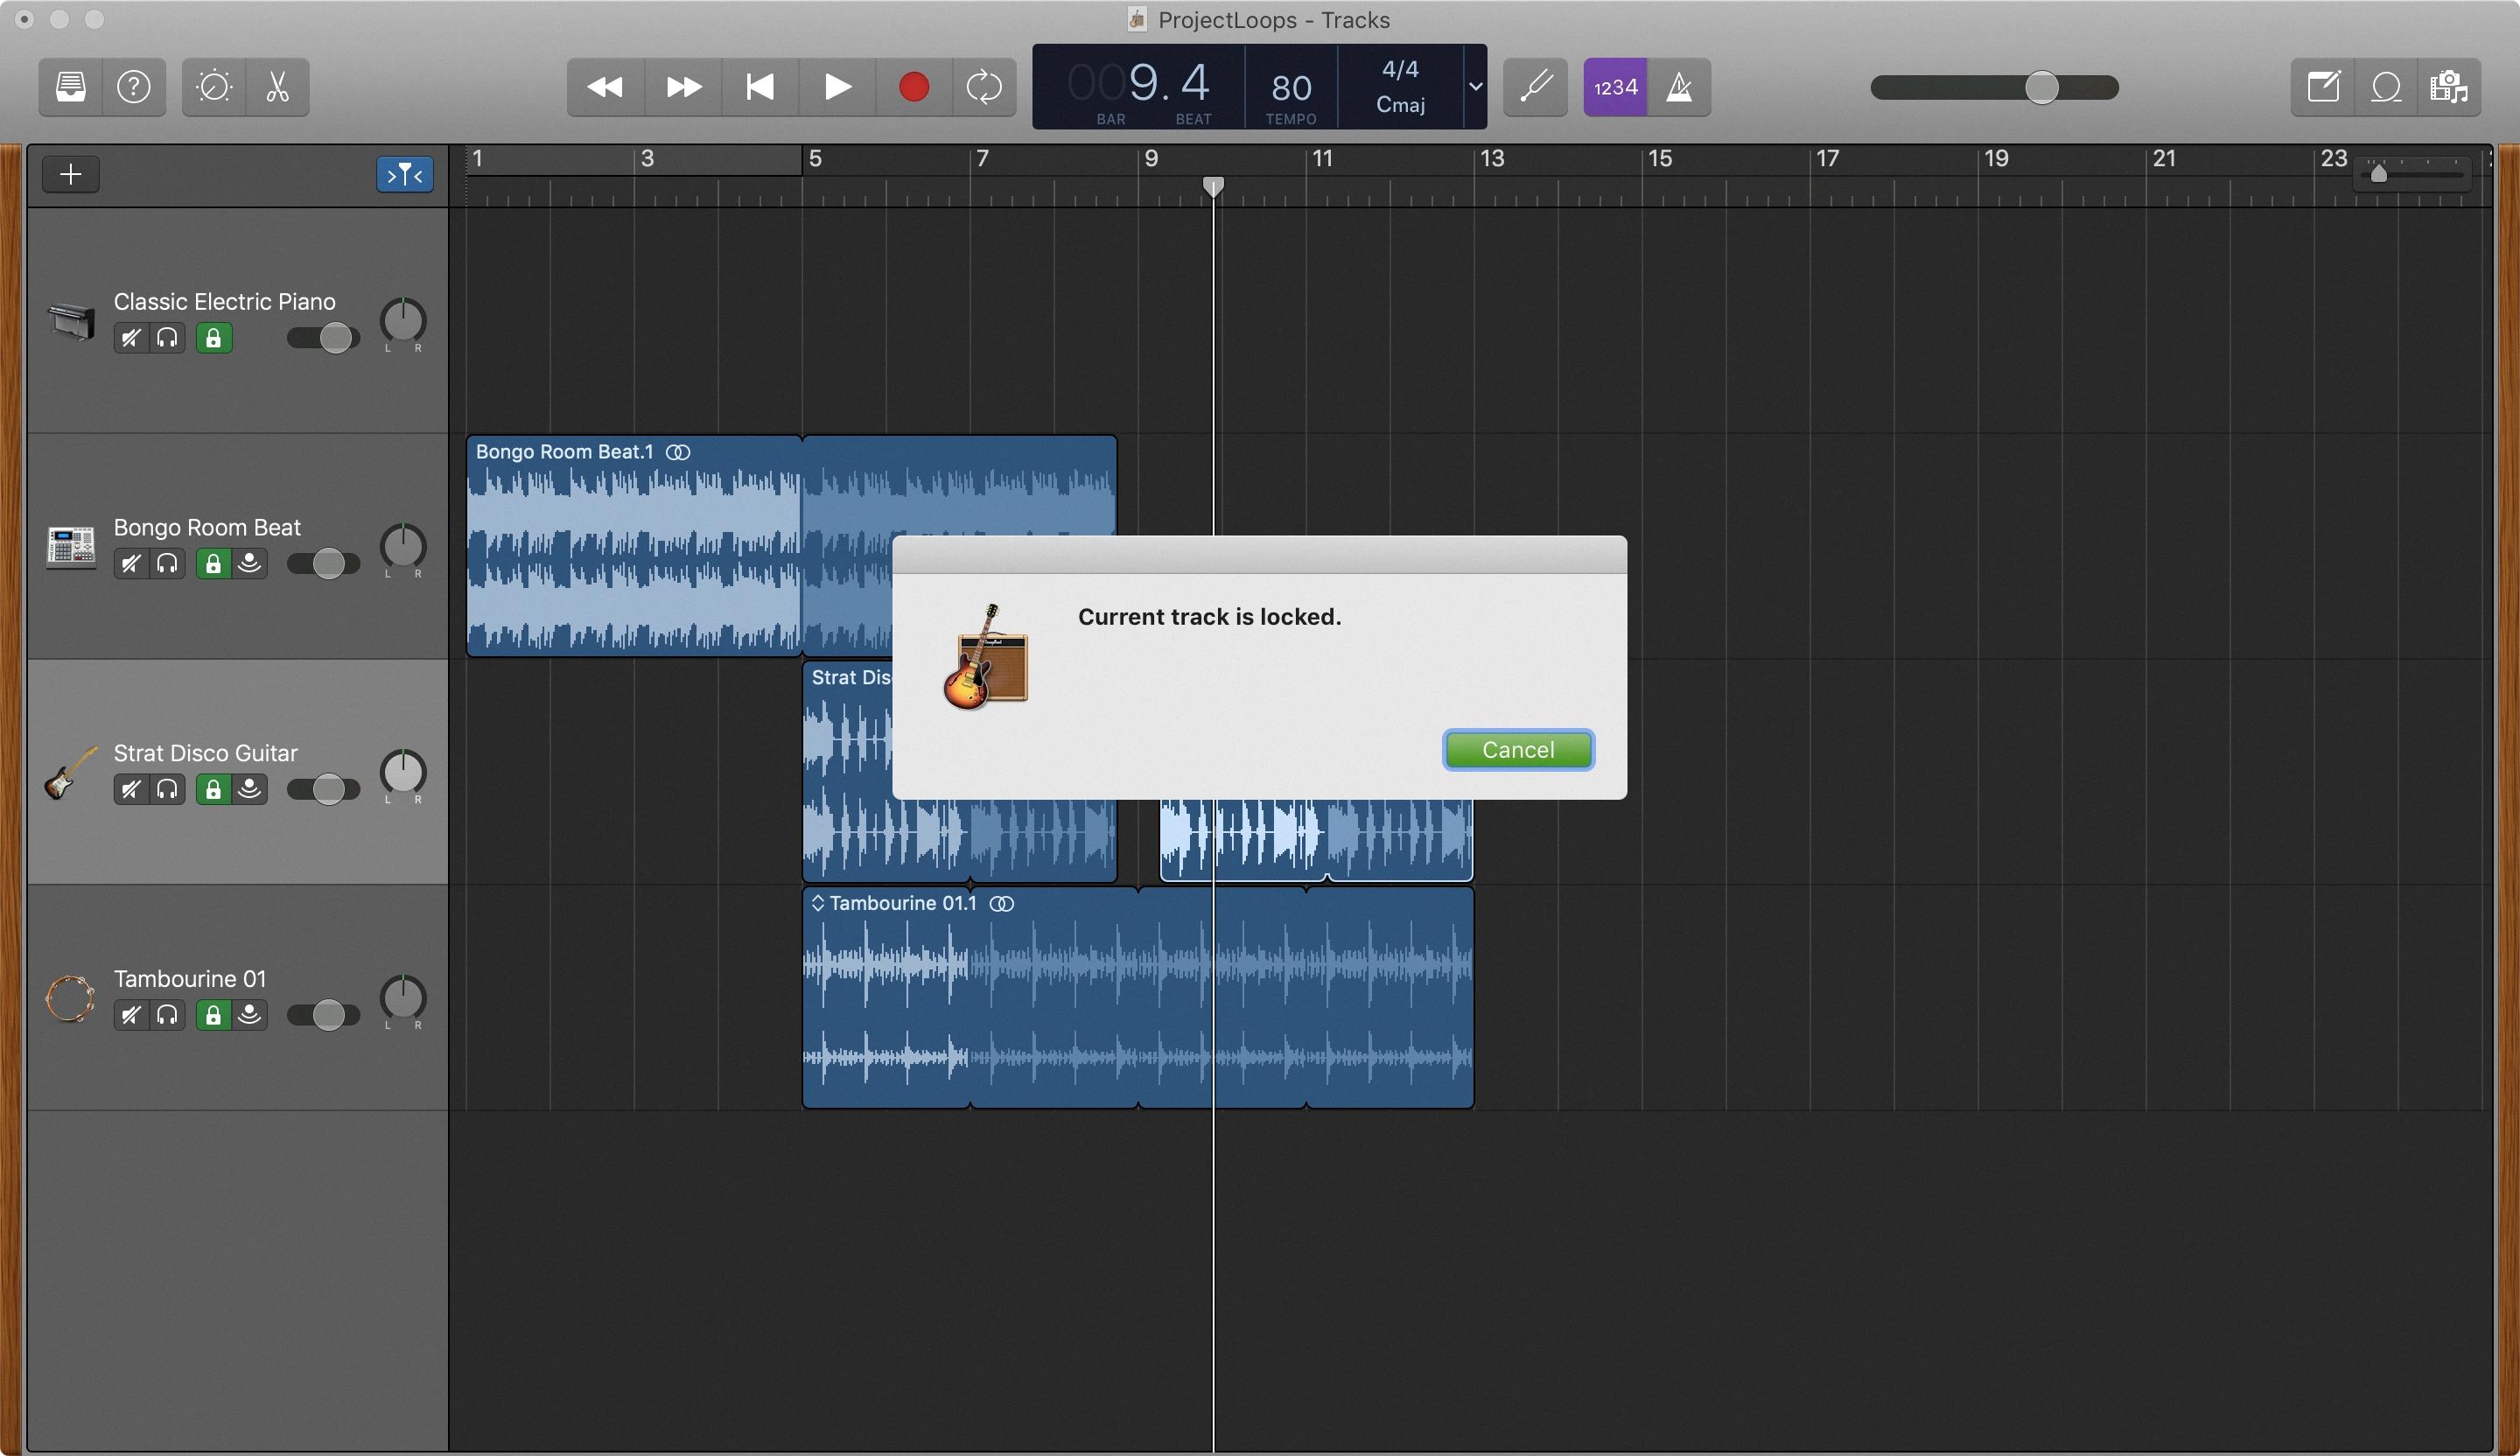
To separate sections in GarageBand, first select the region or regions that you want to split. Then, move the playhead to the point where you want to split the regions. To complete the action, choose Edit > Split Regions at Playhead or Control-click a selected region and choose Split at Playhead from the shortcut menu. This will divide the regions into two separate sections that can be manipulated independently.
Adding Sections in GarageBand for iPad
To add sections in GarageBand for iPad, you’ll first need to open the song section controls. To do this, tap the Inspector button next to the section name. From there, you can select from a range of preset sections that are typically eight bars long—or a multiple of eight—or create your own custom section. To do this, tap ‘Add Section’ and then adjust the length of the new section by dragging the edge markers left and right. You can also set a section to automatically fit the length of your recording by tapping the Automatic switch to turn it on. Once you’ve completed these steps, tap anyhere in Tracks view to close the song section controls and save your changes.
Joining Sections in GarageBand iPhone
To join sections in GarageBand for iPhone, start by selecting the tracks you want to merge. To do this, tap a track header and then tap it again. Once you’ve selected the tracks, tap Merge in the upper-right corner of the track header area. This will merge the sections together so they play as one continuous track. You can also unmerge sections if needed by tapping Unmerge in the same area.
Joining Sections in GarageBand iOS
In GarageBand for iOS, you can join multiple regions (sections) together by touching and holding the first region and then tapping the other regions while still holding the first one. Once all of the desired regions are selected, simply tap one of them and then tap “Join”. The regions will then be joined together into one continuous section.
Splitting Regions in GarageBand
Yes, you can split a region in GarageBand. To do so, select the audio region you want to split. Then position the playhead where you want to split the audio region. Finally, use the Edit > Split Regions at Playhead command (?T) to complete the split. This will create two separate audio regions from the original one.
Conclusion
In conclusion, GarageBand’s section feature is an incredibly useful tool for organizing and arranging your music. It allows you to easily divide your recording into distinct sections of any length, wether it be eight bars or a multiple of that. Furthermore, the Automatic switch makes it easy to automatically fit the length of your recording without having to manually adjust the section lengths. With GarageBand’s intuitive and user-friendly design, creating and editing sections is a breeze.


