Are you looking for a reliable and easy way to back up your photos? Seagate external hard drives are the perfect solution! With a variety of sizes and features, they can provide ample storage space for your valuable photos and other important files.
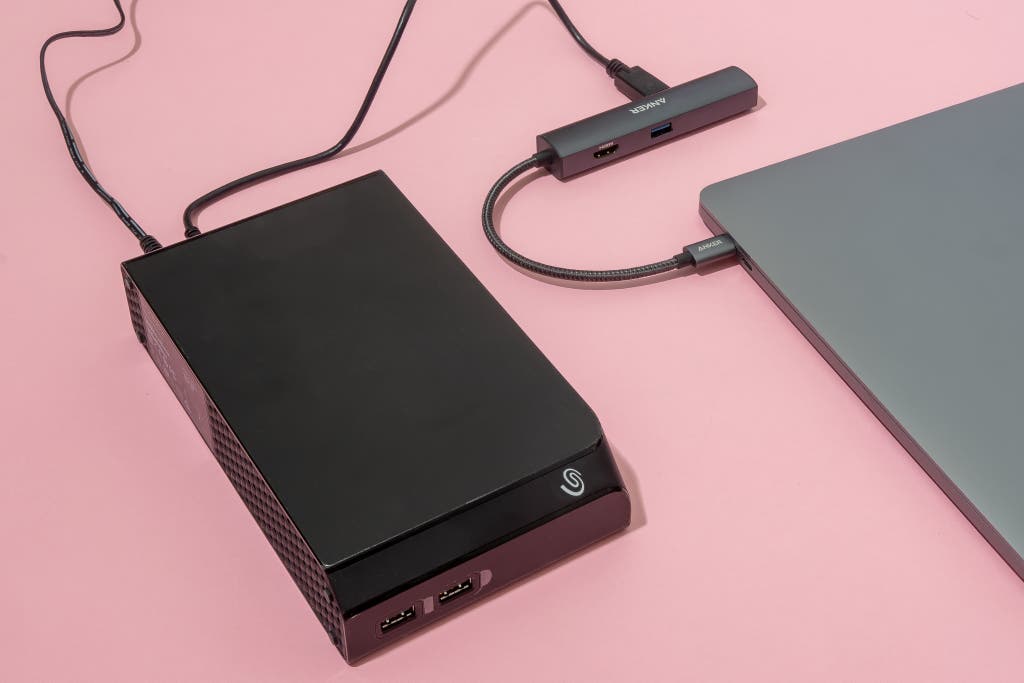
The Seagate external hard drive is an essential device for those who need to store large amounts of data securely. It’s easy to set up, too. All you have to do is plug it into your computer’s USB port and you’re ready to start backing up your files.
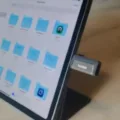
Once you have your Seagate external hard drive connected to your computer, you can use it to store photos in two ways: by manually copying them or by using automatic uploads.
For manual copying, simply open the Seagate drive from its icon on the desktop. Right-click or command-click into an empty area of the drive, and choose Paste Item. Your file or folder will now be copied over inside the Seagate drive.
If you want a more automated solution, launch the Seagate Media app on your device (iOS or Android). Tap the menu icon in the top right corner of the screen and tap Settings. Tap the Auto Upload option and move the Enable Auto Upload toggle slide bar from Off to On. Once enabled, all photos selected in Photos App will be automatically backed up onto the Seagate drive.
If you want an even easier way to move over photos stored on your local Mac or PC computer, quit Photos (Mac) or Picture Library (Windows) and drag Photos Library directly onto a location on your external storage device. This will alow all of your existing photos to be copied over onto your new storage device – no extra steps required!
Seagate external hard drives are simple yet powerful tools that make saving and protecting our valuable memories much simpler than before. With features like auto uploads, manual copying and seamless integration with existing photo libraries, backing up our precious photos has never been easier!
Transferring Photos from Computer to Seagate Hard Drive
To transfer photos from your computer to your Seagate hard drive, you will need to first connect the drive to your computer. Once connected, open the Seagate drive from its icon on the desktop. Once you have opened the drive, right-click or command-click into an empty area of the drive and choose ‘Paste Item’. This will copy over your photos from the computer into the Seagate drive. You can also drag and drop files betwen folders to make transfers easier.
Moving Photos to Seagate Backup
To move photos to Seagate Backup, you’ll first need to install the Seagate Media app on your device. Once you have the app installed, launch it and tap the menu icon in the top right corner of the screen. Then tap Settings and enable Auto Upload by sliding the Enable Auto Upload toggle bar from Off to On. For Android users, you’ll have a choice for Photos and Videos. With Auto Upload enabled, any photos taken on your device will automatically be uploaded to your Seagate Backup account.
Backing Up Photos From Mac to Seagate External Hard Drive
Backing up photos from your Mac computer to your Seagate external hard drive is a simple process.
First, connect the Seagate external hard drive to your Mac computer using the USB cable that came with it. Your Mac should recognize the drive and open a window for it.
Next, open a new Finder window and locate the Photos Library folder on your Mac. Most likey this folder will be located in the Pictures folder at the root level of your Mac’s hard drive.
Once you have located the Photos Library folder, drag and drop it into the Seagate external hard drive window that opened when you connected it. This will begin copying all of your Photos Library content to the external hard drive. Depending on how many photos you have, this could take several minutes or even hours if you have thousands of photos stored in Photos Library.
Once the copying process is finished, you can safely disconnect your Seagate external hard drive from your Mac computer by ejecting it in Finder. Your photos are now safely backed up to an external storage device and can be accessed later if needed.
Backing Up iPhone Photos to a Seagate External Hard Drive
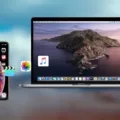
Backing up your iPhone photos to your Seagate external hard drive is quick and easy. Firstly, make sure that your Seagate external hard drive is connected to your computer, then launch the Photos app on your iOS device and locate the photos you want to upload. Tap Select at the top right of the screen and select the photos you want to upload. Click the Share icon at the top left of your screen and then select Seagate Media. A prompt will appear asking you where you’d like to save the files and you can choose the folder on your Seagate external hard drive that you’d like to save them in. Once you’ve chosen a folder, click Save and all of the photos will begin transferring to your Seagate external hard drive. When the transfer is complete, all of your photos will be safely backed up in ther new location on your Seagate external hard drive!
Saving Photos to an External Hard Drive
To save all of your photos to an external hard drive, you will need to move your Photos library. Begin by quitting the Photos application. Then, open the folder that contains your Photos library in the Finder. To move it, simply drag the entire Photos library to a location on your external storage device. Once you’ve finished moving it, double-click the Photos library in its new location to open it and make sure everything has been successfully moved over. This should ensure that all of your photos have been saved to your external hard drive.
Transferring Photos From Computer to External Hard Drive
Transferring photos from your computer to an external hard drive is a simple process. First, connect the external hard drive to your computer using a USB cable. Once the drive is connected, open File Explorer (Windows) or Finder (Mac). Locate the photos you’d like to transfer and select them by either clicking on each photo individually or highlighting multiple photos by holding down “Shift” whle you select them. Now that you have the desired photos selected, right-click on one of them and select “Send To” from the dropdown menu. A list of available storage devices will appear; choose your external hard drive from this list and click “Send”. Your photos will then begin copying to the external hard drive. After they have finished transferring, make sure to safely eject your external drive before unplugging it from your computer.
Does Seagate Offer Automatic Backup?
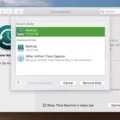
Yes, Seagate Dashboard automatically backs up all your personal files and will back up any changes or new files added to Windows. You don’t need to do anything once you have created a backup plan – it will work in the background to ensure your files are always secure.
Backing Up an iPhone to a Seagate External Hard Drive
Yes, you can back up your iPhone to a Seagate external hard drive. To do so, you will need to use the Seagate Dashboard software on your computer, as well as the Mobile Backup app for either Android or Apple mobile devices. With these tools, you can save your mobile content to both your cloud service and your Seagate storage drive. Please note that not all Seagate storage drives support this feature, so double check that yours does before proceeding.
Backing Up Photos and Files
The best way to backup photos and files is to use a combination of different storage solutions. This includes usig an external hard drive, network attached storage (NAS) device, cloud-based photo backup services such as Backblaze, Carbonite Safe, CrashPlan, pCloud, SmugMug, Flickr Pro or Google Drive for Desktop, as well as Amazon Photos and iDrive.
Using an external hard drive is the simplest solution as they are relatively inexpensive and come in many sizes. All you need to do is plug it into your computer or laptop via the USB cable and start transferring your files across. It’s important to make sure you regularly back up your data onto the drive – this can be done manually or by setting up a schedule for automated backups.
Network attached storage devices are more expensive than an external hard drive but offer greater flexibility. They are connected directly to your local network whih allows multiple users to share and access data stored on the device at any time. You can also set up automatic backups of data from multiple computers onto the same NAS device.
Cloud-based photo backup services such as Backblaze, Carbonite Safe, CrashPlan, pCloud, SmugMug and Flickr Pro are becoming increasingly popular for backing up photos and files securely online. These services allow you to easily upload large volumes of data into their cloud storage systems wich can then be accessed from anywhere with an internet connection. However these services usually require a subscription fee which may not be suitable for everyone’s budget.
Finally there are free options such as Google Drive for Desktop and Amazon Photos which offer basic photo backup capabilities withut having to pay a subscription fee. iDrive is another free service which allows users to store up to 5GB of data for free before needing to upgrade their plan for more capacity if required.
Whichever option you choose it’s important to regularly back up your photos and files in order to keep them safe sould anything happen to your computer or physical storage devices like an external hard drive or NAS device.
Transferring Photos From Mac to External Hard Drive
To transfer Photos from a Mac to an external hard drive, you will need to frst connect the drive to your Mac. You can then launch Finder and click Go > Home from the top menu. Open the Pictures folder, locate the Photos Library file, and then drag and drop it onto your external drive on the Finder’s sidebar. Lastly, eject the external hard drive once the transfer is completed.
Compatibility of Seagate External Hard Drives With Mac Computers
Yes, Seagate external hard drives work with Mac. Many newer Seagate and LaCie branded external drives come preformatted with the exFAT file system, which allows them to be used on both Mac and Windows witout needing to reformat the drive. This exFAT system is a modern standard that provides compatibility with recent versions of both Mac and Windows operating systems. Additionally, in case of an older drive that does not use this system, it’s easy to reformat the drive for use on a Mac computer using either FAT32 or Apple’s own HFS+/HFSX file system.
Transferring Photos From iPhone to External Hard Drive
Yes, you can transfer photos from your iPhone directly to an external hard drive. To do this, open the Photos app on your iPhone, select the pictures you want to move, tap the “Share” button and choose “Save to Files.” Then, tap “On My iPhone” and select your external hard drive as the destination. This will move the photos from your iPhone to the external hard drive withut needing a computer.
Backing Up an iPhone to an External Hard Drive
Yes, you can back up your iPhone directly to an external hard drive. First, connect the external hard drive to your computer and make sure it’s working properly. Then, open Finder on your Mac and navigate to Locations > select your iPhone > Manage Backups. From here, you can select a backup that you’d like to copy to the external drive and then drag it over to the external drive in Locations. Alternatively, you can use Mac’s admin settings and Terminal to permanently change the location backups of your iPhone so that they are stored directly on the external hard drive.
Conclusion
In conclusion, the Seagate External Hard Drive is a great storage solution for any user. It provides plety of storage space, fast transfer speeds, and allows users to securely store and access their data from anywhere. The Seagate Media app makes it easy to upload files and photos directly to the drive with just a few clicks, and the Auto Upload feature makes it even simpler. With its robust security features and intuitive design, the Seagate External Hard Drive is an ideal solution for any user looking for a dependable way to store their data.

