The iPhone 7 is one of the most popular models of iPhone ever released by Apple. With its sleek design, improved camera, and powerful processor, it’s no wonder why so many people are using it. But the most important part of using your iPhone is making sure you back up all your data in case something happens. That’s why we’re here to show you how to back up your iPhone 7 to your MacBook.
First and foremost, make sure that you have a USB cable handy as you will need it to connect your phone to your computer. Then launch iTunes on your MacBook and connect the phone via USB cable. You shoud see a small icon appear in the top left corner of iTunes that indicates that an iPhone is connected.
Once this icon appears, click on it and then select “Back Up Now” from the options that appear in the dropdown menu. This will start the backup process wich may take some time depending on how much data is stored on your device. While this is happening, make sure that you don’t disconnect or turn off either device as this could cause problems with the backup process.
Once the backup process is complete, you can unplug the device from your computer and be confident knowing that all of your data has been backed up safely onto your MacBook. If at any point something happens to your phone or if you want to restore from a previous backup, simply reconnect it to iTunes and select “Restore Backup…” from the same dropdown menu where you selected “Back Up Now” earlier.
We hope this guide helps you out in backing up your valuable data onto a safe location such as a laptop or desktop computer so that if something ever happens to your phone, all of those precious memories won’t be lost forever!
Backing Up an iPhone 7 to a Computer
Backing up your iPhone 7 to your computer is a simple process. First, connect your iPhone 7 to the computer you normally sync with using the USB cable that came with it. Once connected, open iTunes on your computer. In iTunes, click the Device button near the top left of the window and then click Summary. Click Back Up Now and follow the on-screen instructions to complete the backup process. That’s it! Your iPhone 7 will now be backed up to your computer.
Backing Up an iPhone to a Macbook
Yes, you can back up your iPhone to your Macbook. First, connect your iPhone to your Macbook usig a USB or USB-C cable or using a Wi-Fi connection. Then, open the Finder on your Mac and select the device in the Finder sidebar. Once you have done that, you can use iTunes or iCloud to back up your iPhone to your Macbook.
Backing Up an iPhone 7 to a Computer Without iTunes
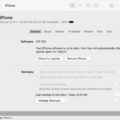
Backing up your iPhone 7 to your computer without iTunes is a quick and easy process. First, connect your iPhone 7 to your computer using the charging cable and unlock your phone. On a Mac, open Finder and select your iPhone’s name uder Locations. On the right-hand side, click the Back Up Now button to start the backup process. Depending on the size of the data being backed up, it may take several minutes for the backup to complete. Once complete, you have successfully backed up your iPhone 7 to your computer without iTunes!
Inability to Backup iPhone to Mac
It’s possible that your iPhone is not recognized by your Mac. This can happen if the software on your Mac isn’t up-to-date or if there is a problem with the USB cable you’re using to connect your iPhone to your Mac. It could also be caused by a problem with iTunes or an issue with an older version of iOS. To troubleshoot, start by checking that all of your software is up-to-date and then try a different USB cable. If the problem persists, you may need to reset your device or reinstall iTunes.
Transferring an iPhone to a Mac
Transferring your entire iPhone to your Mac is easy and can be done in a few simple steps.
First, you need to connect your iPhone to your Mac computer using the charging cable that came with the phone. Once the two devices are connected, open iTunes on your Mac.
In iTunes, click on the device icon located at the top left corner of the window. This will open a new window showing various options such as Music, Apps, Photos, etc. Select which type of data you want to transfer from your iPhone to your Mac and click on the “Sync” button.
If you want to transfer all data from your iPhone to your Mac, click on “Sync All” button at the bottom riht corner of iTunes window. After clicking Sync All, wait for a few moments until all data has been successfully transferred from iPhone to Mac.
Once all data has been transferred successfully, disconnect your iPhone from the computer and enjoy using it on your Mac!
Transferring Data from iPhone to Macbook
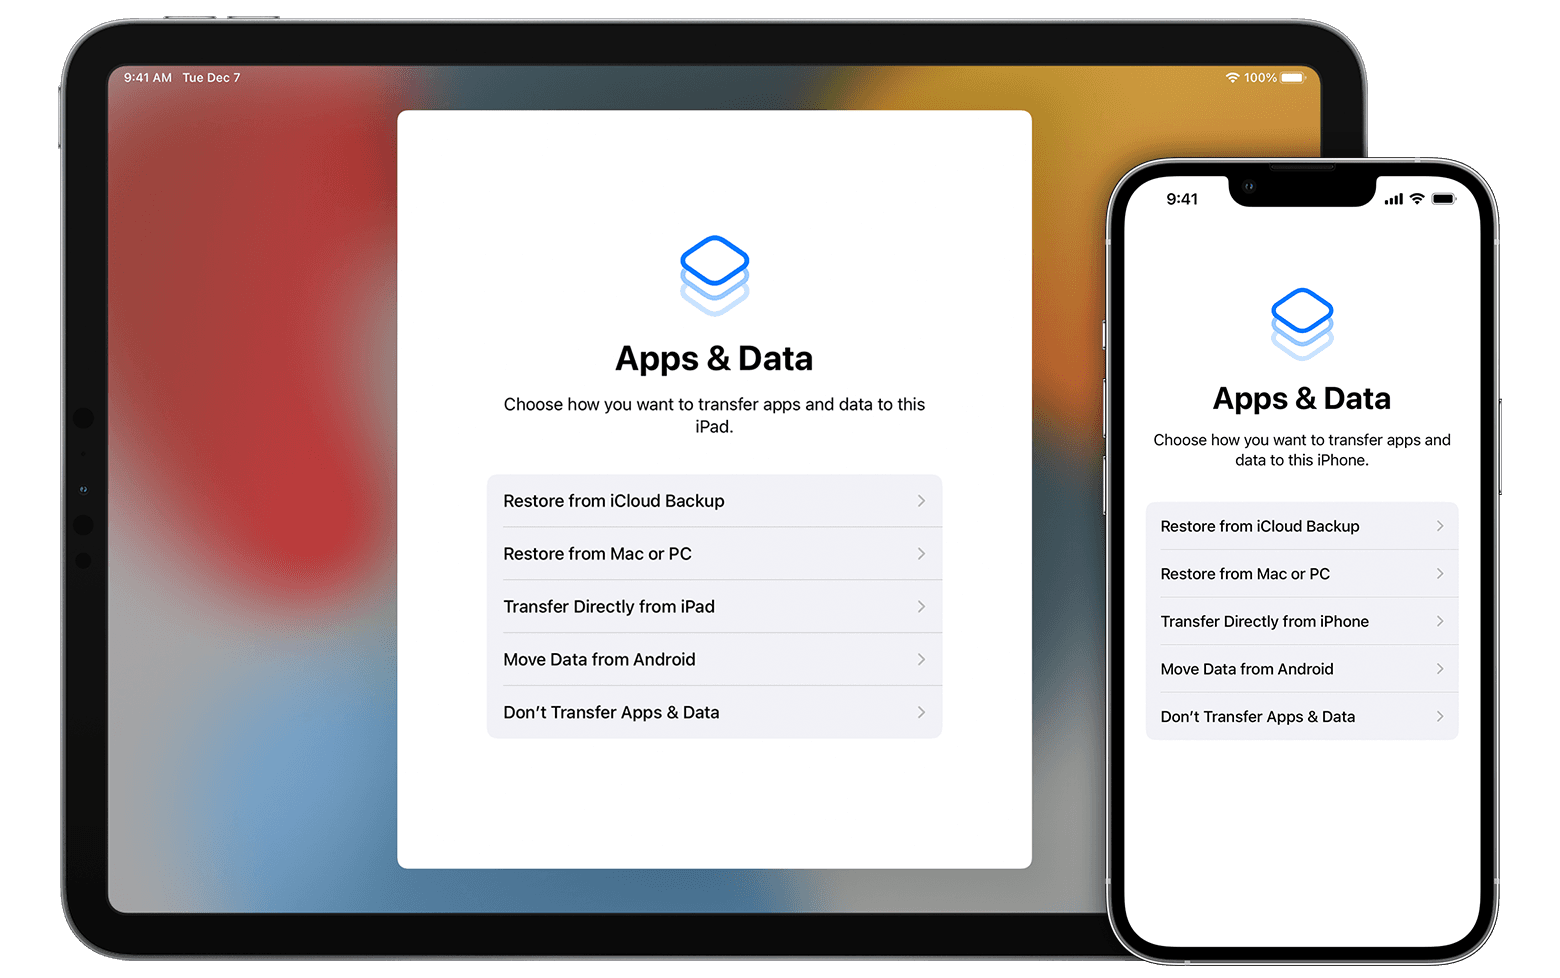
To move everything from your iPhone to your Macbook, you can use Apple’s Move to iOS app. This app will allow you to securely transfer contacts, message history, photos and videos, web bookmarks, mail accounts, calendars and more from your Android device to your Macbook. You’ll need an Apple ID in order to use the app.
Alternatively, you can also use iCloud Drive or Google Drive to transfer files from your iPhone to your Macbook. iCloud Drive requires that you have both devices logged into the same iCloud account. Google Drive requires that you install the app on both devices. You can then access the files stored in Google Drive on ether device.
Finally, you can also use a USB cable or Wi-Fi connection through Finder on Mac to transfer files between devices.
Location of iPhone Backup on Mac
On Mac, iPhone backups are stored in the ~/Library/Application Support/MobileSync/Backup/ directory. If you’re using macOS 10.15 or later, Finder creates iPhone backups instead of iTunes, but they will still be saved in the same location. To locate your backups, click the magnifying glass in the menu bar and type this path.
Backing Up an iPhone to a Macbook Wirelessly
To back up your iPhone to your Macbook wirelessly, open Finder on your Macbook and select your iPhone. From there, select the option to “Back up all of the data on your iPhone to this Mac.” To enable wireless backups, select the option to “Show this iPhone when on Wi-Fi” and click Apply. You may be prompted to enter in a passcode if you have a lock screen set up on your iPhone. Once the process is complete, your iPhone will automatically back up its data to your Macbook whenever it is connected to the same Wi-Fi network.
Backing Up an iPhone 7
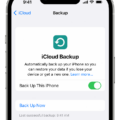
Yes, iPhone 7 can be backed up to iCloud. To do this, go to Settings > [your name] > iCloud > iCloud Backup. Turn on iCloud Backup. After that, your iPhone 7 will automatically back up daily when it is connected to power, locked, and connected to Wi-Fi. You can also manually back up your iPhone at any time by going to Settings > [your name] > iCloud > iCloud Backup > Back Up Now.
Alternative Ways to Backup an iPhone Besides iTunes
No, iTunes is not the only way to backup an iPhone. You can also back up your device usig iCloud and your computer. To back up using iCloud, go to Settings > [your name] > iCloud > iCloud Backup and turn on iCloud Backup. Then tap Back Up Now. Your device will automatically back up daily when it’s connected to Wi-Fi, plugged in, and locked. To back up using your computer, connect your device to your computer, open iTunes if it doesn’t open automatically, and click the Summary tab on the left side of the screen. Select This Computer under Automatically Back Up and make sure Encrypt local backup is checked if you want your backups to be secure. Then click Back Up Now.

