Are you looking for a convenient way to store and transfer data? USB drives are the perfect solution. Not only are they small enough to fit in your pocket, but they offer fast speeds and large storage capacity. If you’re a Mac user, then you may be wondering if USB drives work on your MacBook Air. The answer is yes!
USB drives are very versatile devices and are compatible with most computer systems, including the MacBook Air. When you plug a USB drive into your Mac, it should automatically detect it and you will see a USB drive icon appear on your desktop. You can then open the drive and use it like any other folder or file on your computer.
The great thing about using a USB drive with your MacBook Air is that you can easily back up important documents without having to worry about running out of space or taking up too much room on your hard drive. It’s also perfect for transferring large files quickly, such as videos or photos. Plus, since USB drives are so small, they’re easy to transport if you need to share data with someone else who has a laptop or tablet.
Overall, using a USB drive with your MacBook Air is an easy and efficient way to store and transfer data quickly. If you haven’t tried one yet, now is the perfect time to get started!
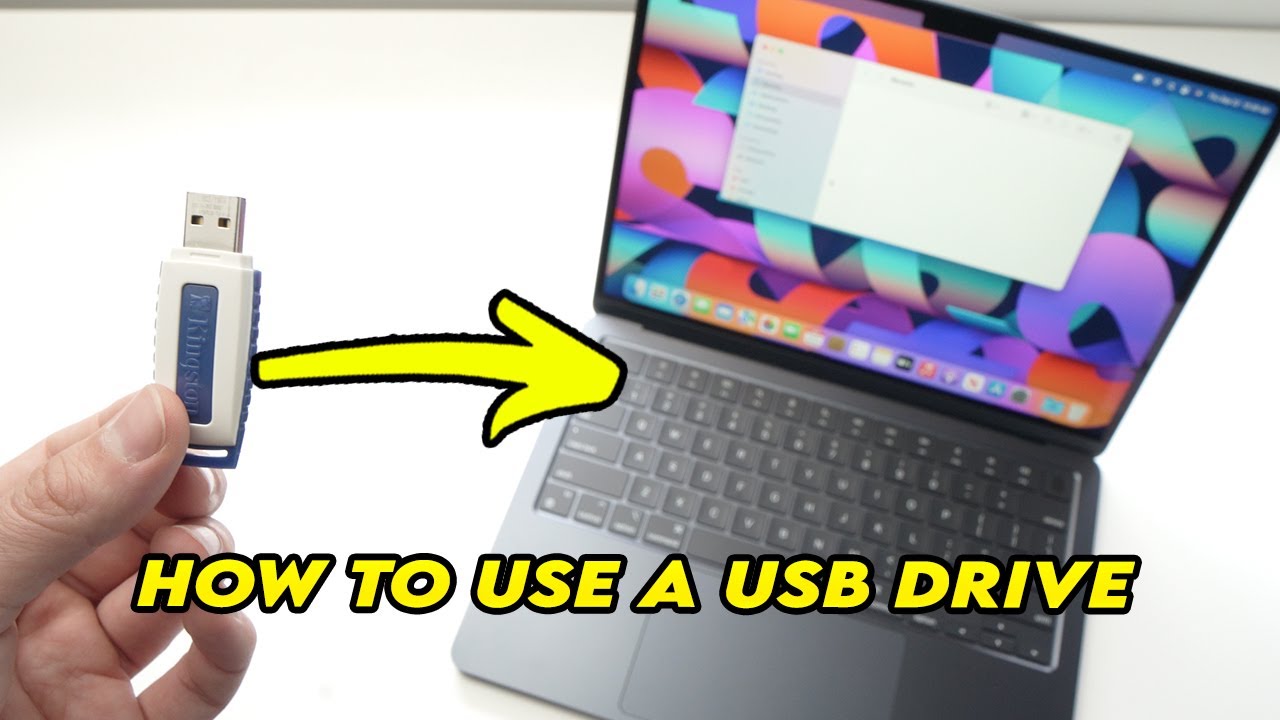
Using USB Drives on a MacBook Air
Yes, you can use a USB drive on a MacBook Air. To do so, simply insert the USB drive into one of the two USB ports located on either side of the laptop. Once you insert the flash drive, your Mac should automatically install the necessary driver software and a USB flash drive icon should appear on your Mac display. If the icon doesn’t appear, you may need to adjust your settings to show external drives on the desktop. Once this is done, you should be able to access and use your USB drive with ease.
Accessing USB on MacBook Air
To access your USB on a MacBook Air, first, make sure that the USB drive is plugged into one of the USB ports. Once connected, click on the Finder icon on the Dock at the bottom of your screen. In the Finder window that appears, click on your USB drive in the left pane under “Devices”. This will open up a window displaying all of the contents of your USB drive. You can now browse through and select any files you need to access.
Finding an External USB on a Mac
Connecting an external USB drive to your Mac is a relatively straightforward process. Once you have plugged in the drive, you should see it appear on the desktop (also known as ‘mounting’ it). You can also find it in the Finder window under Locations (or Devices on older versions of macOS) in the left column.
If you don’t see your external drive appear on the desktop or in the Finder, try restarting your Mac and plugging in the drive again. If that does not work, try plugging it into a different port. If that still does not work, then you may need to check for driver updates or contact customer support depending on what type of device you have connected.
Enabling USB on a Mac
To enable USB on a Mac, start by ensuring that your external device is connected properly to the Mac. Disconnect and reconnect the external device if necessary. Try connecting to a different port on your Mac, or connecting the device directly to the Mac without using a USB or Thunderbolt hub.
Once the external device is plugged in, open System Preferences and select Security & Privacy. In the General tab, make sure that “Allow apps downloaded from:” is set to “App Store and identified developers” or “Anywhere”. Then head over to the Privacy tab and make sure that “Full Disk Access” is checked off.
Finally, open Finder and select Applications. Locate any applications associated with your external device and allow them access to Full Disk Access if prompted. Restart your Mac and your USB should now be enabled.
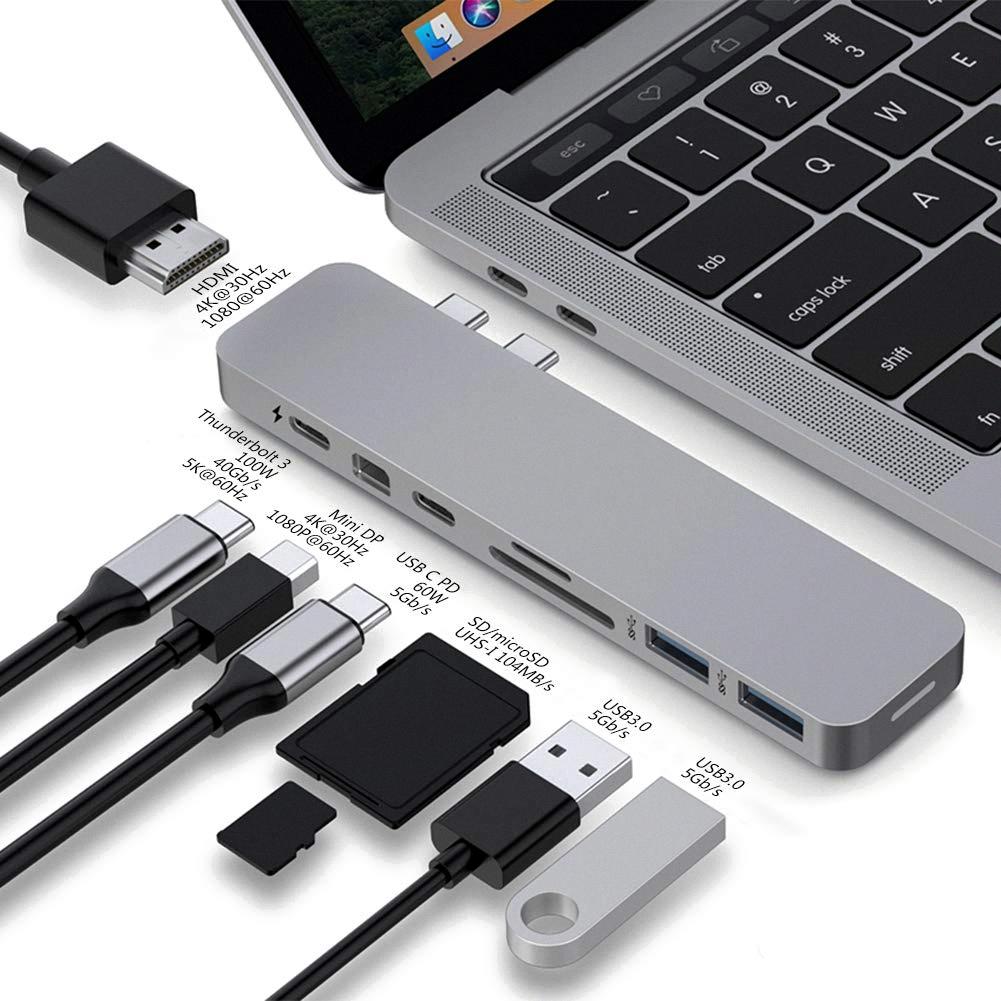
Source: mobilefun.co.uk
Locating USB Devices on a Mac
To find USB devices on your Mac, first, make sure the Finder is open. Then, click on the Finder menu bar at the top of your screen and select “Preferences.” In the General tab, check the box next to “External disks” to show connected USB devices in the sidebar or on your desktop. You can also select “Hard disks” and/or “Connected servers” if you wish. Once you have made your selections, click “OK” to save your settings. Your USB devices should now be visible in the sidebar or on your desktop. You can also use the Finder search field to locate a specific device by typing its name or other information about it into the search field.
Conclusion
In conclusion, USB drives are an incredibly useful storage device for Mac users. They allow us to quickly and easily move files from one computer to another, as well as store large amounts of data. By simply inserting the USB drive into a Mac’s USB port, users can access the contents of the drive and use them on whatever computer they may be using. With its small size, portability, and convenience, it is easy to see why USB drives have become such a popular choice for storing digital data.

