How To Connect Epson Projector To Macbook Air

Share This:

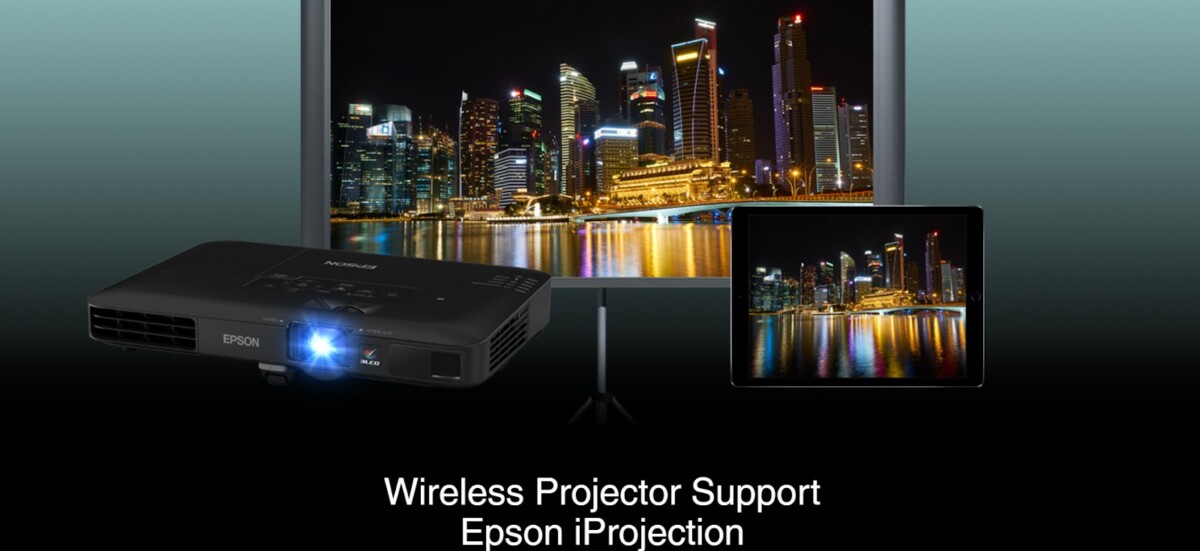
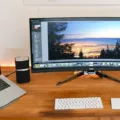
Are you looking for an easy way to connect your MacBook Air to an Epson projector? Whether you’re using the laptop for a presentation or just watching a movie, connecting the two devices is relatively straightforward. With the right setup, you can easily get your MacBook Air connected to an Epson projector.

First, make sure that both the MacBook Air and Epson projector are powered up and ready to go. Then, locate the correct cable that will connect them. Depending on the model of your MacBook Air and Epson projector, this could be a VGA cable, HDMI cable, or Mini DisplayPort cable. If you’re not sure what type of cable your models require, check their user manuals for more information.

Once you have the correct cable in hand, plug one end into the appropriate port on your MacBook Air (such as HDMI). Then plug the other end into the corresponding port on your Epson projector (such as HDMI). You should hear a “click” when it’s properly connected.

At this point, there are two things you may need to do in order to get your MacBook Air and Epson projector communicating properly: set up display mode and adjust screen resolution. To set up display mode on MacOS Sierra 10.12 or later systems, open System Preferences from the Apple menu and select the “Displays” preference pane. Then use its Display tab to set the resolution. You can also use the “Detect Displays” button to force the MacOS system to find your projector if it doesn’t detect it automatically.

For older MacOS systems (prior to Sierra 10.12) or Windows systems, open Control Panel from the Start menu on PC or System Preferences from the Apple menu on Mac and select the “Display Settings” option in either case (in some cases it might be called “Display Properties” instead). Once there select either the “Mirror Displays” or “Extend Desktop” option depending on whether you want an exact duplicate of the laptop’s display projected onto the second device’s screen or just extend the computer’s desktop space onto the second device’s screen respectively.

After setting up the display mode, adjust the screen resolution so that what is displayed accurately fits within the boundaries of the projected image size otherwise part of the image might be cut off outside those boundaries resulting in incomplete display content being seen by the audience at large. It is advised that you first project an image onto the surface where it will be seen before setting the screen resolution so as to ensure proper fit within the boundaries of projected image size afterward when seen by the audience at large during presentation/movie playing sessions etcetera accordingly.

Finally, test out everything by playing a video file on your laptop while connected to an Epson projector then adjust settings further if needed until a final satisfactory result is achieved conclusively!

How To Connect Epson Projector To Macbook Air 1

Connecting an Epson Projector to a MacBook Air Wirelessly

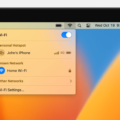
To connect your Epson projector to your MacBook Air wirelessly, you will need an Apple TV or a compatible wireless display adapter. First, make sure that your projector and device are connected to the same Wi-Fi network. Next, open the AirPlay menu on your MacBook Air. Select your Epson projector from the list of available devices. Once you’ve selected it, click ‘Continue’ and enter the code displayed on the projector’s screen. Finally, click ‘Connect’ and you should be ready to go! Your MacBook Air should now be connected to your Epson projector wirelessly.

Connecting a MacBook Air to a Projector

To get your MacBook Air to display on a projector, you’ll need to connect the correct display output port on your Mac (Thunderbolt 3, USB-C, HDMI, or Mini DisplayPort) to the projector either directly or through an adapter. First, locate the appropriate display output port on your Mac and plug in the cord. Depending on the type of projector you have, you may need an adapter for a successful connection. If so, make sure you have the right adapter for your specific MacBook Air model and projector type. Once everything is connected properly, turn both devices on and select your projection mode from the projector’s menu. Your MacBook Air should now be displayed on the projector!

Connecting a MacBook Air to an Epson Projector Using USB

To connect your MacBook Air to an Epson projector with USB, you will need a USB-B cable. First, turn on your computer and set the USB Type B setting in the External menu to one of the USB Display options. Then, connect one end of the cable to your projector’s USB-B port, and the other end of the cable to any available USB port on your computer. Finally, make sure that both devices are powered on and that any necessary software has been installed on your computer. Once everything is connected properly, your MacBook Air should be able to display its content through the Epson projector.

Troubleshooting MacBook Air Connection Issues with Projector

The most common reason a MacBook Air might not be connecting to a projector is that the projector is not being detected by the computer. This could be due to incorrect settings on the computer or projector, an outdated driver, or a faulty cable connection. To troubleshoot this issue, check that your Mac’s display settings are configured correctly and that all cables are securely connected. Additionally, you should make sure your projector is powered on and that its driver is up-to-date. If none of these solutions work, try restarting both the MacBook Air and the projector to reset all connections.

Using a Projector with a MacBook Air

Yes, you can use a projector with your MacBook Air. You can connect the projector to your MacBook Air using either an HDMI or a USB-C port. If you have an HDMI port on your projector, you can use an HDMI cable to connect it to the Macbook Air. If your projector only has a VGA port, you’ll need to use an adapter cable that has both a VGA connector and an HDMI connector. Once connected, you’ll be able to project anything from your Macbook Air onto the projector’s display.

Are Epson Projectors Compatible With Macs?

Yes, Epson projectors are compatible with Mac computers. All Epson projectors come with universal Mac support, so you can use them with any Mac computer. Additionally, we offer dedicated support articles for the latest versions of macOS and phone support available with our expert technicians to help ensure compatibility.

Troubleshooting Mac Screen Not Showing on Projector

If your Mac screen is not showing on the projector, there are a few potential reasons. First, make sure that your Mac’s display settings are correctly configured. Go to System Preferences > Displays, click Scaled, and hold down the Option key to show and select the Detect Displays button. Check the resolution and brightness settings to make sure they match those of your projector.

Next, check that all display cables are securely connected between your Mac and projector. If the cables are connected but you still can’t get a picture, try updating any adapter software you may be using (such as AirPlay). If none of these solutions work, it may be time to consult an Apple-certified technician for further assistance.

Troubleshooting No Signal Error on Epson Projector

The “No Signal” message on an Epson projector indicates that it is not receiving a signal from the connected device. This could be due to a variety of reasons, such as an incorrect input setting or cable connection, or the connected device not being powered on. To resolve this issue, first, check the source settings and make sure that the correct input is selected. If that does not resolve the issue, try reseating all of your cables and verifying that they are securely connected. If that still doesn’t work, try powering off both the projector and the connected device, then powering them back on.

Troubleshooting Projector Screen Display Issues

It’s possible that the projector is not receiving a signal from your video source. Make sure all necessary cables are securely connected and the power is on for the projector and connected video sources. Try using a shorter HDMI cable and/or connecting the video source directly to the projector. Additionally, press the projector’s power button to wake it from standby or sleep mode. If none of these steps work, it may be that you need to adjust your device settings or contact technical support for further assistance.

Share This:
Photo of author

James Walker

James Walker has a deep passion for technology and is our in-house enthusiastic editor. He graduated from the School of Journalism and Mass Communication, and loves to test the latest gadgets and play with older software (something we’re still trying to figure out about himself). Hailing from Iowa, United States, James loves cats and is an avid hiker in his free time.