The iPhone is a powerful tool for audio production, allowing users to record high-quality audio with just their phone. Whether you’re podcasting, creating music, recording interviews, or making recordings for other purposes, the iPhone can be a great device to use.
When it comes to recording audio on the iPhone, there are a few things you can do to ensure that your recordings sound as good as possible. Here are some tips for getting the best quality audio recording on your iPhone:
1. Ensure No Objects Are Blocking Your iPhone’s Microphone – Make sure that nothing is blocking the microphone on your phone when recording audio. This includes cases and accessories that might be attached to your phone.
2. Point Your iPhone’s Microphone Towards the Sound Source – To record with clarity and minimal background noise, make sure your microphone is pointing directly at your source of the sound. This will help isolate the signal from any ambient noise in the room and make it easier for you to capture what you want without interference from outside sources.
3. Don’t Place Your Microphone Too Near The Sound Source – Placing your microphone too close to the source of sound can cause distortion in the recording and make it difficult for you to achieve a clean sound. Try to keep at least a foot or two away from any sound source when using your iPhone’s microphone for optimal results.
4. Mute Your iPhone or Turn On Airplane Mode – When not actively recording, it’s always a good idea to mute your phone or turn on airplane mode so that incoming calls and notifications don’t interfere with what you’re doing. This will also help reduce any background noise in your recordings caused by notifications or incoming calls while recording with no interruption.
5. Change The Sound Quality To Lossless In Your Settings – If you want to ensure that all of the detail in your recordings is preserved, change the settings in Voice Memos (or another app you may be using) so that they are recorded in lossless format instead of compressed formats like MP3 or AAC which can lose some fidelity during compression.
6. Invest In A Good External Microphone – If possible, try investing in an external microphone that can provide better sound quality than an internal one due to its better signal-to-noise ratio and higher sensitivity levels when picking up sounds from far away sources.
7 Find A Quiet Space To Record – Try finding a quiet room or space where there isn’t much outside noise interference which could affect what you’re trying to capture during recording sessions on your iPhone’s built-in mic or an external one connected via USB or lightning port adapter cable (it needs one).
8 Speak As Close To The Microphone As Possible – For best results when vocalizing over recordings, speak as close as possible (without straining) into either one of these microphones so that they pick up every detail and nuance with clarity and accuracy while avoiding too much background noise being picked up by them as well (this is especially true if using an external mic).
9 Use A Pop Filter – Lastly, consider investing in a pop filter that attaches directly onto either type of mic mentioned above and helps reduce “popping sounds” created by consonants like P’s and B’s when spoken too close into them; this will help give further crispness & clarity for vocal recordings made on iPhones!
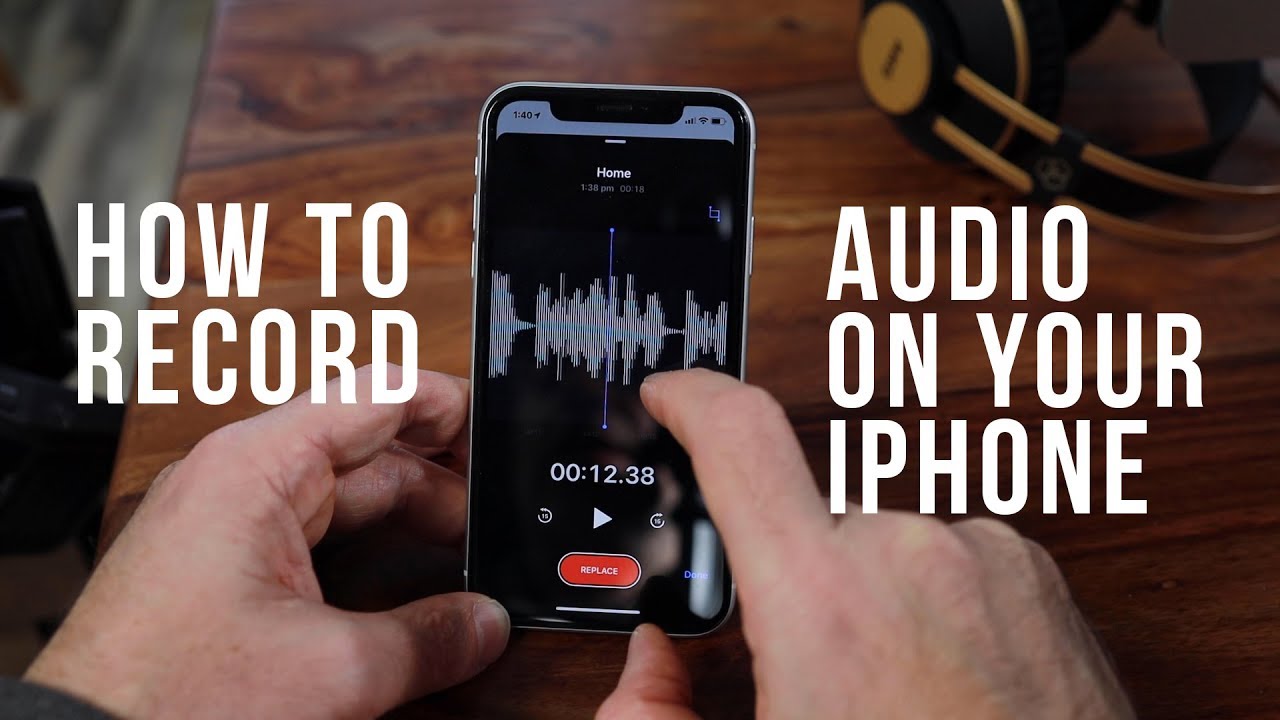
Recording High-Quality Audio on an iPhone
To record high-quality audio on your iPhone, there are several tips you should keep in mind. First, make sure no objects are blocking your iPhone’s microphone. Point your iPhone’s microphone towards the sound source and avoid placing it too close to the sound source. Mute your iPhone or turn on Airplane Mode to prevent any background noise interference. Change the sound quality setting in your phone to Lossless for optimal audio recording results. Additionally, you can use an external microphone to record better-quality audio that is less susceptible to background noise and distortion. Finally, use audio editing software such as GarageBand to edit and improve the recorded audio for a professional polished result.
Recording High-Quality Audio
In order to record high-quality audio, there are several key steps you should follow. First, invest in the right microphone for your particular project. This will ensure that you capture clean, crisp sound quality. Second, use a microphone stand so that the microphone is in the right position and won’t move around while you’re recording. Third, find an appropriate place to record that is free from outside noise such as traffic or construction. Fourth, position yourself close to the microphone and speak clearly and confidently into it. Fifth, set up a pop filter in front of the mic to prevent plosives (hard consonant sounds) from distorting your audio. Sixth, consider investing in an audio interface if you’re recording multiple tracks or using external equipment as this will help ensure all your audio levels are balanced correctly. Finally, when recording multiple tracks or voices separately, make sure each track is recorded on a separate track for more control during post-production editing and mixing. Following these steps will help ensure you capture great-sounding audio every time!
Recording Quality Vocals on an iPhone
Yes, you can record quality vocals on an iPhone. The Audio Recorder in GarageBand makes it easy to record your voice with high-quality sound. It offers two sets of controls that allow you to adjust the sound, so you can make sure your recordings are as clear and crisp as possible. Additionally, if you want to take your recordings to the next level, you can use an external microphone connected to your iPhone for even better sound quality.
Recording High-Quality Voice on a Phone
To record high-quality voice on your phone, the best way to go about it is to use an app specifically designed for audio capture. Titanium Recorder (Android only, free with ads) is one of the most comprehensive solutions for sound capture on Android. Once you have downloaded and launched the app, tap the menu button (three dots) on the top right and go to Settings. Here, you can adjust the sample rate, bit rate, and gain to achieve the highest quality recording possible. It is important to note that higher sample rates will require more storage space for your recordings, so make sure you have enough room on your device before adjusting these settings. Additionally, if your phone has a noise-canceling microphone or other features that may improve sound quality, make sure to enable them as well.
Adjusting the Recording Quality on an iPhone
Yes, you can adjust the recording quality on your iPhone. To do this, open the Settings app and select Camera. Then, select Record Video to access your video settings. You can adjust the resolution of your video to HD or 4K, as well as the frame rate to 24, 25, or 30 frames per second. On newer iPhone models (iPhone 14 and later), you can access the settings quickly via quick toggles in Cinematic mode.
Source: 9to5mac.com
Enhancing Audio on an iPhone
Yes, you can enhance audio on iPhone. You can do so by adjusting the equalization settings (EQ) in the Music app, which allows you to adjust the frequencies of your audio for better sound quality. You can also use Volume Limit settings to adjust the volume level of your audio and prevent any sudden loud sounds. Additionally, Sound Check normalizes the overall volume level of your audio, so that no one track will sound louder or quieter than another.


