When it comes to Mac OS, one of the key features that many users find useful is the ability to run Windows through a partition called Bootcamp. This allows Mac users to enjoy the best of both worlds – the sleek and user-friendly Mac interface, as well as access to Windows applications and software. However, it is important to ensure that your Bootcamp partition is backed up properly to avoid any data loss or issues during upgrades or replacements. In this article, we will discuss how to clone and upgrade your Mac Bootcamp drive to a new SSD, as well as the importance of backing up your data before making any changes.
Initializing the New SSD Drive
Before we proceed with cloning and upgrading your Mac Bootcamp drive, it is essential to initialize the new SSD drive to GPT (GUID Partition Table) format. To do this, simply connect the new SSD drive to your Mac and go to the “Disk Utility” application, which can be found under “Applications” and then “Utilities”. Once in Disk Utility, select the new SSD drive and click on the “Erase” tab. From here, choose the “GUID Partition Map” option and click on “Erase” to initialize the drive.
Cloning and Upgrading the Mac Bootcamp Drive
Now that the new SSD drive is properly initialized, we can proceed with cloning and upgrading your Mac Bootcamp drive. There are several tools available that can help you accomplish this task, such as Carbon Copy Cloner or SuperDuper!. These tools allow you to create an exact copy of your current Bootcamp drive, including all the data stored on it. Simply follow the instructions provided by the tool of your choice to clone the Bootcamp drive onto the new SSD. This process may take some time, depending on the size of your Bootcamp partition and the speed of your computer.
Setting and Changing Mac to Boot from the New SSD Drive
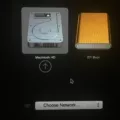
Once the cloning process is complete, it is important to set your Mac to boot from the new SSD drive. This will ensure that your Mac recognizes the new drive as the primary boot device. To do this, restart your Mac and hold down the “Option” key while it boots up. You should see a screen with different boot options. Select the new SSD drive as the boot device and proceed to start up your Mac from the new drive. This step is crucial to ensure that your Mac recognizes the newly cloned Bootcamp partition.
Importance of Backing Up Data
Before making any changes to your Bootcamp partition or upgrading to a new SSD drive, it is crucial to back up all important data stored on your Windows partition. This includes any files, documents, or applications that you may need in the future. Keep in mind that removing Windows from your Mac will permanently erase the Windows partition and all data stored within it. To back up your data, you can use the built-in backup feature in Mac OS. Simply go to “Settings”, then “Update & Security”, and select “Backup”. From here, you can choose an external drive or network location to store your backups.
When it comes to upgrading or replacing your Mac Bootcamp drive, proper backup and cloning procedures are essential to avoid any data loss or issues. By following the steps outlined in this article, you can successfully clone and upgrade your Mac Bootcamp drive to a new SSD, as well as ensure that your data is backed up before making any changes. Remember to always initialize the new SSD drive to GPT format, use reliable cloning tools, and set your Mac to boot from the new drive. With these precautions in place, you can enjoy a seamless transition and continue to enjoy the benefits of both Mac OS and Windows on your Mac.
Does Your Backup Include Boot Camp?
When you perform a backup of your Mac using the Entire Mac or My Disks backup source, it includes the Boot Camp partition. This means that all the data stored on the Boot Camp partition, including files, applications, and settings, will be backed up along with the rest of your Mac’s data.
Here’s a step-by-step guide on how to back up the hard drive where Boot Camp is installed using Entire Mac or My Disks backup source:
1. Open the Time Machine preferences on your Mac. You can do this by clicking on the Apple menu in the top-left corner of the screen, selecting “System Preferences,” and then clicking on “Time Machine.”
2. In the Time Machine preferences window, click on the “Options” button.
3. A new window will appear. Here, you’ll see a list of all the drives on your Mac. Find the drive where Boot Camp is installed and make sure it is checked. This ensures that the Boot Camp partition will be included in the backup.
4. Once you’ve selected the drive, click on the “Save” button to close the window.
5. Now, you can proceed with your regular backup process using the Entire Mac or My Disks backup source. This will create a complete backup of your Mac, including the Boot Camp partition.
It’s important to note that when you restore from a backup, the Boot Camp partition will also be restored along with the rest of your Mac’s data. This means that you can easily recover your Boot Camp setup if needed.
When you back up your Mac using Entire Mac or My Disks backup source, the Boot Camp partition is included in the backup. This ensures that all the data stored on the Boot Camp partition is backed up and can be easily restored if necessary.
How to Copy a Bootcamp Partition to a New Drive?
To copy a Bootcamp partition to a new drive, you can follow these steps:
1. Connect the new SSD drive to your Mac. Ensure it is properly connected and recognized by your system.
2. Go to the “Applications” folder on your Mac and open “Utilities.” Then, click on “Disk Utility” to launch the utility.
3. In Disk Utility, select the source drive (the existing Bootcamp drive) from the left-hand sidebar.
4. Click on the “Restore” tab at the top of the Disk Utility window.
5. Drag and drop the source Bootcamp partition from the sidebar to the “Source” field in the Restore tab.
6. Now, drag and drop the destination SSD drive from the sidebar to the “Destination” field in the Restore tab.
7. Double-check that you have selected the correct source and destination drives, as this process will erase all data on the destination drive.
8. Click on the “Restore” button to start the cloning process. This may take some time depending on the size of your Bootcamp partition and the speed of your drives.
9. Once the cloning is complete, you can set the new SSD drive as the bootable drive.
10. Restart your Mac and hold down the “Option” key while it is booting up.
11. You will see a list of available startup disks. Select the new SSD drive as the startup disk and proceed with booting.
12. Once your Mac boots from the new SSD drive, you have successfully cloned and upgraded your Bootcamp partition.
Remember, this process will only clone the Bootcamp partition, not the entire hard drive. If you want to clone your entire hard drive, you may need to use third-party cloning software.
Will Bootcamp Erase Your Mac Partition?
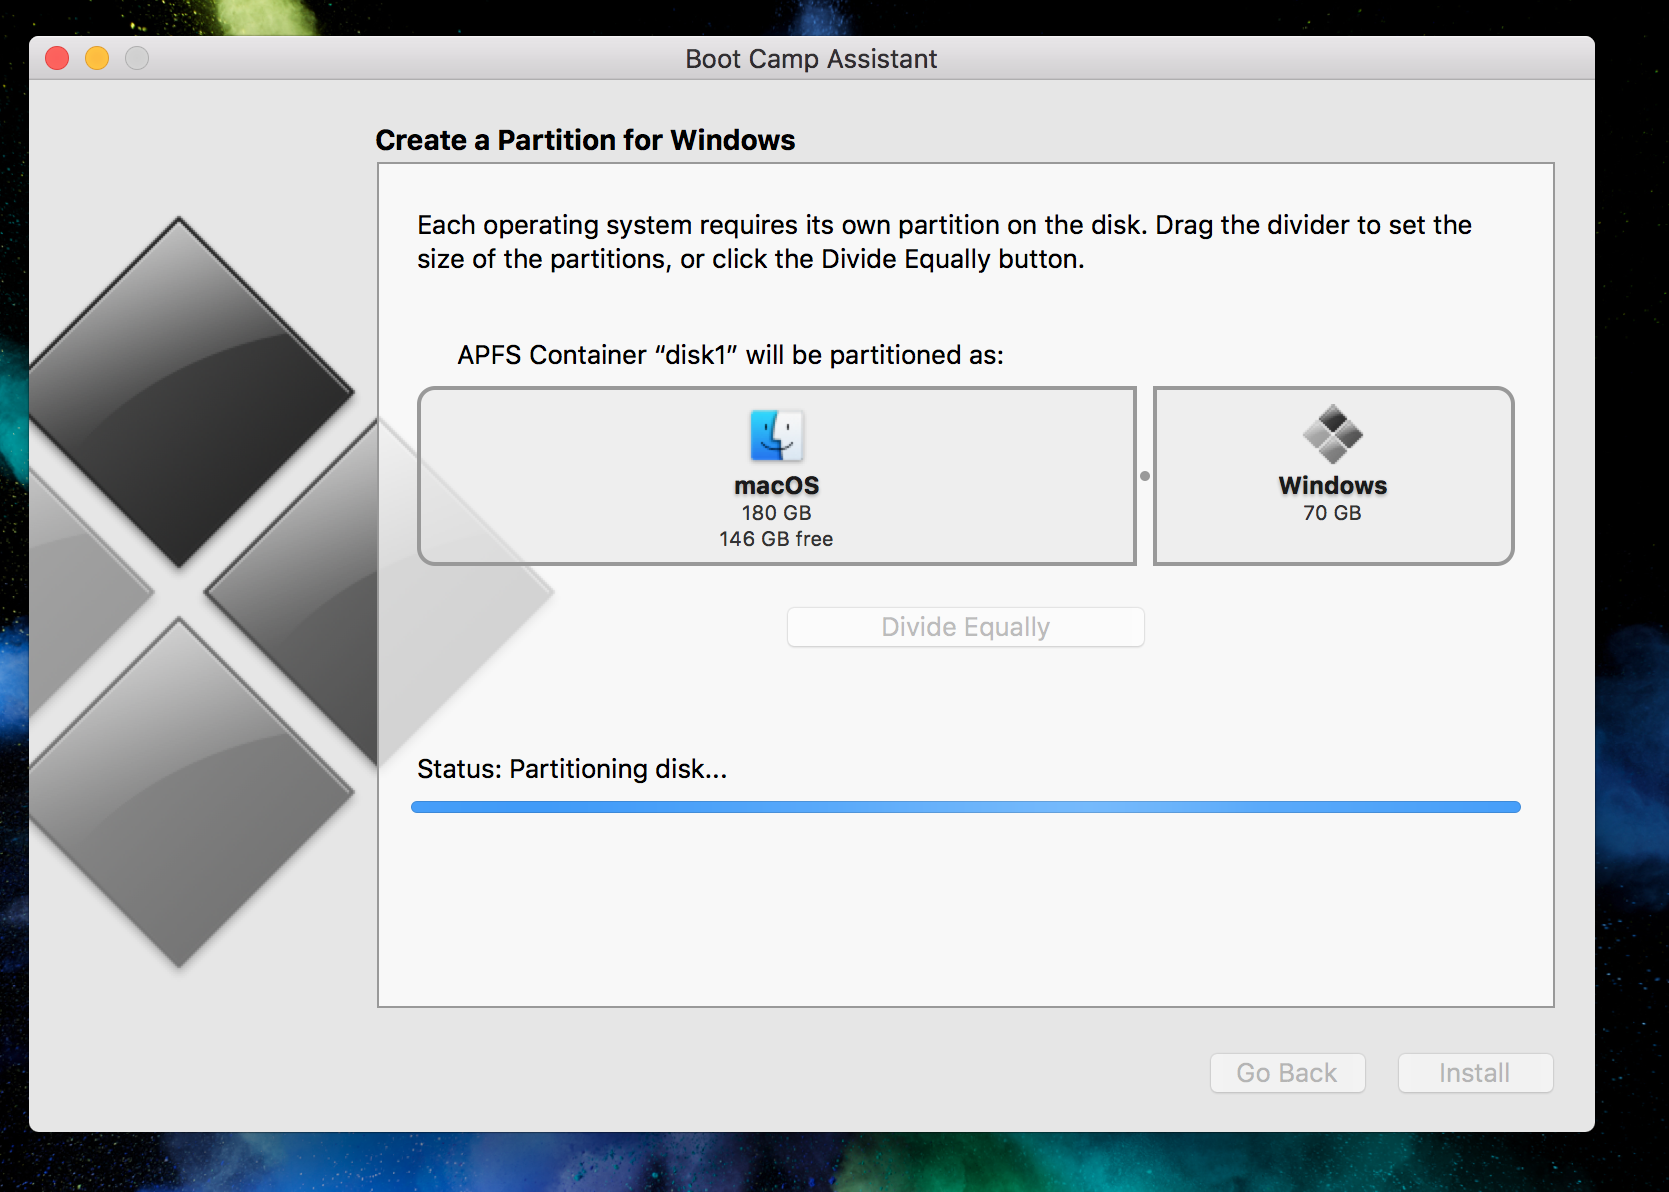
Bootcamp has the capability to erase your Mac partition. When you set up Bootcamp to install Windows on your Mac, it typically creates a separate partition on your hard drive to house the Windows operating system. During the installation process, you will be prompted to choose the size of the Windows partition.
It’s important to note that when you remove Windows from your Mac, either by using the Bootcamp Assistant or by reformatting the Windows partition manually, the Windows partition and all the data stored within it will be permanently erased. This means that any files, programs, or documents you had on the Windows partition will be lost.
To avoid losing any important data, it is highly recommended to back up all your important files before removing Windows. This includes any files or documents that you may have stored on the Windows partition.
Once you have backed up your data, you can safely proceed with removing Windows from your Mac. This can be done by opening Bootcamp Assistant and following the instructions to remove the Windows partition. Alternatively, you can use Disk Utility to reformat the Windows partition manually.
Remember, removing Windows will permanently erase the Windows partition and all the data stored within it. Therefore, it is crucial to back up any important files before proceeding.

