Installing RAM to boost the memory of a desktop computer is a common task that can be easily accomplished with some basic knowledge of computer hardware. RAM, or Random Access Memory, is a type of computer memory that is used to temporarily store data for the computer to access quickly. Adding more RAM to a computer can help to speed up its performance, especially when running multiple programs or tasks at the same time.
Before installing RAM, it is important to check the type of RAM that is compatible with your computer. There are different types of RAM, such as DDR, DDR2, DDR3, and DDR4, and each type is not compatible with the others. You can check the type of RAM that is currently installed on your computer by checking the computer’s manual or by using a system information tool.
Once you have identified the type of RAM that is compatible with your computer, you can purchase the necessary RAM module. RAM modules come in different sizes, such as 4GB, 8GB, and 16 GB. The amount of RAM that you should add to your computer depends on the amount of RAM that is already installed and the type of tasks that you will be performing on the computer.
Before installing the new RAM module, it is important to power off the computer and unplug it from the power source. You should also wear an anti-static wrist strap to prevent any static electricity from damaging the RAM module or the computer.
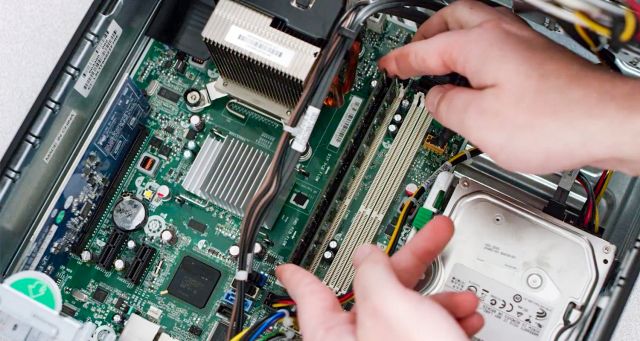
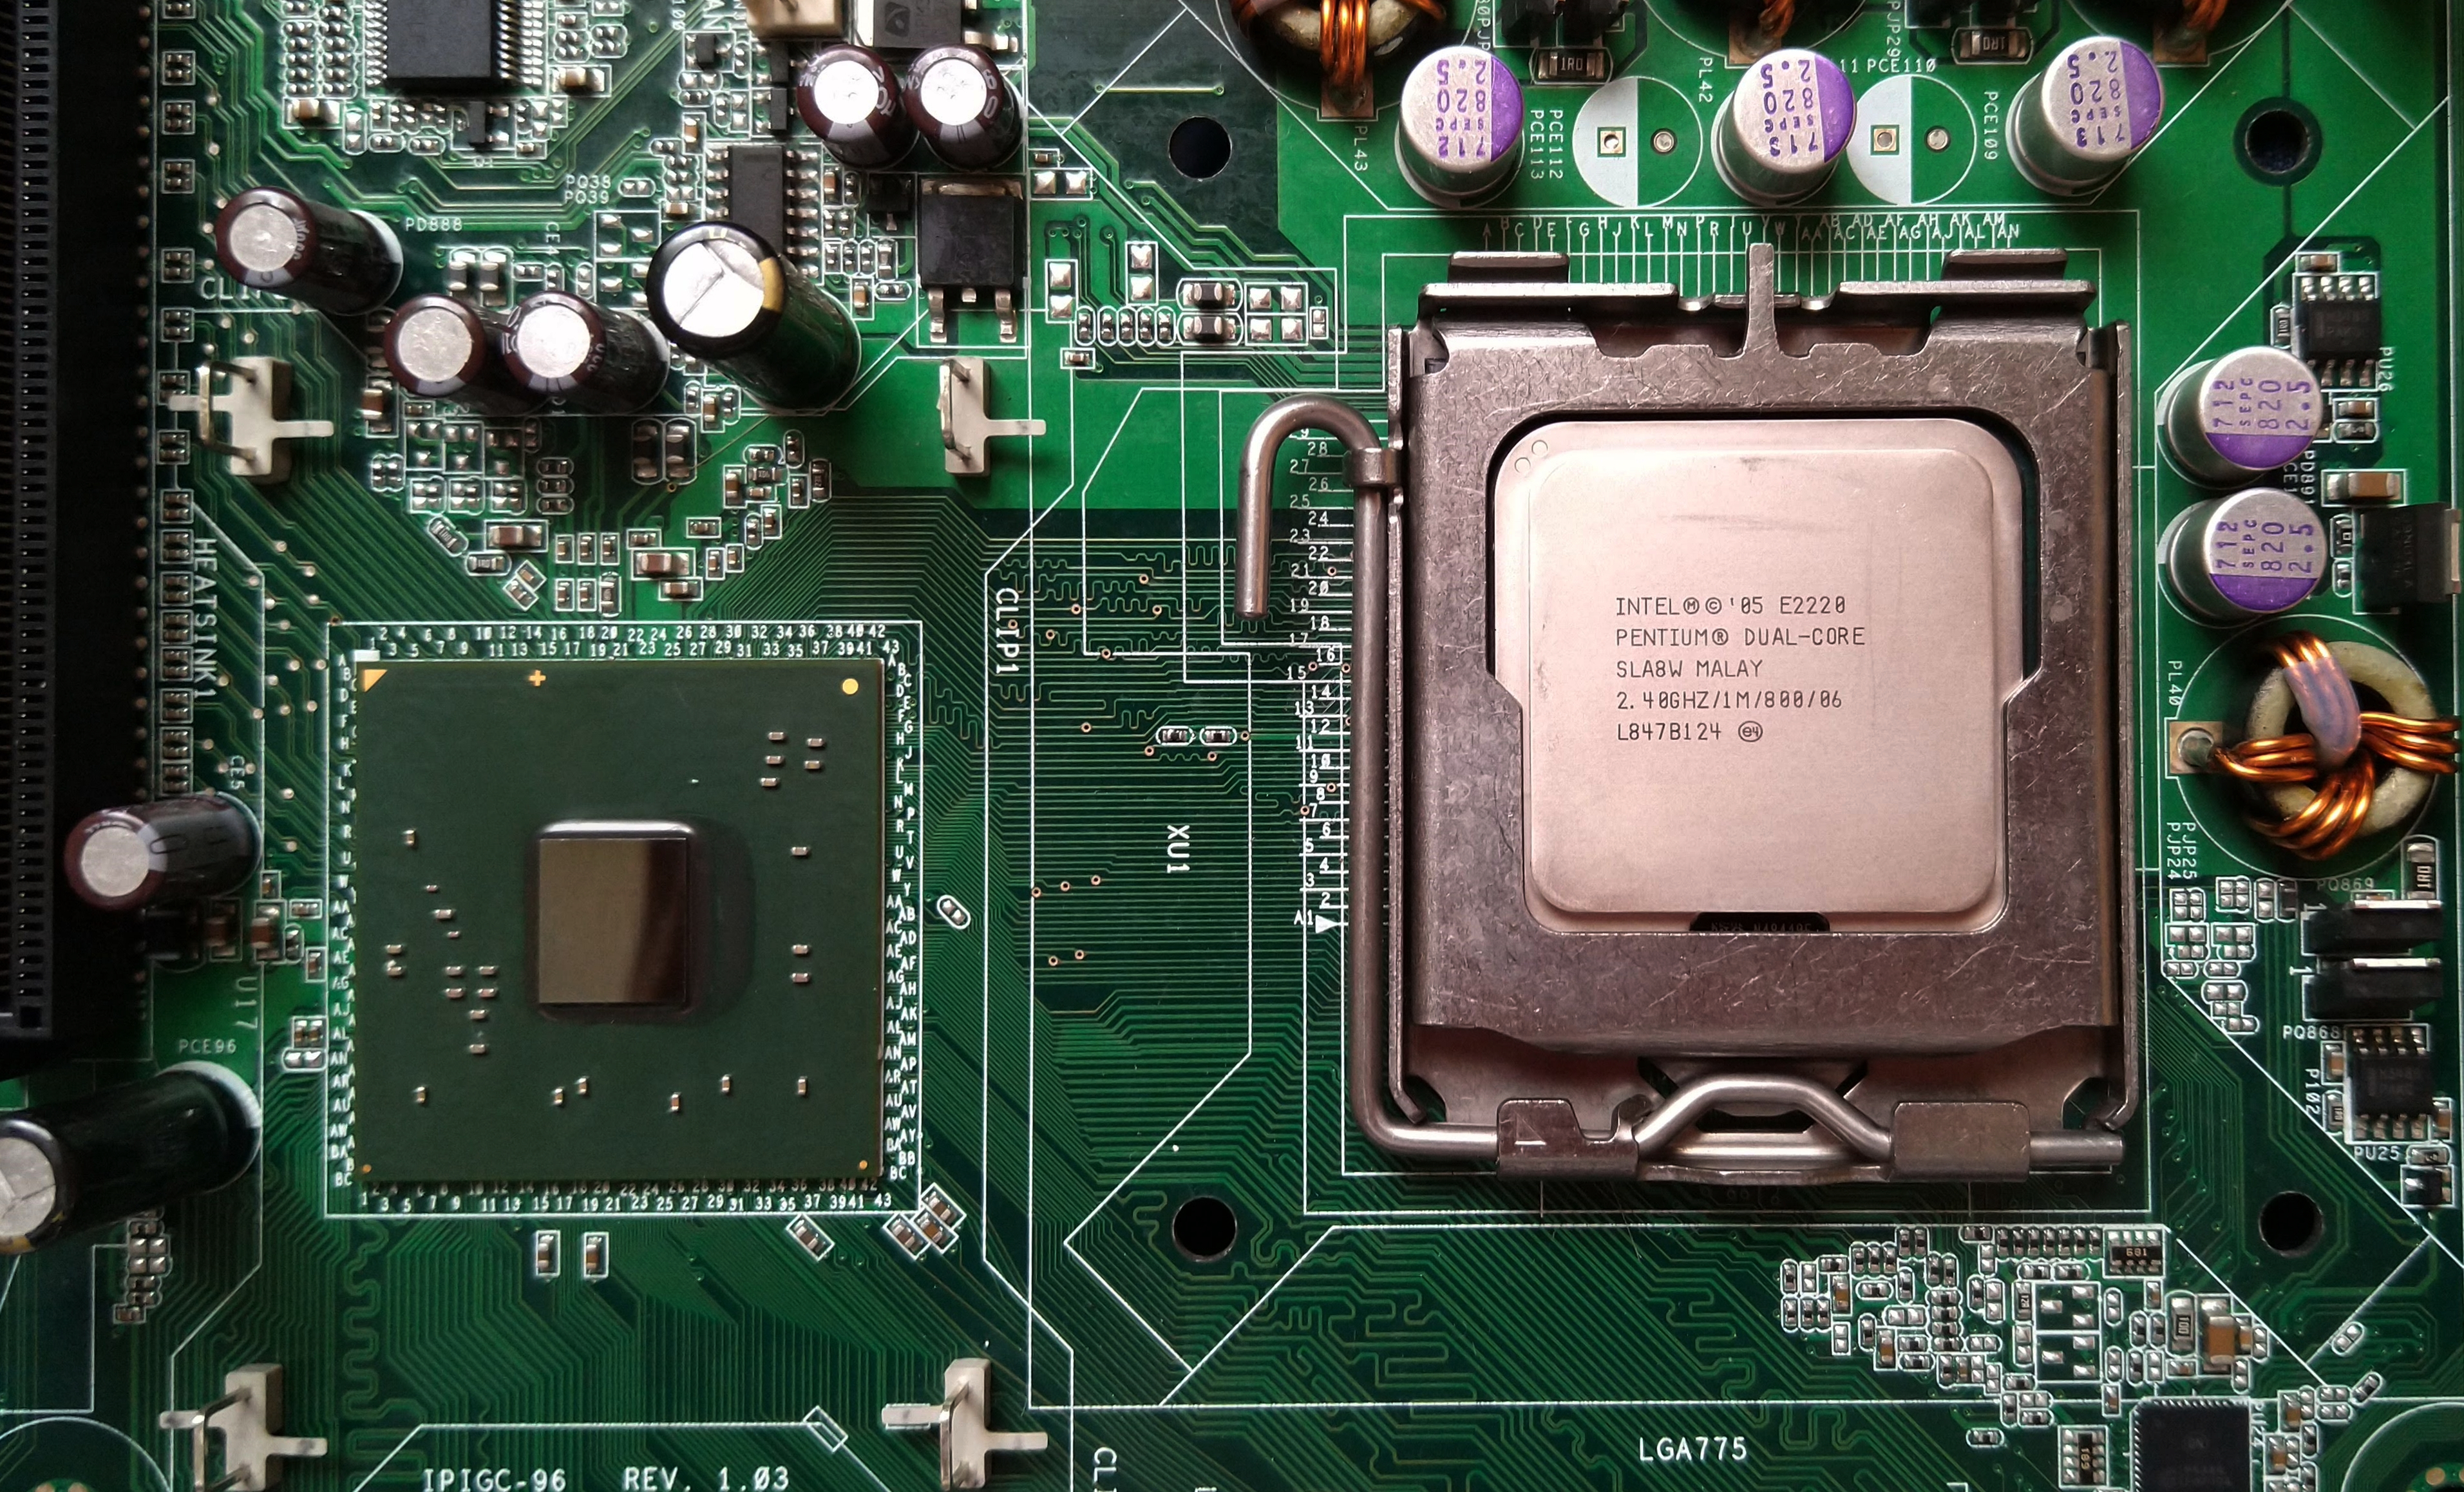
To install the new RAM module, locate the RAM slots on the motherboard. There are usually two or four RAM slots, and they are often located near the CPU socket. You should consult the computer’s manual or the motherboard’s manual to locate the RAM slots.
Insert the RAM module into the RAM slot by aligning the notches on the RAM module with the notches on the RAM slot. Gently push the RAM module into the slot until it clicks into place. You may need to apply some pressure to ensure that the RAM module is properly seated in the slot.
Once the RAM module is installed, power on the computer and check the system information to ensure that the RAM has been recognized by the computer. If the RAM has been recognized, you should notice an increase in the amount of RAM that is available to the computer.
Installing RAM to boost the memory of a desktop computer is a simple task that can be easily accomplished with some basic knowledge of computer hardware. By following these steps, you can add more RAM to your computer and improve its performance.

Installing New RAM: Is It Possible?
It is possible to add new RAM to an existing desktop PC in order to increase its memory capacity. However, it is important to note that the new RAM should be compatible with the existing RAM in terms of type and speed. Additionally, the motherboard of the desktop PC should have enough RAM slots to accommodate the new RAM. If these requirements are met, installing new RAM can be a simple and effective way to boost the performance of a desktop PC.
The Importance of Placement When Installing RAM
It does matter which slot you put your RAM in. The configuration of RAM slots on a motherboard can vary, but generally, if you have one RAM stick, you should use the slot furthest away from the CPU socket. This is because it will provide the maximum amount of clearance for your CPU cooler setup.
If you have two or more RAM sticks, you should consult your motherboard manual to determine the optimal configuration for your specific motherboard. Typically, you will want to install your RAM sticks in pairs, with each pair in corresponding colored slots. This is because modern motherboards are designed to take advantage of dual-channel memory configurations, which can significantly improve system performance.
Additionally, it is important to ensure that your RAM sticks are properly seated in their slots and that they are compatible with your motherboard’s specifications. RAM slots are typically labeled on the motherboard, and it is important to follow the manufacturer’s recommended installation guidelines to avoid compatibility issues or other problems.
The placement of your RAM sticks can have a significant impact on your system’s performance, so it is important to follow the manufacturer’s recommendations and ensure that your RAM is properly seated and compatible with your motherboard.
Filling RAM Slots in Order
When installing memory on a dual-channel memory motherboard, it is important to fill the lowest-numbered slots first in pairs. This means that if the motherboard has two slots for each channel, labeled 0 and 1, you should fill channel A slot 0 and channel B slot 0 first. This configuration ensures that the memory modules work together efficiently and effectively, allowing for optimal performance. It is important to note that installing memory in the wrong slots may lead to compatibility issues and can cause system instability. Therefore, it is always advisable to consult the motherboard manual or seek professional advice if you are unsure about which RAM slots to fill first.
Conclusion
Adding more RAM to your desktop PC can be a great way to boost its performance and speed. However, it’s important to ensure that you use the exact type of memory that came with your computer and that you have enough RAM slots available. Additionally, if you are installing memory in a dual-channel memory motherboard, it’s important to install memory modules in pairs and fill the lowest-numbered slots first. By following these guidelines, you can ensure that you are getting the maximum benefit from your RAM upgrade and that your computer is running at peak performance.


