Are you looking to install Windows 10 on your Mac? If so, you’re in luck, because it is possible to use Boot Camp Assistant to install Windows 10 on an iMac in mid-2010. This post will walk you through the steps needed to get Windows 10 up and running on your Mac.
Step 1: Check for software updates. Before you attempt any installation, it is important to make sure your software is up-to-date. Go to the Apple menu and select “Software Update”. This will check for any available updates that may be needed before proceeding.
Step 2: Prepare your Mac for Windows. To prepare your Mac for Windows, you will need to disable El Capitan’s System Integrity Protection (SIP). You can do this by entering “csrutil disable” in the Terminal app. Additionally, you may need to modify Bootcamp so that it allows the creation of a bootable USB drive.
Step 3: Download the Bootcamp Windows Support Software. Next, download the Bootcamp support software from Apple’s website and save it onto an external USB drive or another external storage device. Make sure that the version of the support software matches the version of Windows you are installing (64-bit or 32-bit).
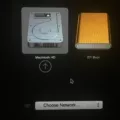
Step 4: Create a bootable USB with Windows 10 ISO file. Now that you have downloaded the support software, use a tool such as Rufus to create a bootable USB drive with your Windows 10 ISO file on it. Once this is complete, insert the USB drive into your computer and restart it while holding down the Option key until you see a selection menu appear onscreen. From there, select “Windows” and press enter to begin installing Windows onto your computer using Boot Camp Assistant.
Step 5: Install Boot Camp on Windows After installation is complete, open up File Explorer and navigate to where you saved the Boot Camp support software from Step 3 above and double click it to run setup and install Boot Camp onto your computer as well as any necessary drivers and utilities for the successful operation of both MacOS and Windows 10 together on one machine..
And there you have it—you now have successfully installed Windows 10 onto an iMac in mid-2010 using Boot Camp Assistant! Now go out there and enjoy all the new features Microsoft has introduced with their latest operating system!
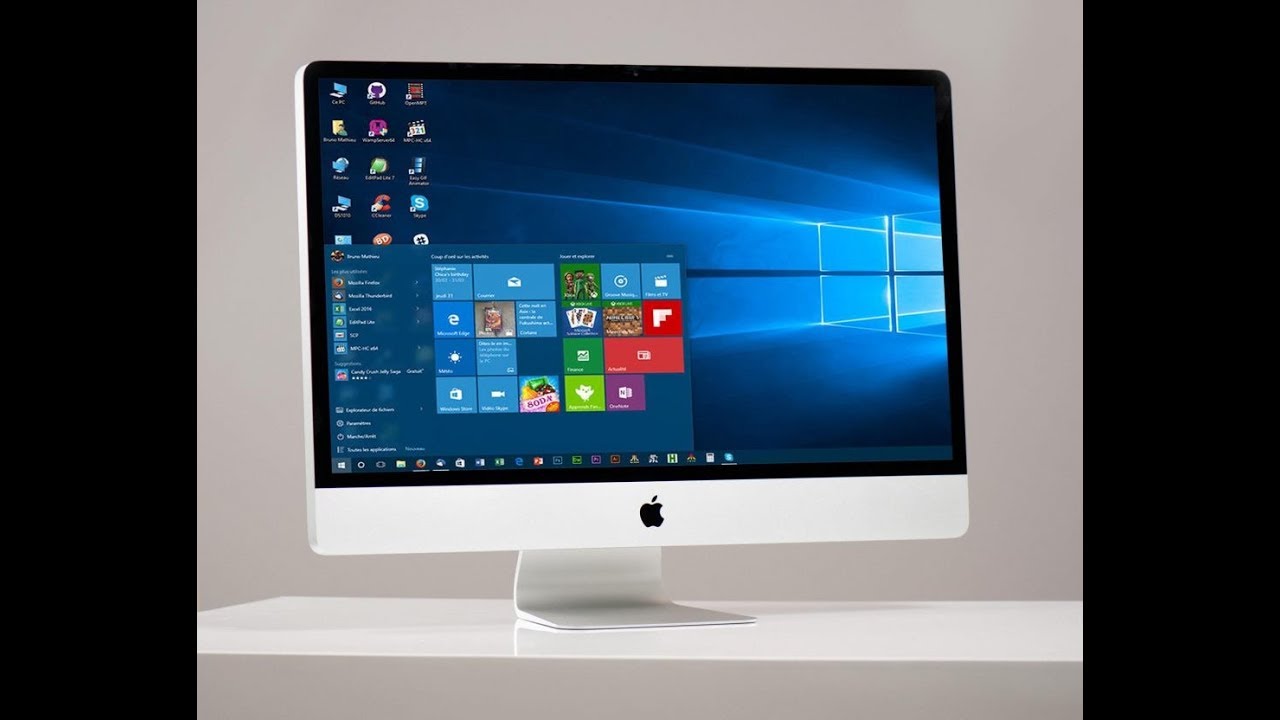
Can a Mid-2010 iMac Run Windows 10?
Yes, it is possible to run Windows 10 on a mid-2010 iMac. The process involves creating a bootable USB drive with the Windows 10 installation media and then setting up the Boot Camp feature on your iMac. Once you have created the bootable USB drive you can then follow Apple’s instructions for setting up Boot Camp and installing Windows 10. You may need to update your Mac’s firmware to ensure that it is compatible with Windows 10, but after that, it should be possible to install and use Windows 10 on your machine.
Installing Windows 10 on an iMac Mid 2010
Installing Windows 10 on an iMac mid 2010 is possible with Boot Camp Assistant, Apple’s software that allows Mac computers to dual-boot Windows and macOS. To get started, make sure your iMac is updated to the latest version of macOS, and then follow these steps:
1. Connect a USB drive to your Mac and create a bootable version of Windows 10 using the ISO file you downloaded.
2. Open Boot Camp Assistant, which will guide you through the installation process. You’ll need to choose how much space to allocate for Windows on your Mac’s hard drive, then the assistant will partition your disk and begin copying files from the USB drive.
3. Once Boot Camp Assistant finishes its work, you’ll need to restart your computer and hold down the Option key as it boots up so you can select which operating system (macOS or Windows) you want to use.
4. Follow the on-screen instructions to finish installing Windows 10. Make sure you install all necessary drivers for your system from Apple’s website so everything works correctly.
Once installation is complete, you’ll be able to switch between macOS and Windows with ease using the same method described in Step 3 above!
Can an Old IMac Run Windows 10?
Yes, an old iMac can run Windows 10. To do this, you’ll need an Intel-based Mac with enough storage to install the Windows 10 ISO file. Once the ISO file is downloaded and installed, you can access the Boot Camp Assistant in your Mac’s Utilities folder. This will allow you to partition your Mac’s hard drive so that it can run both macOS and Windows 10. Finally, use a USB drive to create a Windows installation media, and follow the on-screen instructions to install Windows 10 on your iMac. Once completed, you’ll be able to switch between macOS and Windows 10 whenever you boot up your iMac.
Installing Boot Camp Windows 10 on a Mid 2011 iMac Using USB
Installing Boot Camp Windows 10 on a mid 2011 iMac using USB is a relatively straightforward process. Before beginning, however, it is important to note that you will need to disable El Capitan’s System Integrity Protection (SIP).
To begin, you will need to modify Bootcamp to allow for the creation of a bootable USB. After this has been accomplished, download the Bootcamp Windows Support Software from the Apple website.
Once this has been done, create the bootable Windows 10 USB by following the instructions provided in the downloaded software. Once complete, create a new partition on your Mac’s hard drive dedicated solely to running Windows 10.
After creating the partition, delete any existing Hybrid MBR structures and then install Windows 10 by following the instructions provided in the software. Once complete, restart your computer and select which system you would like to use at startup.
Now that you have successfully installed Boot Camp Windows 10 on your mid 2011 iMac using USB, enjoy all of its features and functions!
Installing Windows 10 on Unsupported Macs Without Boot Camp
Installing Windows 10 on an unsupported Mac without Boot Camp can seem daunting, but with the right steps, it’s surprisingly straightforward. First, you’ll need to purchase an external hard drive with at least 16GB of storage, as well as a USB keyboard and mouse. Next, you’ll need to download a Windows ISO file from an online store like Microsoft Store or Amazon. After that, use the free program Etcher to write the ISO file to your external hard drive.
Once you’ve done that, turn off the T2 chip security in your Mac’s system preferences by selecting ‘Security & Privacy’ and then select ‘Advanced Security Options’. Then, download the Boot Camp support drivers from Apple’s website. Finally, create a Windows boot drive using disk partitioning software like Disk Utility or Paragon Hard Disk Manager. Once that is complete, restart your computer and hold down the option key while it boots up – this will let you select which operating system you’d like to boot into – either macOS or Windows on your external drive!
Compatibility of iMacs with Windows 10
Yes, certain iMac models can run Windows 10. Specifically, iMacs introduced in 2012 or later with Intel Core i5 or Core i7 processors support Windows 10 via Boot Camp. This includes all models of the iMac Pro. To install Windows 10, you will need to create a USB installer drive and use Apple’s Boot Camp Assistant to partition the disk and install Windows 10. Once installed, you can restart your Mac to switch between macOS and Windows.
Booting from USB on an iMac (2010)
To boot from USB on your iMac 2010, first, plug in the bootable USB drive. Then, hold down the Option (alt) key when you power on your iMac. This will bring up the Startup Manager, which will allow you to select the USB drive as your boot source. If there is a firmware password set on your Mac, you will need to enter it when prompted before proceeding. Once you have selected your USB drive as the boot source, follow any additional on-screen instructions to complete the process.
Creating a Windows 10 Bootable USB on a Mac
Yes, you can make a Windows 10 bootable USB on Mac. In order to do so, you’ll need a 16GB USB flash drive and a Windows ISO file installed on your Mac system. After that, you can use Boot Camp Assistant to create the bootable USB. To do this, open Finder and click Applications > Utility. Then, launch the Boot Camp Assistant. Once it’s launched, follow the instructions given by the assistant in order to create the bootable USB.
Compatibility of Boot Camp with Windows 10
Boot Camp 6.1, available on macOS 10.12 Sierra and later, is the version of Boot Camp that supports Windows 10. It requires a Mac computer running macOS 10.14 Mojave or later, and will only accept new installations of Windows 10. Boot Camp is currently not available on Apple silicon Macs.
Conclusion
In conclusion, installing Windows 10 on an iMac Mid 2010 is possible with some extra steps. The process to install Windows 10 requires preparing your Mac for Windows and disabling El Capitan’s System Integrity Protection. It also involves downloading the Bootcamp support software, creating a bootable USB, deleting the Hybrid MBR, and finally installing Windows. With all these steps in place, you should be able to successfully install Windows 10 on your machine in less than an hour.

