If you are an iPhone user loking to record music, then GarageBand is the perfect app for you. With its easy-to-use interface and powerful features, you can create your own professional-sounding tracks without needing any prior audio engineering experience.
To get started with GarageBand, simply download the app from the App Store and open it up. You’ll be presented with a variety of diferent instruments, recording options, and editing tools that you can use to create your masterpiece.
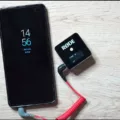
When it comes to recording with GarageBand on iPhone, the process is fairly straightforward. First off, make sure that your device has a headphone jack or an adapter so that you can connect your microphone or instrument directly into your phone.
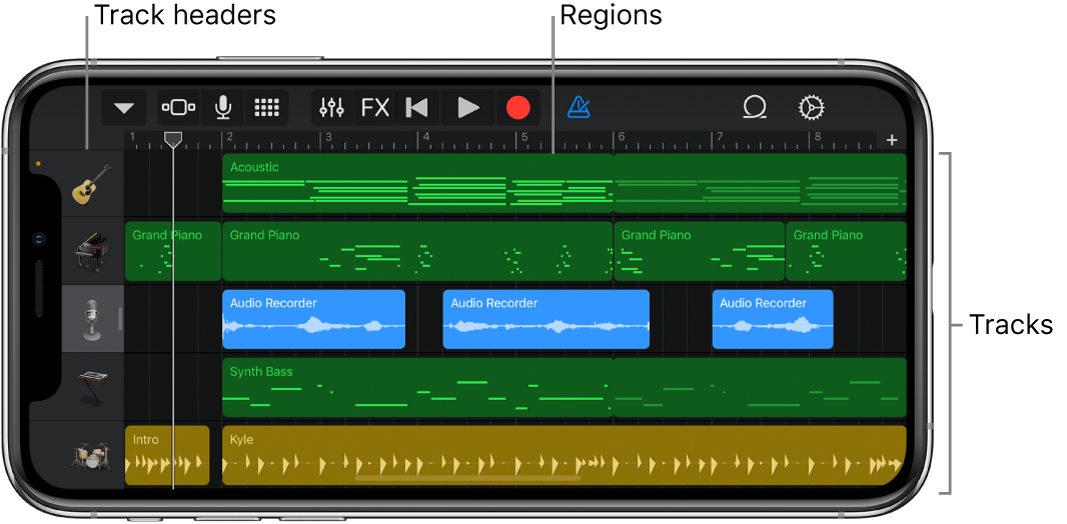
Once you have everything connected properly, open up GarageBand and tap on “New Project” in order to begin recording. On the top of the GarageBand window you will see playback/forward, stop or play buttons as well as a red dot (the record button). When you’re ready to start recording your vocal narration or instrument performance, simply tap on the red dot (the record button). When you’re done recording your performance, simply click on the same button aain in order to stop recording.
Once you’ve recorded something in GarageBand on iPhone, there are pleny of ways to enhance it further. You can add effects such as reverb or delay directly within the app which will help liven up any recordings that may sound duller than desired. Additionally, you can use built-in tools like EQ and compression in order to make sure that all of your recordings sound as professional as possible before sharing them with others.
Overall, Garageband is a great tool for anyone looking to produce their own music directly from their phone without having to invest in expensive audio equipment or software programs. With its intuitive interface and powerful features – such as effects processing and editing tools – it’s easy enough for anyone who’s never recorded before to quickly get up and running with creating their own projects right away!
Recording Professionally with GarageBand
Yes, you can record professionally on GarageBand. It is a digital audio workstation (DAW) developed by Apple, and is one of the most popularly used programs in modern music production. It has a range of features that make it suitable for both amateur and professional music production, including the ability to record multiple tracks from various sources, create musical loops, add effects and plugins, and mix your recordings. You can also export your final product in multiple formats such as MP3s and WAV files. Additionally, Garageband also offers tools for notating music scores with MIDI keyboards or virtual instruments. Overall, if you have access to the riht equipment and knowledge of how to use the software properly, GarageBand is a powerful tool that can help you create professional-sounding recordings.
Recording Audio Directly on an iPhone
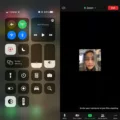
To record audio directly on an iPhone, you will need to open the Control Center. If you have an iPhone with a Home button, swipe up from the bottom of your screen util ‘Control Center’ appears. For iPhones without a Home button, swipe down from the top of your screen. On the Control Center, you will see a grey ‘Record’ icon – tap on this to start recording audio from your device. Internal audio (from apps or videos) can also be included in the recording if desired; simply ensure that this toggle is enabled before starting your recording. Once finished, press ‘Stop’ on the Record icon and your recording will be saved to your device’s Camera Roll.
Recording in GarageBand
To record on GarageBand, start by opening the application and creating a new project. Select the type of track you want to record, such as voice or instrument. Once you have chosen your track, click on the red record button located at the top of the GarageBand window. You will then be able to begin speaking or playing into your microphone or instrument. When you are finished recording, click on the same red record button aain to stop recording and save your work.
Equipment Needed for Recording on GarageBand
To record instruments and vocals on GarageBand, you will need the folowing equipment:
1) A computer with an adequate sound card or audio interface. This will alow you to connect your microphone or instrument to the computer and capture the audio.
2) A microphone or guitar/bass/etc. The type of microphone or instrument you use will depend on what kind of sound you want to achieve, but it’s important to get one that is good quality and compatible with your computer setup.
3) An audio interface. This device connects your microphone or instrument to your computer and helps convert analog signals into digital inforation that can be recorded in GarageBand.
4) Cables and adapters. Depending on the type of microphone or instrument you are using, you may need certain cables and adapters that can connect them to the audio interface.
5) Pop filter (optional). If recording vocals, a pop filter can help reduce background noise and create a more professional sound quality.
6) Studio headphones (optional). Listening to yurself through studio headphones while singing or playing an instrument can help ensure better accuracy in recording.
7) A stool or chair for comfort while recording. You don’t want any distractions from discomfort while trying to record!
With all this equipment, you’ll be ready to record great sounding music in GarageBand!
Recording Quality Vocals on GarageBand
To record good quality vocals on GarageBand, you’ll need a decent microphone, either USB or XLR. Before recording, make sure that the microphone is properly connected and that the input source is set to the correct one in the Preferences. Then turn off monitoring and hit record. To further improve sound quality, use a pop filter and place it at least 6 inches away from your mouth. If you’re recording in a room with lots of echo, try using a foam windshield or acoustic foam to absorb unwanted sounds. Lastly, make sure to adjust your levels correctly and keep them below 0dB for optimal sound quality.
What Is The Best Audio Recording App For iPhone?
The best app to record audio on iPhone is Voice Memo. It’s the native iPhone app pre-installed on iOS devices and is simple to use. With it, you can quickly record voice memos and store them within the app or in iCloud. You can also easily share recordings via Messages, AirDrop, Mail, and other services. The app offers adjustable playback speeds and useful controls like trimming recordings and adding labels to make organizing easier. Additionally, Voice Memo integrates directly with Apple Music so you can access all of your favorite songs from within the app.
Recording with a Microphone on GarageBand
To record with a microphone on GarageBand, frst you will need to connect your microphone to your computer. If you’re using your computer’s built-in microphone, go to GarageBand > Settings > Audio/MIDI > Devices and select Built-in Microphone as the input source. You can then plug the microphone into your computer’s audio input port (if it has one) and select Built-in Input as the track’s input source. Once your microphone is connected, you can start recording by clicking the Record button in the Toolbar or selecting File > New Track > Real Instrument. Select your microphone from the list of available inputs and click Create. This will create a new track where you can record audio with your connected microphone.
Do I Need a Microphone to Use GarageBand?
Yes, you need a microphone to use GarageBand. This can be eiter your computer’s built-in microphone or an external microphone connected to your computer. If you’re looking for the best recording quality, we recommend investing in an external microphone with a higher quality than your computer’s built-in microphone. You can also use instruments like guitars and keyboards with GarageBand, but these don’t require a microphone.
Unable to Record in GarageBand
The most common reason you may encounter difficulty recording in GarageBand is that your microphone may not be enabled or your device may not be granting the GarageBand app access to the microphone. To resolve this issue, you need to check the microphone permissions for the GarageBand app and ensure that it is enabled. Additionally, you should check that the settings for your microphone are correct – if not, adjust these settings so that they are compatible with GarageBand. Lastly, if you are uing an external microphone, make sure it is connected properly and configured correctly.
Conclusion
In conclusion, Garageband is a powerful and easy-to-use digital audio workstation (DAW) that can be used professionally. It has a wide range of features that make recording, editing, and mixing music quick and easy. Whether you’re a beginner or an experienced producer, Garageband has something to offer everyone. With its intuitive interface and comprehensive tools, Garageband is the perfect choice for anyone looking to create professional-sounding recordings at home.

