Are you looking to connect a single AirPod? With Apple’s popular wireless earbuds, it’s easy to get lost in the process of pairing. Don’t worry, we’ve got you covered! Here’s a simple step-by-step guide on how to connect a single AirPod.
First, make sure that your AirPods are charged and out of their case. To start the pairing process, open the lid of your AirPods case and hold down the setup button until you see a white flash. This will let your device know that you want to pair.
Next, take one of your AirPods out of its case and place it near your device. You should then be prompted to connect the AirPod to your device. Tap on “Connect” to complete this step. After successfully connecting one AirPod, repeat these steps with the other one as well.
Once both AirPods are connected to your device, put them into their case and close the lid. Then plug the case into a charger for 20 minutes before trying again. When you open up the lid again, press and hold down the setup button for a few seconds until you see a white flashing light from both sides of the case – this means that your AirPods are now successfully paired!
Now that you know how to connect a single AirPod, you can enjoy all of its features without any worries! With its seamless connection and high-quality sound quality, it’s no wonder why so many people choose Apple’s wireless earbuds over others. Enjoy listening with just one or both of your AirPods – either way is just as great!
Pairing a Single AirPod
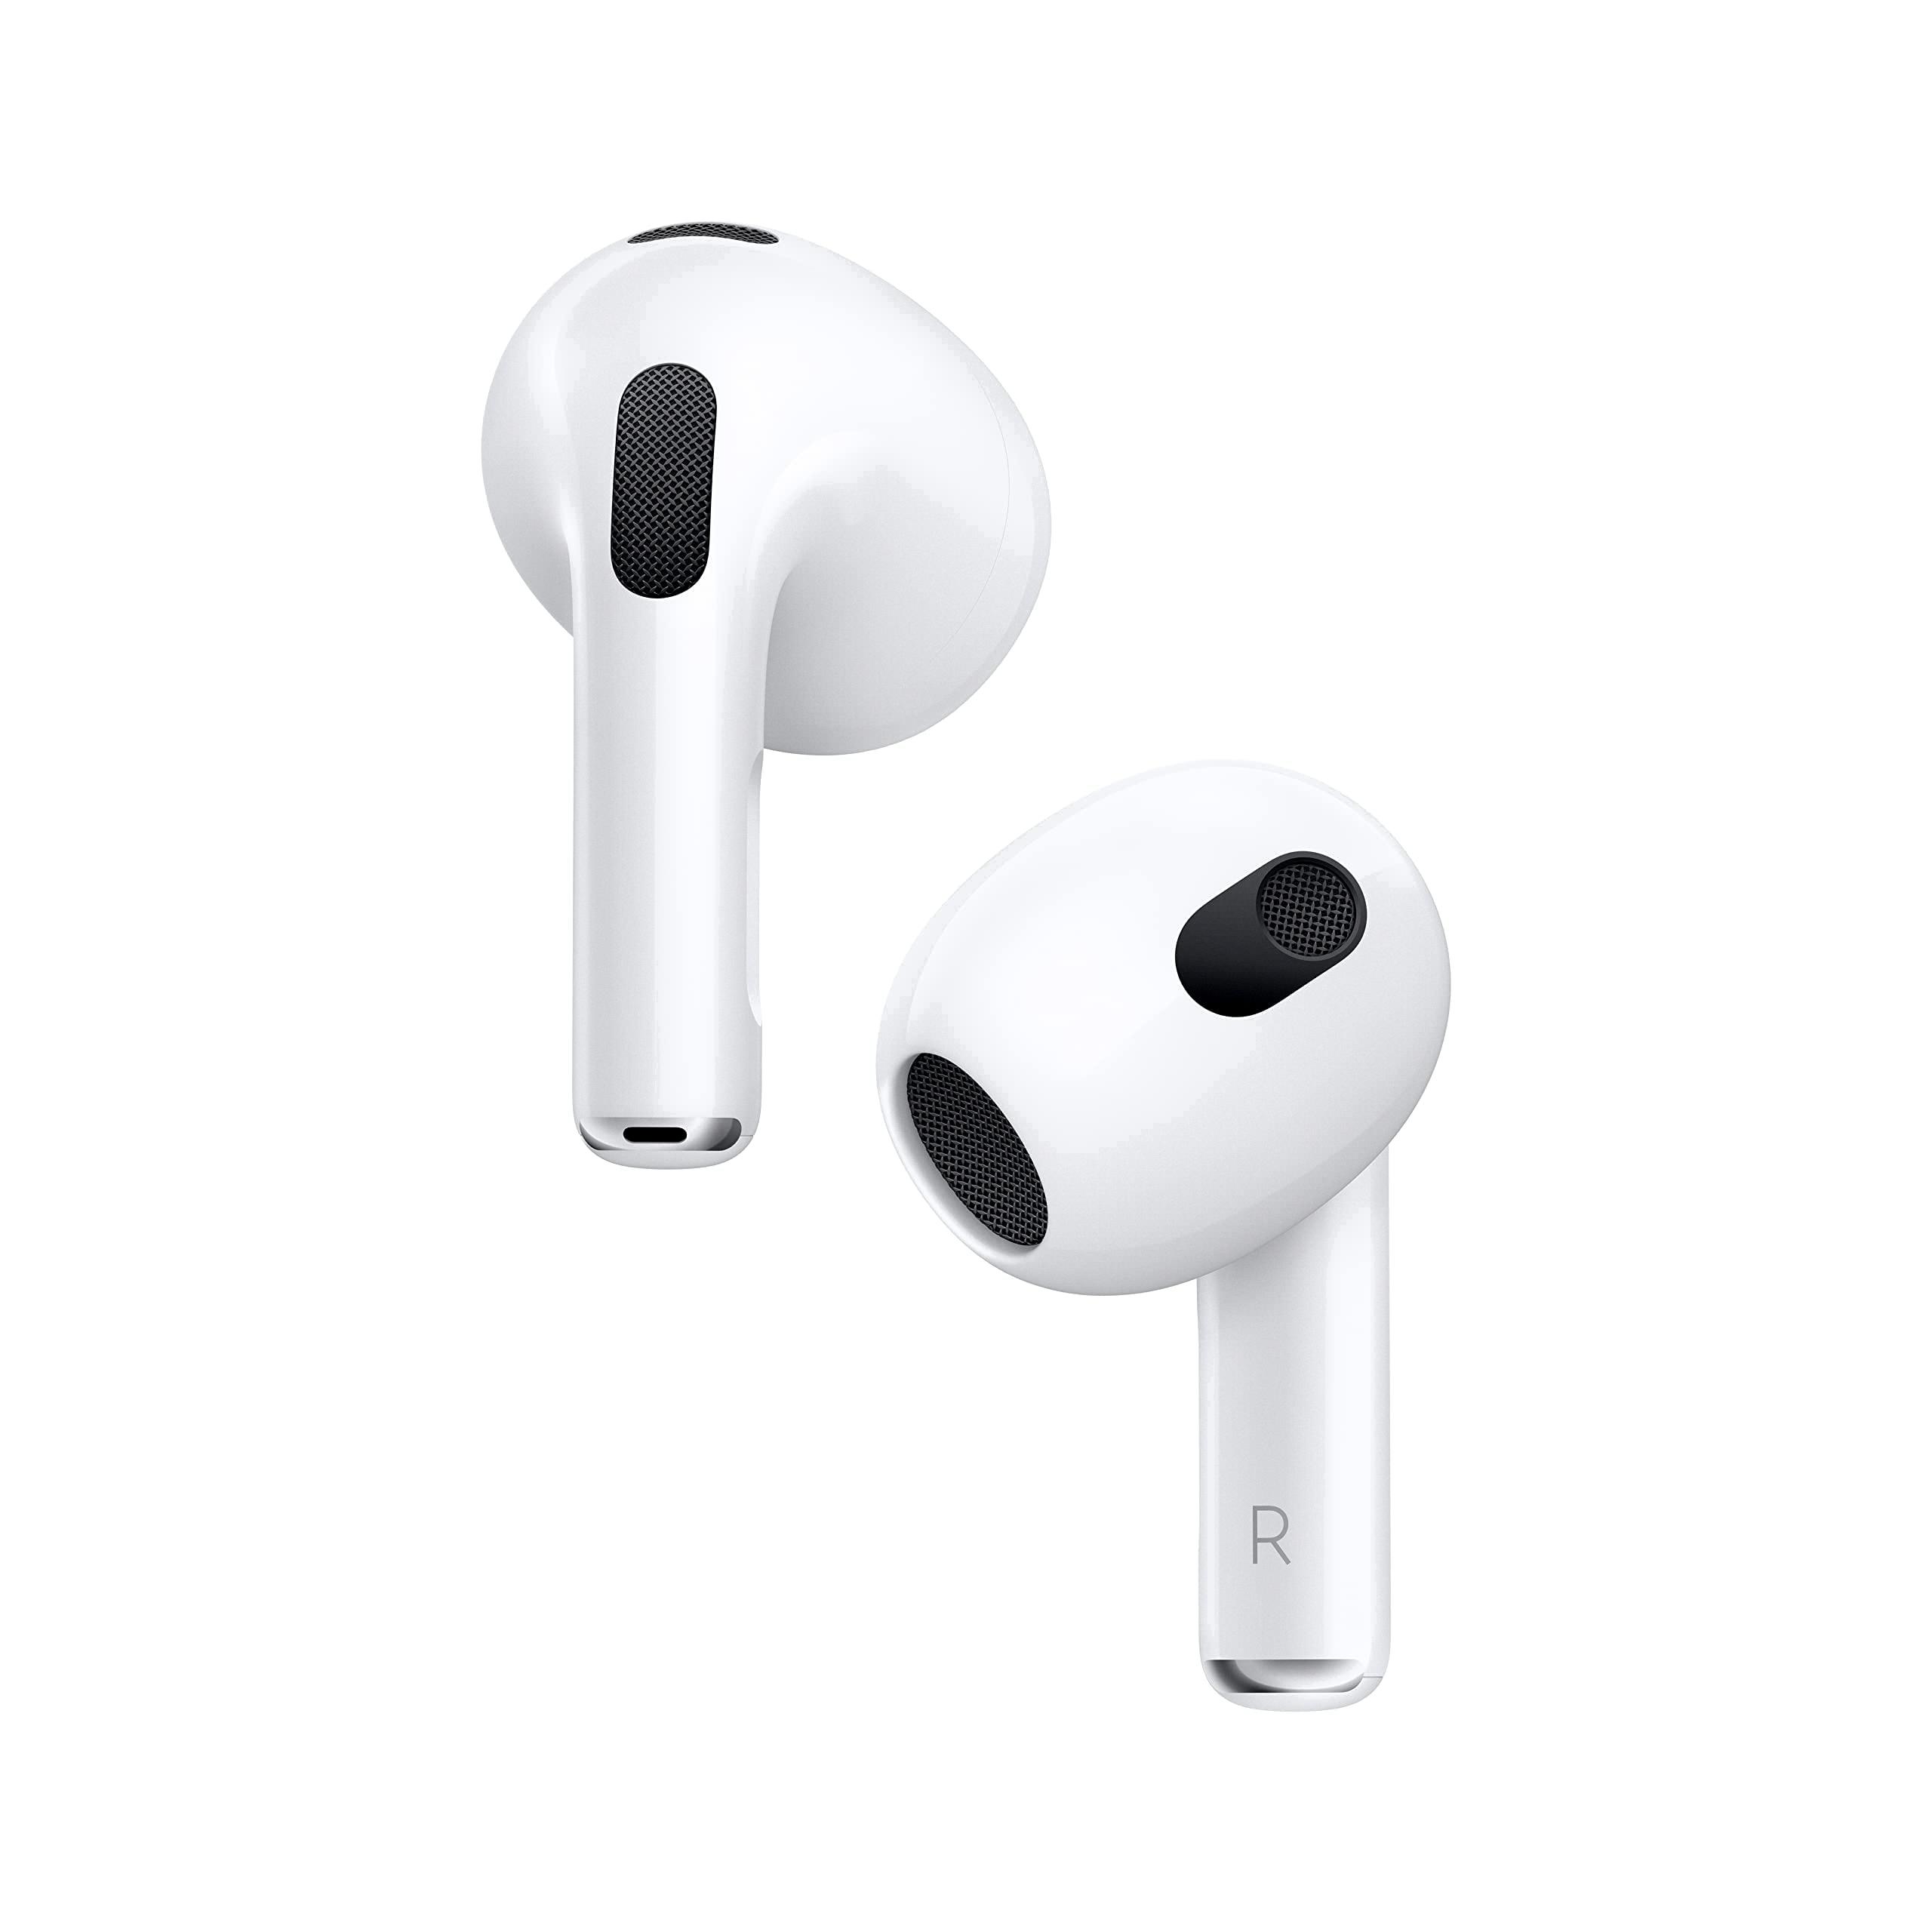
Yes, you can pair a single AirPod. To do this, start by opening the lid of the AirPods case. Then press and hold the Setup button until the status light flashes white. Now take out one of the AirPods and place it in your ear. You should hear a tone indicating that it is ready to pair. Once it has been connected, place the other AirPod back in its case and press and hold the Setup button again until it flashes white. The two AirPods should now be paired together.
Source: amazon.com
Troubleshooting Issues with Connecting a Replacement AirPod
If your replacement AirPod is not connecting, it could be because it has not been properly reset. To reset the AirPod, you must first plug the case into a charger and leave it for 20 minutes. After that, open the case and hold down the setup button until the status light flashes white. Once this is done, you should be able to pair your AirPod normally.
Troubleshooting Connection Issues Between New and Old AirPods
It is possible that your new AirPod is not compatible with your old one due to the different versions of iOS or iPad. To ensure that your AirPods are compatible, make sure that both have the latest version of iOS or iPad. Additionally, make sure that Bluetooth is enabled on both devices and that both AirPods are charged and in their charging case. If all these criteria are met and your AirPods still won’t connect, you may need to contact Apple support for further assistance.
Resetting AirPods After Replacement
To reset your AirPods after a replacement, start by putting your AirPods in their charging case, and keeping the lid open. Then, press and hold the setup button on the back of the charging case for at least 15 seconds until you see a white flashing light. After that, open your Bluetooth settings on your device and select your AirPods from the list. Finally, pair your AirPods with your device as you normally would.

