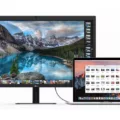
If you’ve just purchased a Macbook Pro, congratulations! You have one of the most powerful and capable laptops available on the market today. The Macbook Pro is packed with features, but one of its most impressive is the ability to connect it to a TV for larger-scale entertainment. Connecting your Macbook Pro to a Sony TV is an easy process that requires only a few steps.
First, you’ll need an HDMI cable. This cable will allow you to connect the two devices together. Once you have the cable, simply plug one end into the HDMI port on your Macbook Pro, and then plug the other end into your Sony TV. Once both ends are connected securely, your TV should automatically detect the signal from your Macbook Pro.
Once connected, you can start enjoying content from your Macbook Pro on your Sony TV. To do this, go to System Preferences on your Macbook Pro and select “Displays”. Here you can adjust settings such as resolution and aspect ratio so that it fits properly on your television screen.
You can also use AirPlay to stream content from your Macbook Pro to your Sony TV wirelessly. To do this, make sure both devices are connected to the same Wi-Fi network and turn on AirPlay Mirroring on both devices. On your Sony TV, select “Screen Mirroring” from the menu bar and choose “MacBook Pro” as the source device. You may be asked for a four-digit code; enter this code on your Macbook Pro in order to start streaming content from it onto your television screen wirelessly using AirPlay Mirroring technology.
Connecting a Macbook Pro to a Sony TV is simple and easy once you know how to do it! With just a few steps, you can start enjoying movies, games, or whatever else you want right on the big screen of your television set!
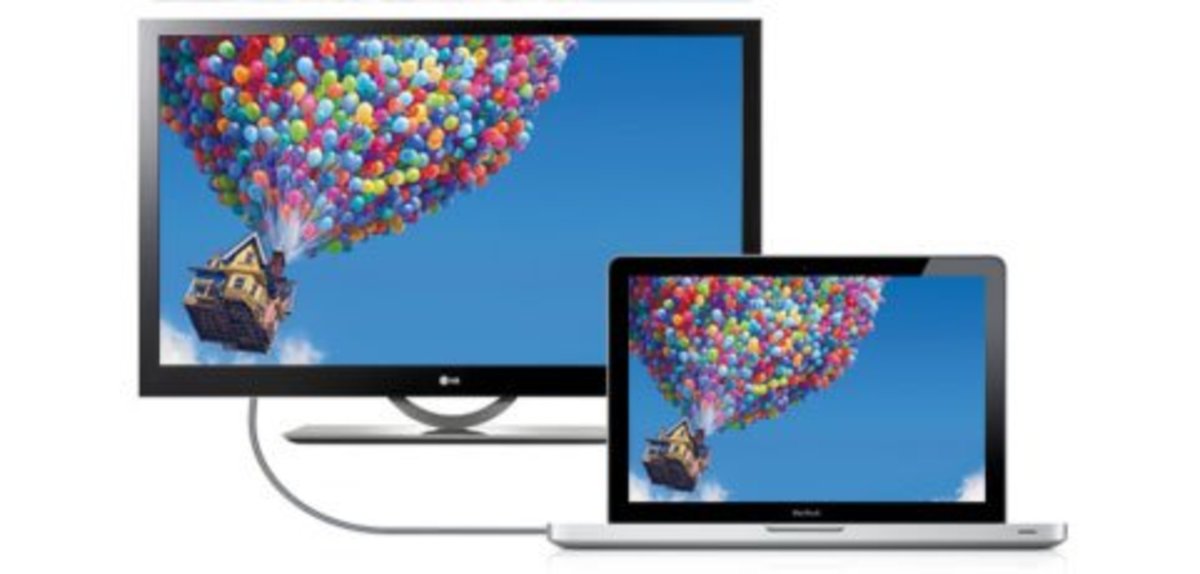
Connecting a Macbook Pro to a Sony TV Wirelessly
To connect your Macbook Pro to your Sony TV wirelessly, you will need to use a wireless streaming device such as Apple TV or Chromecast. Start by connecting the streaming device to your Sony TV via an HDMI cable and then power it on. Next, open the AirPlay settings on your Macbook Pro and select the streaming device from the list of available devices. Enter the Airplay code displayed on the Sony TV screen into your Macbook Pro, and you should now be able to stream content from your Macbook Pro to your Sony TV wirelessly.
Connecting a MacBook to a Sony TV Using HDMI
To connect your MacBook to a Sony TV using HDMI, begin by connecting one end of the HDMI cable to your Mac. If your Mac does not have an HDMI port, you will need an adaptor to connect it to the Thunderbolt or Mini DisplayPort. Then, plug the other end of the cable into the HDMI port of your Sony TV. Once both ends are connected, you should be able to view whatever is shown on your MacBook on your TV.
Connecting a Macbook Pro to a TV Wirelessly
Yes, you can connect your Macbook Pro to your TV wirelessly using AirPlay Mirroring. First, make sure your Macbook Pro and Apple TV are connected to the same network. Then open Control Center in the menu bar, click on the Screen Mirroring icon, and choose your Apple TV. You may be asked to enter a four-digit code on your Mac – enter that code if so. After that, you should see whatever is on your Macbook Pro’s display mirrored onto your TV’s screen.
Using a TV as a Monitor for a Macbook Pro
Yes, you can use a TV as a monitor for your Macbook Pro. To do this, you will need to connect your Macbook Pro to your TV using a video cable. Make sure the cable you choose has the right port connectors for both your TV and Macbook. If you can’t find a cable that connects the ports on both devices, you may need an adapter. Once connected, you can adjust the display settings on your Mac to best suit the size of your TV screen.
Troubleshooting MacBook Pro Connection Issues With TV
If your MacBook Pro is not connecting to your TV, it could be due to a few different issues. First, make sure that the HDMI cable is securely connected at both ends. Additionally, make sure that your TV’s input settings match the output settings of your Macbook Pro. It could also be an issue with the driver settings on your Macbook Pro, so check that they are up to date. Lastly, make sure that there are no obstructions in the way that could be blocking the signal from your Macbook Pro to your TV. If all else fails, try restarting both devices and then try again.
Connecting a Laptop to a Sony TV Using HDMI
To connect your laptop to your Sony TV with HDMI, you’ll need an HDMI cable. First, you’ll want to make sure the TV is powered on. Then, take one end of the HDMI cable and plug it into the HDMI output port of your laptop. Next, take the other end of the cable and plug it into the HDMI input port of your TV. Be sure to use an authorized High-Speed HDMI cable, bearing the HDMI logo. Once connected, turn on your laptop and you should be able to view its content on your TV screen!
Connecting a MacBook to a TV Without a USB
If you have a MacBook with an HDMI port, connecting your device to a TV is quite easy. All you need is an HDMI cable, which you can find at most electronics stores. Simply plug one end into your computer’s HDMI port and the other into your TV’s HDMI port. Once connected, you can use the TV as an external monitor for your laptop, displaying the same image on both screens. In addition to this, many laptops come with mini-DisplayPort ports or Apple’s Thunderbolt 3 ports that also allow for connection to a TV or external monitor; however, these ports require a specific adapter in order to work properly.
Connecting a MacBook Pro to a TV Using HDMI
Yes, you can connect your MacBook Pro to a TV using HDMI. If your Mac has an HDMI port, you can simply connect an HDMI cable directly from the Mac to the TV. If your Mac has USB-C ports instead, you will need a converter like Apple’s USB-C Digital AV Multiport Adapter to connect the Mac to the TV via HDMI. Once connected, you shuld be able to view content on both devices simultaneously.
Source: digitaltrends.com
Displaying a Laptop Screen on a TV
In order to display your laptop screen on your TV, you will need an HDMI cable. Most modern laptops have an HDMI port. This cable allows for full HD and 4K video and surrounds audio transmission from the laptop to the TV. If you don’t have an HDMI port on your laptop, then you can use a VGA (D-Sub) cable instead. To connect the two devices, plug one end of the cable into your laptop’s port and the other end into the TV’s port. Once they are connected, you can select the source on your TV to switch between different inputs such as HDMI or VGA. You should now be able to view whatever is on your laptop’s screen on your TV.


