Many people are taking advantage of the versatility and portability of the MacBook Air to get the job done on the go. But did you know that you can also connect your Macbook Air to an external monitor and close the lid with ease? Here’s how to do it.
First, you’ll need an external monitor, either connected via a USB-C cable or using AirPlay if your monitor is compatible with it. Once you have your monitor set up, you’ll want to adjust your laptop’s settings so that it stays powered on when closed. To do this, open System Preferences > Power Adapter and slide the toggle to ‘Never’. This will ensure that your laptop doesn’t go into sleep mode when the lid is closed.
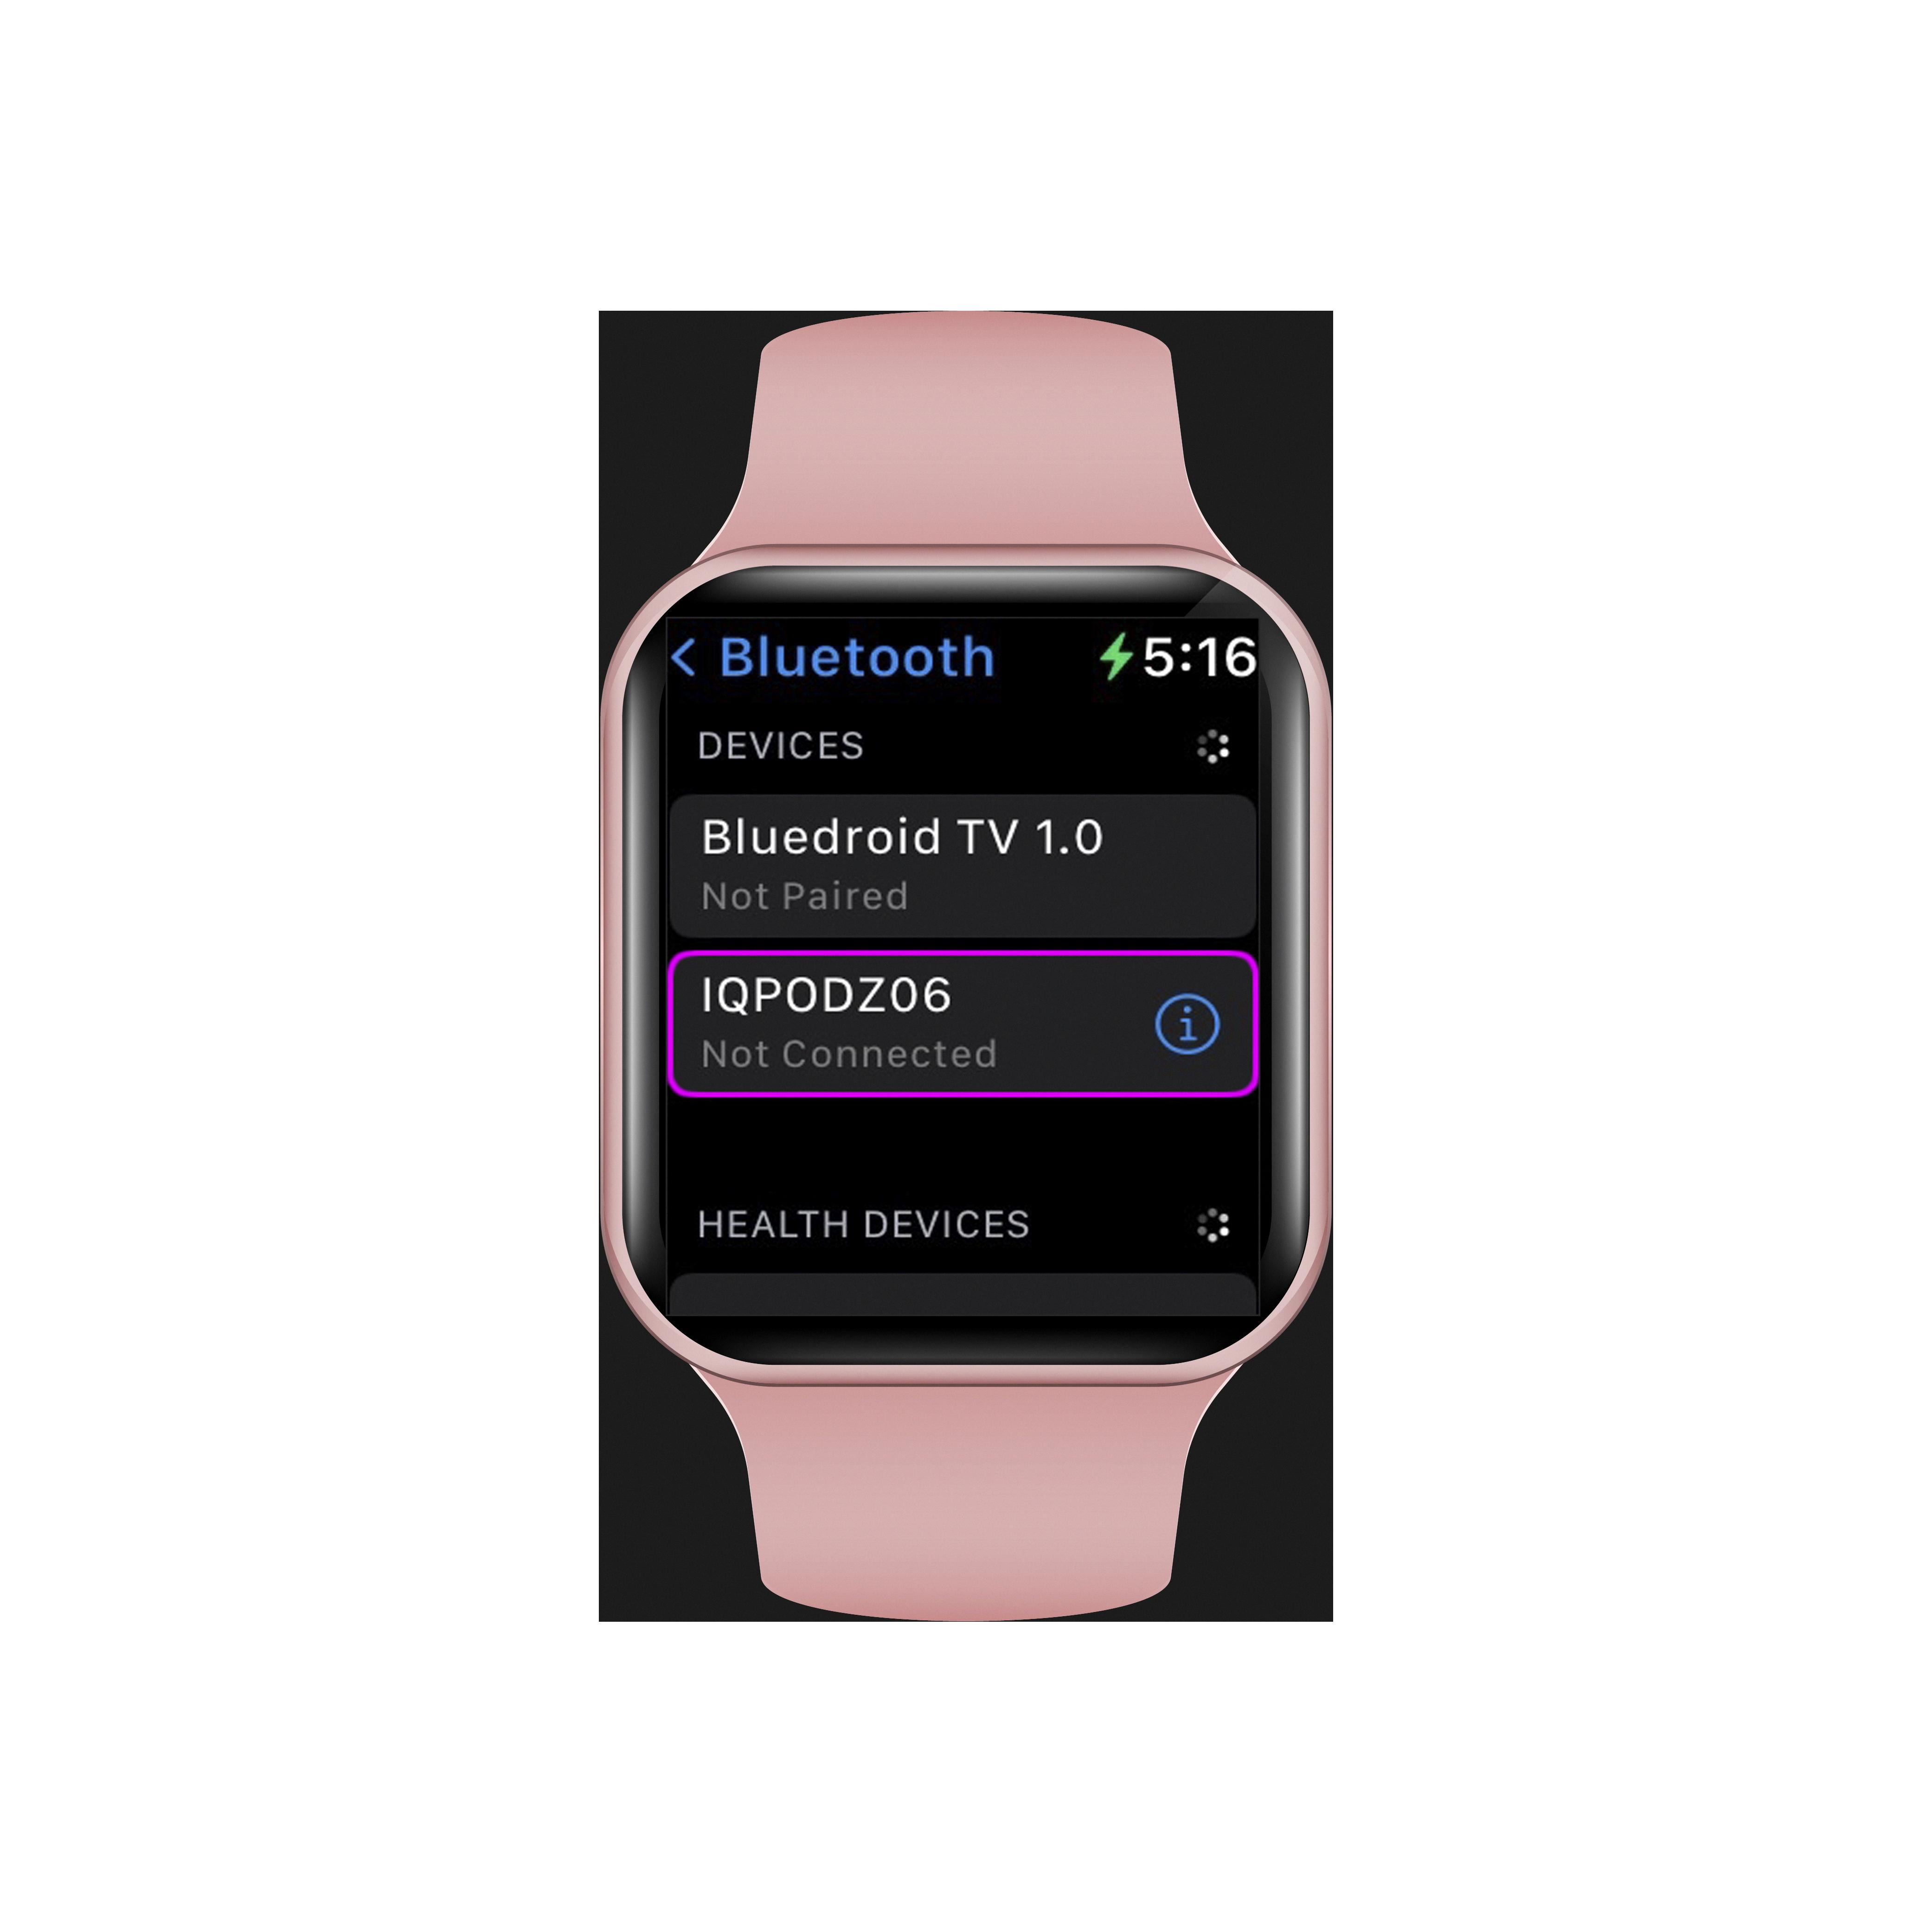
Next, connect a mouse and keyboard (if separate from one another) to your laptop, either via Bluetooth or USB. When connecting a Bluetooth mouse and keyboard, make sure that both peripherals are paired with the Mac before closing the lid. Then close the lid of your Macbook Air as normal.
Once closed, press a key on your external keyboard or click your mouse to wake up the display on the external monitor. Depending on whether you have an older or newer model MacBook Air, you may need to press another key after closing the lid in order for clamshell mode (in which only an external display is visible) to be initiated. Newer models like those released in 2021 automatically initiate clamshell mode when closing their lids; however, older laptops may require an additional step of pressing their spacebar after closing their lids in order for the clamshell mode to be initiated properly.
And that’s all there is too it! With just a few simple steps and adjustments in settings, you can now easily use your Macbook Air with an external monitor even when its lid is closed – allowing for more efficient workflows and better organization of desk space!
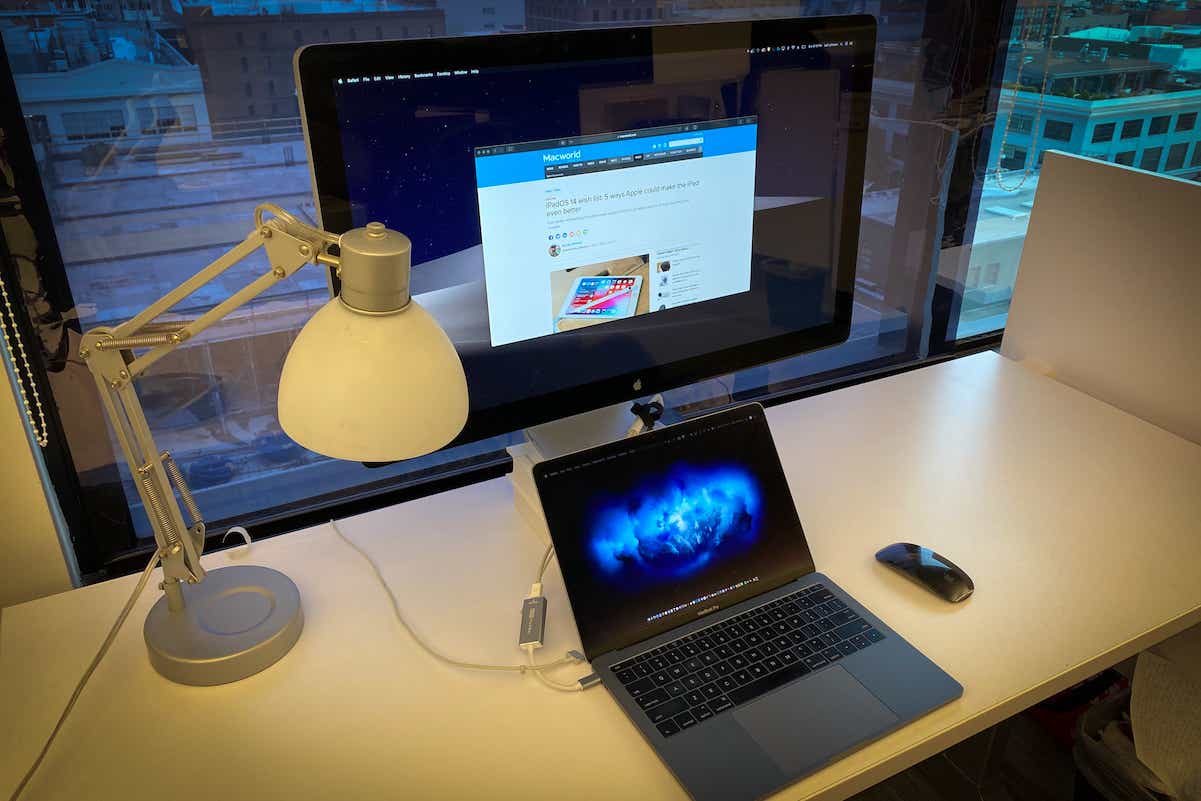
Using an External Monitor with a MacBook Air Lid Closed
To use an external monitor with a closed MacBook Air lid, you’ll need to connect the external display to your Mac using an appropriate cable. Depending on the type of external monitor, you’ll either need a Mini DisplayPort to VGA, Mini DisplayPort to HDMI, USB-C to VGA, or USB-C to HDMI adapter. After connecting the display and powering it on, open System Preferences on your Mac and select Displays. You should see your external display listed in the left column of the window. Select it and then choose the option you desire from the Arrangement tab. Finally, close the lid of your MacBook Air and use your mouse and keyboard as normal while working off of your external display.
Closing a MacBook Air While Connected to a Monitor
Yes, you can close your MacBook Air while it is connected to an external monitor. After connecting the external monitor to your Mac notebook, you may need to press a key or click your mouse to wake the external display. Then, you can close the built-in display on your Mac notebook without any issues.
Keeping the Mac Screen On When Closing the Lid
To keep your Mac screen on when you close the lid, you will need to change your Energy Saver settings. Start by clicking the Apple icon on the top left of the screen and selecting System Preferences. Then click the green Battery icon and click Power Adapter on the left side of the screen. Finally, slide the toggle to Never and your Mac will stay on even when you close the lid.
Enabling Clamshell Mode on a MacBook Air
To turn on clamshell mode on your MacBook Air, press and hold the power button until you see the Apple logo appear. Once the laptop has finished booting up, close the lid. This will initiate clamshell mode, where the laptop is running off of power from an external monitor, keyboard, and mouse/trackpad. If you have an older model and pressing the spacebar does not activate the clamshell mode, press “Fn” + “F1” together to enable it.
Keeping an External Monitor On When Laptop Is Closed
To keep your external monitor on when your laptop is closed, you will need to make a few changes in the Power Options of your Control Panel. First, go to Control Panel and select Power Options. Then, click the option for ‘Choose when to turn off the display’ in the left pane. Now, click ‘Change advanced power settings’, and go to ‘Power buttons and lid’. Expand the option for ‘Lid close action’, and change it from ‘Sleep’ or ‘Hibernate’ to ‘Do nothing’. This will ensure that your external monitor stays on whenever you close your laptop.
Understanding Clamshell Mode on Mac
Clamshell mode on Mac is a feature that allows you to use your MacBook Pro with the lid closed and an external display, keyboard, and mouse/trackpad attached. This mode disables the laptop’s built-in screen so all windows are only visible on the external display. Clamshell mode is useful for users who need to have a full desktop experience with their laptop but don’t want to keep the lid open all day. It also helps conserve battery life when working away from a power source. Additionally, the clamshell mode can make it easier to manage cables and free up desk space due to its compact design.
Turning On a Macbook Pro Without Opening the Lid
If you need to turn on your Macbook Pro without opening the lid, you can do so by using an external keyboard or mouse. First, make sure that the screen and external power are connected to your Macbook. Then, tap any key on the connected keyboard or click any button on the mouse to wake up your Macbook from its suspended state. This should allow you to start up your Macbook without having to open the lid.

