Roku TV is a popular streaming device that allows users to watch their favorite content on their TV screens. It is easy to use and set up, making it a great option for those who want to cut the cord on cable TV. One of the most common issues faced by Roku TV users is how to change HDMI on Roku TV. Here’s a step-by-step guide on how to do it.
Step 1: Turn on your Roku TV and press the ‘home’ button on your remote. This will take you to the Roku home screen.
Step 2: Look for the ‘Settings’ option on the home screen and select it using the arrow keys on your remote. Press the ‘OK’ button to confirm.
Step 3: Once you are in the ‘Settings’ menu, look for the ‘TV inputs option and select it. This will show you a list of all the HDMI ports available on your TV.
Step 4: Use the arrow keys on your remote to select the HDMI port you want to use. Once you have selected the HDMI port, press the ‘OK’ button to confirm.
Step 5: Your Roku TV will now switch to the selected HDMI port, and you can start using it to watch your favorite content.
If you are facing any issues while changing the HDMI on your Roku TV, here are some troubleshooting tips that you can try:
– Make sure that your HDMI cable is properly connected to your TV and your Roku device.
– Try using a different HDMI cable to see if the issue is with the cable.
– Check if your Roku device is powered on and connected to the internet.
– Restart your Roku device and your TV to see if that resolves the issue.
– If you are using an HDMI switch or an AVR, try connecting your Roku device directly to your TV to see if that resolves the issue.
Changing the HDMI on your Roku TV is a simple process that can be done in a few easy steps. If you are facing any issues while doing so, try the troubleshooting tips mentioned above to resolve the issue. Roku TV is a great streaming device that offers a wide range of content options, and knowing how to change the HDMI on your TV can help you make the most of your device.
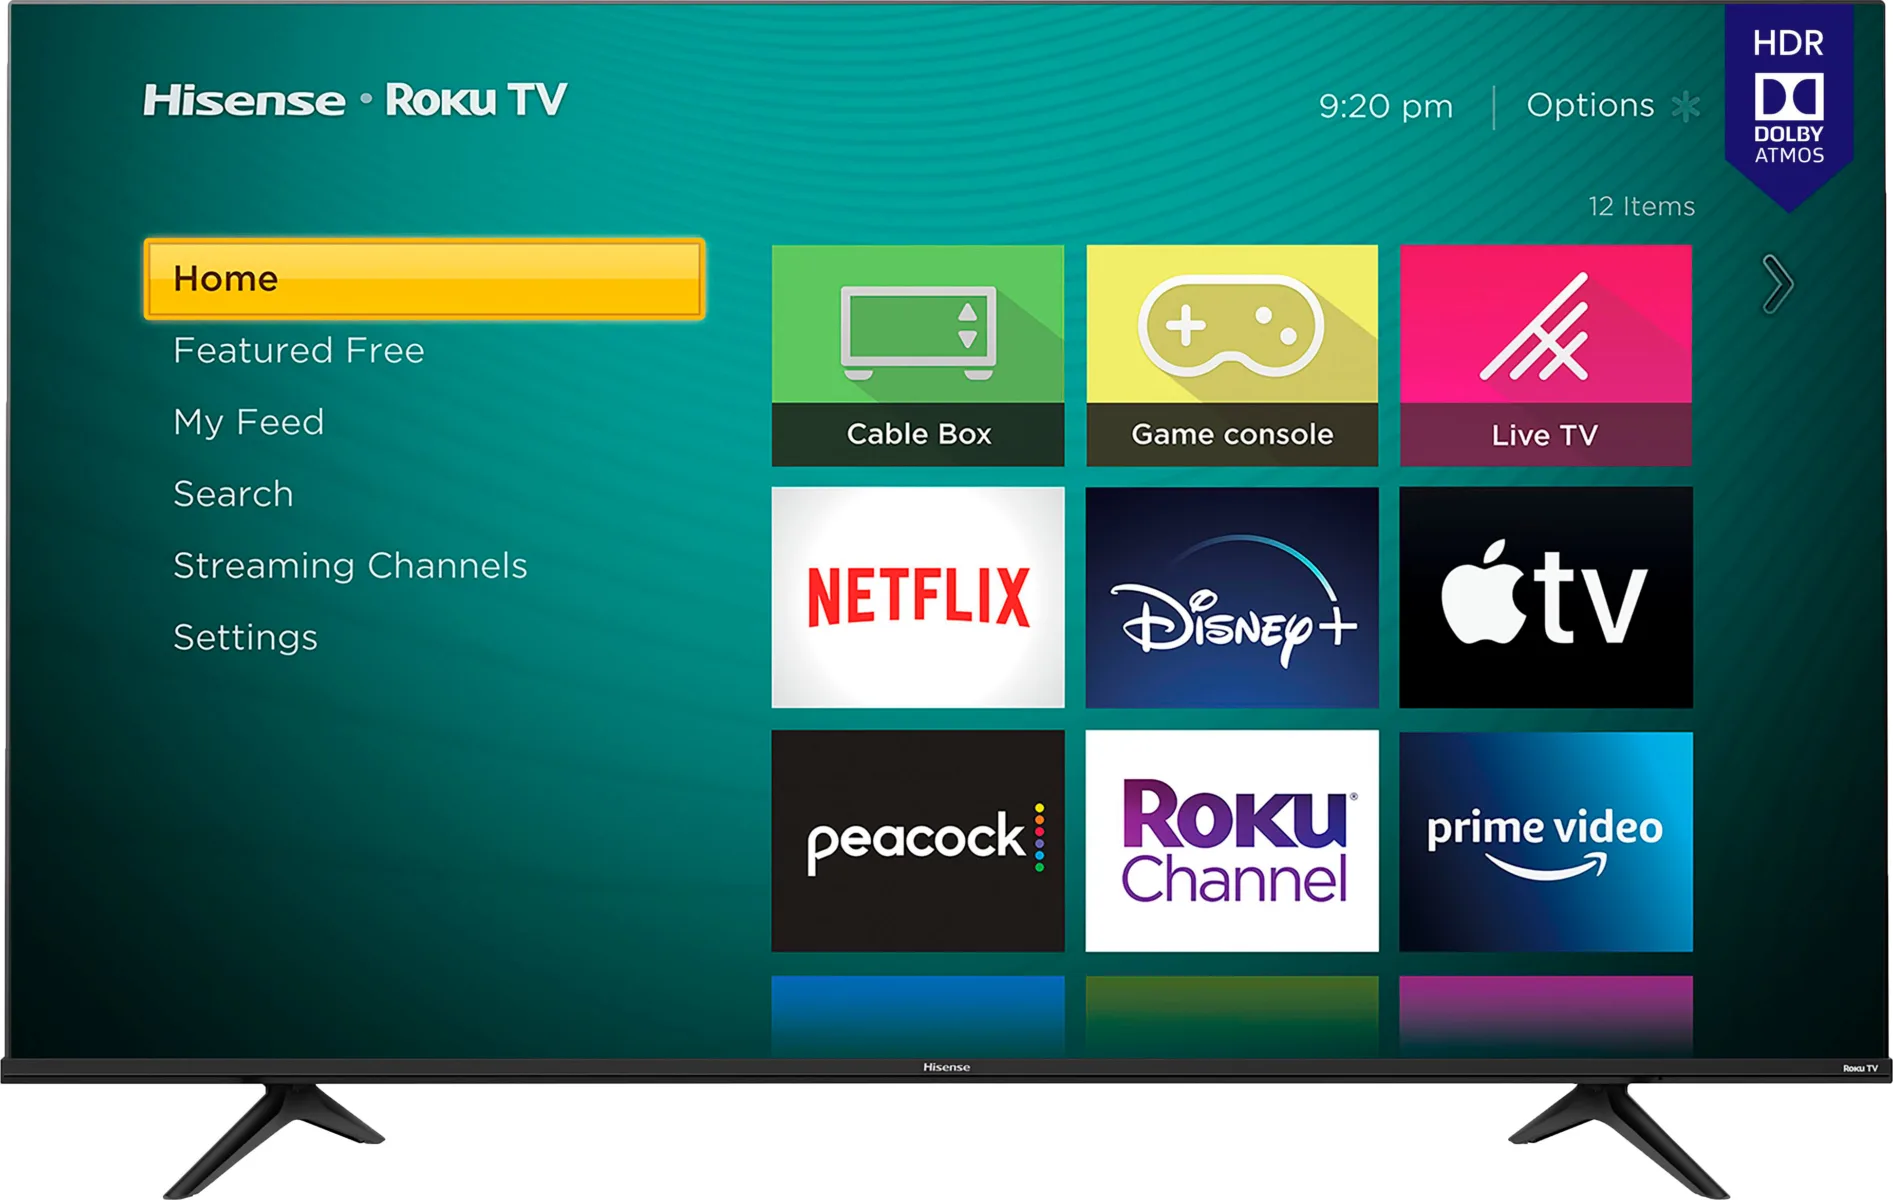
Changing the HDMI on a Roku Without a Remote
To change the HDMI input on your Roku without a remote, you can follow these steps:
1. Turn on your TCL Roku TV by pressing the Power button located on the TV.
2. Look for the buttons on your TCL Roku TV that control the settings, including the HDMI input. These buttons may be located on the right or left side of the TV or below the TCL logo.
3. Press and hold the Power and Volume buttons on your TCL Roku TV at the same time until the options menu appears on the screen.
4. Use the volume buttons to select the input option from the HDMI ports displayed on the screen.
5. Once you have selected the desired HDMI input, press the Power button again to confirm your selection.
Alternatively, if your TCL Roku TV has a mobile app remote, you can use it to change the HDMI input. Simply connect your mobile device to the same Wi-Fi network as your TCL Roku TV, launch the app, and select the input option from the remote control screen.
Changing the HDMI input on your Roku without a remote is possible by using the buttons on your TCL Roku TV or the mobile app remote.
Changing the Output on a Roku Device
To change the audio output on your Roku, you need to follow these steps:
1. Press the Home button on your Roku TV remote to go to the home screen.
2. Scroll and select Settings.
3. In the Settings menu, select Audio.
4. Select Audio Output.
5. Choose the audio output you want to use from the options available. You can select Wireless speakers or a Wireless soundbar if you have them connected to your Roku device.
6. If you want to use the built-in TV speakers along with other audio outputs, select TV speakers.
By following these steps, you can easily change the audio output on your Roku and enjoy your favorite shows and movies with the audio output of your choice.
Troubleshooting HDMI Issues with Roku
There could be several reasons why your HDMI is not working on your Roku. One reason could be a faulty HDMI cable. It’s advisable to check the cable for defects and try using a different cable, preferably one that is less than 6 feet long.
Another reason could be a problem with the HDMI input on your TV, AVR, or soundbar. Test a different HDMI input on your device to see if the issue persists. It’s also worth trying to connect your Roku player directly to your TV if you are using an HDMI switch, AVR, or soundbar.
It’s also possible that your Roku player’s software needs to be updated. Go to the Roku settings and check for software updates. If an update is available, install it and test to see if the HDMI connection is working correctly.
Lastly, a hardware issue with your Roku player could be the cause of the problem. In this case, you may need to contact Roku customer support for further assistance.
Switching to HDMI 2 on TCL
To switch to HDMI 2 on your TCL Roku TV, you need to follow the below steps:
1. First, turn on your TCL Roku TV and ensure that Control Center is connected to it.
2. Using your remote, press the Home button to open the main menu.
3. From the main menu, select the Settings option.
4. In the Settings menu, select the TV inputs option.
5. From the TV inputs menu, select the input that Control Center is connected to.
6. Once you have selected the input, click on the HDMI mode option.
7. In the HDMI mode menu, check the box for HDMI 2.0.
8. After checking the box, press the Back button on the remote to save the changes.
By following these steps, you can easily switch to HDMI 2 on your TCL Roku TV and enjoy high-quality video and audio output on your TV.
Conclusion
Roku TV is an excellent choice for those who want a high-quality viewing experience without the hassle of multiple devices. With its easy setup process, intuitive interface, and extensive library of streaming options, Roku TV is a great addition to any home entertainment system. The TCL Roku TV, in particular, offers impressive picture quality, a sleek design, and a voice-controlled remote for added convenience. Additionally, the ability to switch audio outputs and troubleshoot common issues makes Roku TV a user-friendly option for anyone looking to cut the cord and embrace streaming services. Roku TV is a reliable and versatile option that provides a seamless viewing experience for all types of content.


