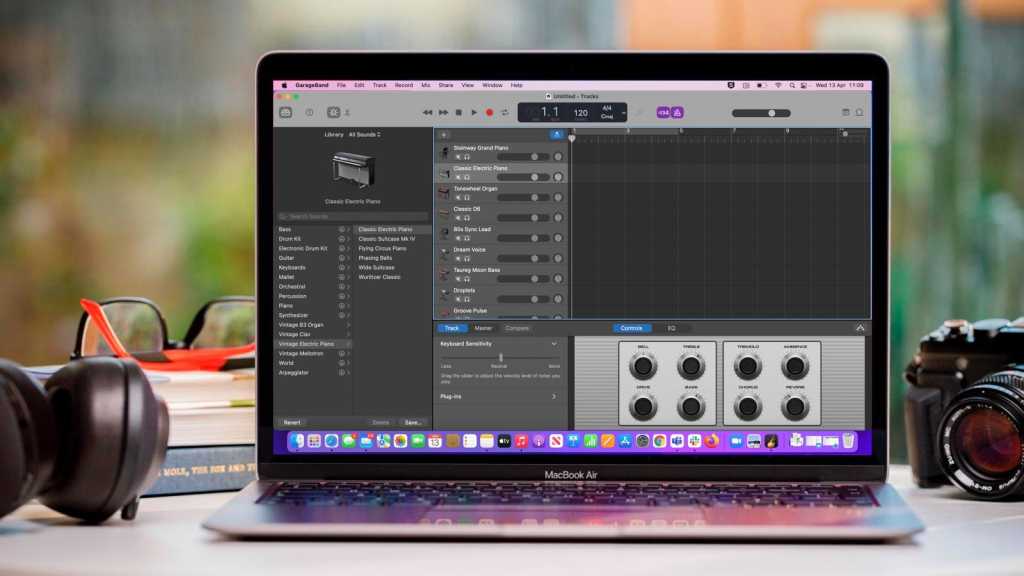
Recording high-quality audio in GarageBand on a Mac can be a challenge, especially when using a laptop with built-in audio. A frequent problem is feedback, which happens when the microphone captures sound from the speakers, creating a disruptive noise loop during recording.
This might degrade sound quality, making it challenging to achieve a clean recording. Understanding and preventing feedback is crucial for any GarageBand user aiming for professional results.
In this guide, we’ll explore the problem of feedback in detail and provide practical tips to help you maintain crisp, clear audio while recording on your Mac.
The Causes of Feedback in GarageBand
In GarageBand, feedback is a common issue that occurs due to the feedback loop. This phenomenon happens when the microphone picks up audio from the speakers, causing it to be re-amplified and broadcast again.
This audio signal repeatedly cycles through, leading to a high-pitched squeal or unwanted noise. The problem is often exacerbated by the proximity of your microphone to your speakers, which is a frequent scenario with laptop setups.
To minimize feedback, it’s crucial to create some distance between your microphone and speakers and adjust your amplification settings to avoid this disruptive feedback loop.
Understanding Input Monitoring
Input monitoring allows you to hear yourself live while recording, helping you ensure that everything sounds right in real-time. When enabled in the GarageBand track header, this feature feeds your live audio back through your headphones or speakers, which can be invaluable for keeping track of your performance.
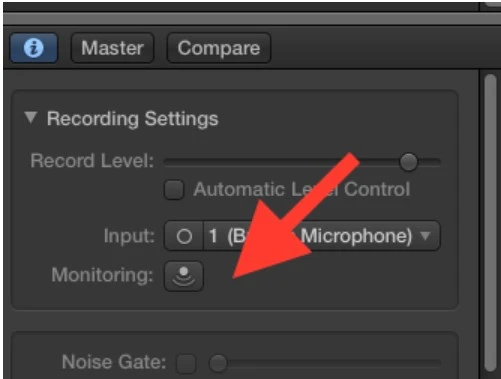
However, it’s also the main culprit behind feedback, as the live audio can loop back into the microphone, creating that annoying high-pitched squeal. To manage this, you need to fine-tune your recording settings to balance hearing yourself with minimizing feedback.
Reducing Background Noise
Background noise reduction involves minimizing sounds from fans, room acoustics, and other ambient sources. When the microphone gain is increased to compensate for a quiet signal, it can amplify these unwanted noises, leading to feedback.
To achieve a quiet recording environment, it’s essential to focus on noise isolation techniques, such as using soundproofing materials and positioning the microphone away from noise sources.
Implementing acoustic treatments, like foam panels or bass traps, can also help absorb excess sound and reduce reflections, ensuring a clearer and more professional recording.
Steps to Prevent Feedback
Use Headphones
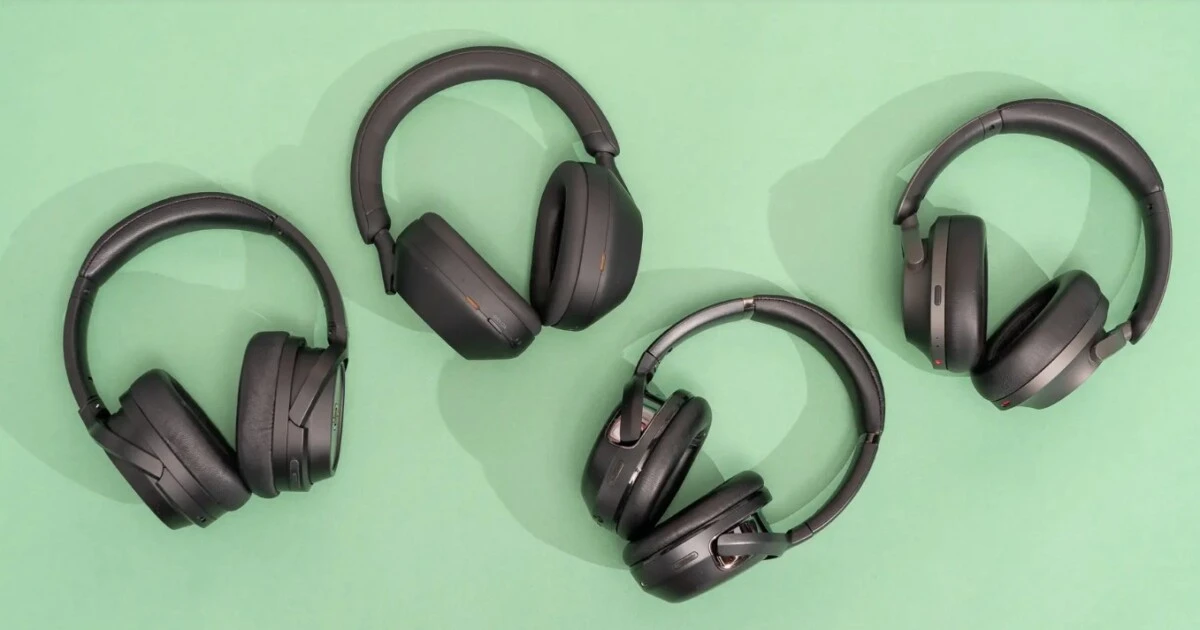
When you use headphones or earbuds, you achieve audio isolation by separating the output device from the microphone. This separation prevents the sound from the output device from being picked up by the microphone, effectively breaking the feedback loop. You can record clean audio without unwanted noise by ensuring that the output device is isolated.
Turn Off Input Monitoring
One effective way to prevent feedback is by turning off input monitoring. To do this, locate the monitoring button in the track header.
Click this button to access the track settings. From there, you can disable monitoring to ensure that no input sound is fed back through your speakers or headphones. This step-by-step guide helps you quickly and easily stop feedback, making your recording process smoother and more professional.
Optimize Microphone and Speaker Placement
Microphone placement and speaker placement are crucial to prevent feedback when recording in GarageBand on Mac. Start by ensuring the microphone is positioned at the greatest possible distance from the speakers.
This reduces the likelihood of sound loops that cause feedback. If feedback persists, try adjusting the volume control by lowering the overall levels. Ensuring that the speakers are not directly facing the microphone can also help minimize feedback.
Invest in an Audio Interface
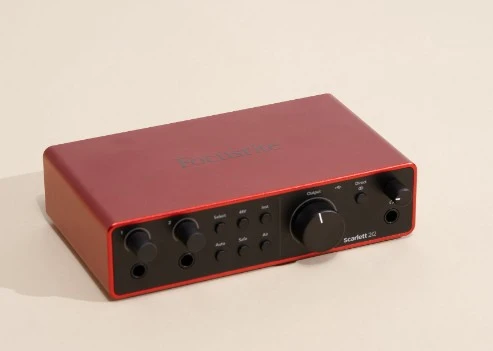
An audio interface serves as a conduit between your computer and professional recording equipment, allowing you to connect an external microphone and external speakers with ease. Unlike built-in computer audio systems, an audio interface is designed to handle high-quality audio signals, significantly reducing the feedback risk.
Using an audio interface ensures that your professional recording setup maintains clarity and precision, minimizing unwanted noise and enhancing the overall recording experience.
Additional Tips and Troubleshooting
Noise Gates and Filters
A noise gate helps eliminate unwanted sounds by allowing audio signals above a certain threshold to pass through while blocking quieter, unnecessary noise. This is particularly useful for feedback suppression during recording sessions.
Using an audio filter allows you to manipulate and control specific frequencies within your track. You can reduce or enhance certain sounds by applying frequency control to prevent feedback. These tools are essential for ensuring your recordings are clean and professional.
Directional Microphones
Using a directional microphone can significantly improve sound quality and reduce feedback when recording in GarageBand on your Mac. These microphones are designed to focus on the sound source directly in front of them, which is achieved through a cardioid pattern.
Engineered to focus on front-facing sound, this design effectively reduces peripheral noise. By focusing on the desired sound and implementing noise reduction, directional microphones help eliminate background sounds that could cause feedback.
Troubleshooting Specific Situations
Recording with multiple instruments in GarageBand can sometimes lead to frustrating feedback issues. Instrument isolation is crucial to avoid cross-talk and unwanted noise when dealing with multi-track recording.
Ensure each instrument is properly isolated using separate rooms or soundproof barriers. Additionally, ensure all cables are in good condition and free from interference.
Troubleshooting common feedback problems involves checking the levels and positions of microphones and speakers. Keep microphones at a distance from speakers to avoid potential feedback issues.
Conclusion
Preventing feedback while recording in GarageBand on Mac is straightforward, with a few key steps. By adjusting your input settings, positioning your microphone correctly, and using headphones, you can achieve clean recordings that elevate your work.
This ensures a professional audio quality, making your projects stand out. Implementing these GarageBand tips simplifies your workflow and enhances the overall recording experience, allowing you to focus on creativity without technical disruptions.


