Karaoke is a popular form of entertainment that allows people to sing along to their favorite songs. With advancements in technology, it is now possible to turn any Smart TV into an unlimited karaoke player. In this article, we will explore how to connect your karaoke machine to your television and start singing right away.
To begin, you will need an RCA cable to connect the audio wires from your karaoke machine to the back of your television. Look for a set of Red and White RCA plugs on the back of your TV labeled “Audio In” or something similar. Use one of these outlets to connect the sound from your karaoke device.
Next, connect your Singa device to your television using an HDMI cable. The Singa device is a karaoke mixing amplifier that allows you to access an unlimited library of songs through YouTube. Simply plug the HDMI cable into the Singa device and the other end into an available HDMI port on your TV.
Lastly, if you plan on using microphones for your karaoke sessions, connect them to the suitable channels in the mixer using an HDMI cable. This will allow you to amplify your voice and control the sound levels during your singing performances.
Once everything is connected, you can start the karaoke fun! Use the remote control or the Singa app on your smartphone to browse through the vast selection of songs available on YouTube. Select the song you want to sing, adjust the volume levels, and get ready to showcase your vocal skills.
Karaoke is a great way to have fun with friends and family, and with the ability to turn your Smart TV into an unlimited karaoke player, the possibilities are endless. Whether you are hosting a karaoke night at home or just want to sing along to your favorite tunes, connecting your karaoke machine to your TV is a simple and enjoyable process.
So, gather your friends, warm up those vocal cords, and get ready to sing your heart out with your very own karaoke setup. With the right connections and a Smart TV, you can create a memorable karaoke experience right in the comfort of your own home. Happy singing!

How Can You Connect Your Karaoke to Your TV?
To connect your karaoke machine to your TV, you will need an RCA cable. This cable has red and white audio wires on one end and red and white RCA plugs on the other end. Follow these steps to connect them:
1. Locate the audio output ports on your karaoke machine. They are usually labeled “Audio Out” or “Line Out.” These ports may also be color-coded, with red and white indicating the right and left audio channels.
2. Plug the red and white audio wires into the corresponding audio output ports on your karaoke machine. Make sure to insert them firmly to ensure a secure connection.
3. Now, locate the audio input ports on the back of your TV. Look for labels like “Audio In” or “AV In.” These ports are usually color-coded as well, with red and white indicating the right and left audio channels.
4. Connect the red and white RCA plugs on the other end of the RCA cable to the corresponding audio input ports on your TV. Again, ensure a secure connection by pushing them in firmly.
5. Once the cables are connected, power on your karaoke machine and TV.
6. On your TV, select the appropriate input source that corresponds to the audio input ports you used. This can usually be done by using the remote control or the TV’s menu options. Look for options like “AV Input” or “Auxiliary Input.”
7. Adjust the volume on both your karaoke machine and TV to a comfortable level.
Your karaoke machine’s audio should now be playing through your TV’s speakers. You can now enjoy singing along to your favorite songs on a bigger screen with better sound quality.
Note: If your TV does not have audio input ports, you may need to use an alternative method such as using an HDMI cable or a digital audio cable if your karaoke machine supports those connections. Refer to the respective user manuals for detailed instructions on these alternative methods.
How Do You Set Up a Karaoke Machine?
To set up a karaoke machine, follow these steps:
1. Connect your karaoke device to the mixer: Use an RCA cable to connect the sound output from your karaoke device to a suitable channel on the mixer. This will allow the audio from the karaoke machine to be mixed and controlled.
2. Connect the Singa device to your screen: Use an HDMI cable to connect your Singa device to your screen. This will enable you to display the karaoke lyrics and videos on the screen while using the karaoke machine.
3. Plug in the microphones: Connect your microphones to the suitable channels on the mixer. Use XLR or TRS cables to ensure proper audio connection. Make sure to use the appropriate channels for each microphone.
4. Adjust the mixer settings: On the mixer, adjust the volume levels for the karaoke device and microphones. You can also adjust the equalizer settings to enhance the sound quality. Take your time to find the right balance and sound levels for a great karaoke experience.
5. Test the setup: Before starting your karaoke session, test the setup by playing a song and singing into the microphones. Make sure the audio is clear and the lyrics are displayed correctly on the screen. Adjust any settings if necessary.
6. Start singing: Once everything is set up and tested, you are ready to start singing! Choose a song, grab a microphone, and enjoy your karaoke session.
Note: Make sure to read the user manual provided with your karaoke machine and mixer for specific instructions and troubleshooting tips.
Does a Smart TV Have Karaoke?
A smart TV can be used for karaoke. Smart TVs have the capability to connect to the internet, which means you can access various karaoke applications or websites. One popular option is to connect your smart TV to YouTube, which has a vast library of karaoke songs available for free.
To use your smart TV for karaoke, you will need to follow these steps:
1. Ensure that your smart TV is connected to the internet. Most smart TVs have built-in Wi-Fi, but you can also connect via an Ethernet cable.
2. Navigate to the app store on your smart TV and search for karaoke applications. There are several options available, so choose one that suits your preferences.
3. Install the selected karaoke app on your smart TV. Follow the instructions provided by the app to set it up.
4. Once the app is installed and set up, you can browse through its library of songs and select the ones you want to sing. Some karaoke apps may require a subscription or offer in-app purchases for access to premium content.
5. Alternatively, you can open the YouTube app on your smart TV and search for karaoke songs. Many YouTube channels offer karaoke versions of popular songs, allowing you to sing along with the lyrics displayed on the screen.
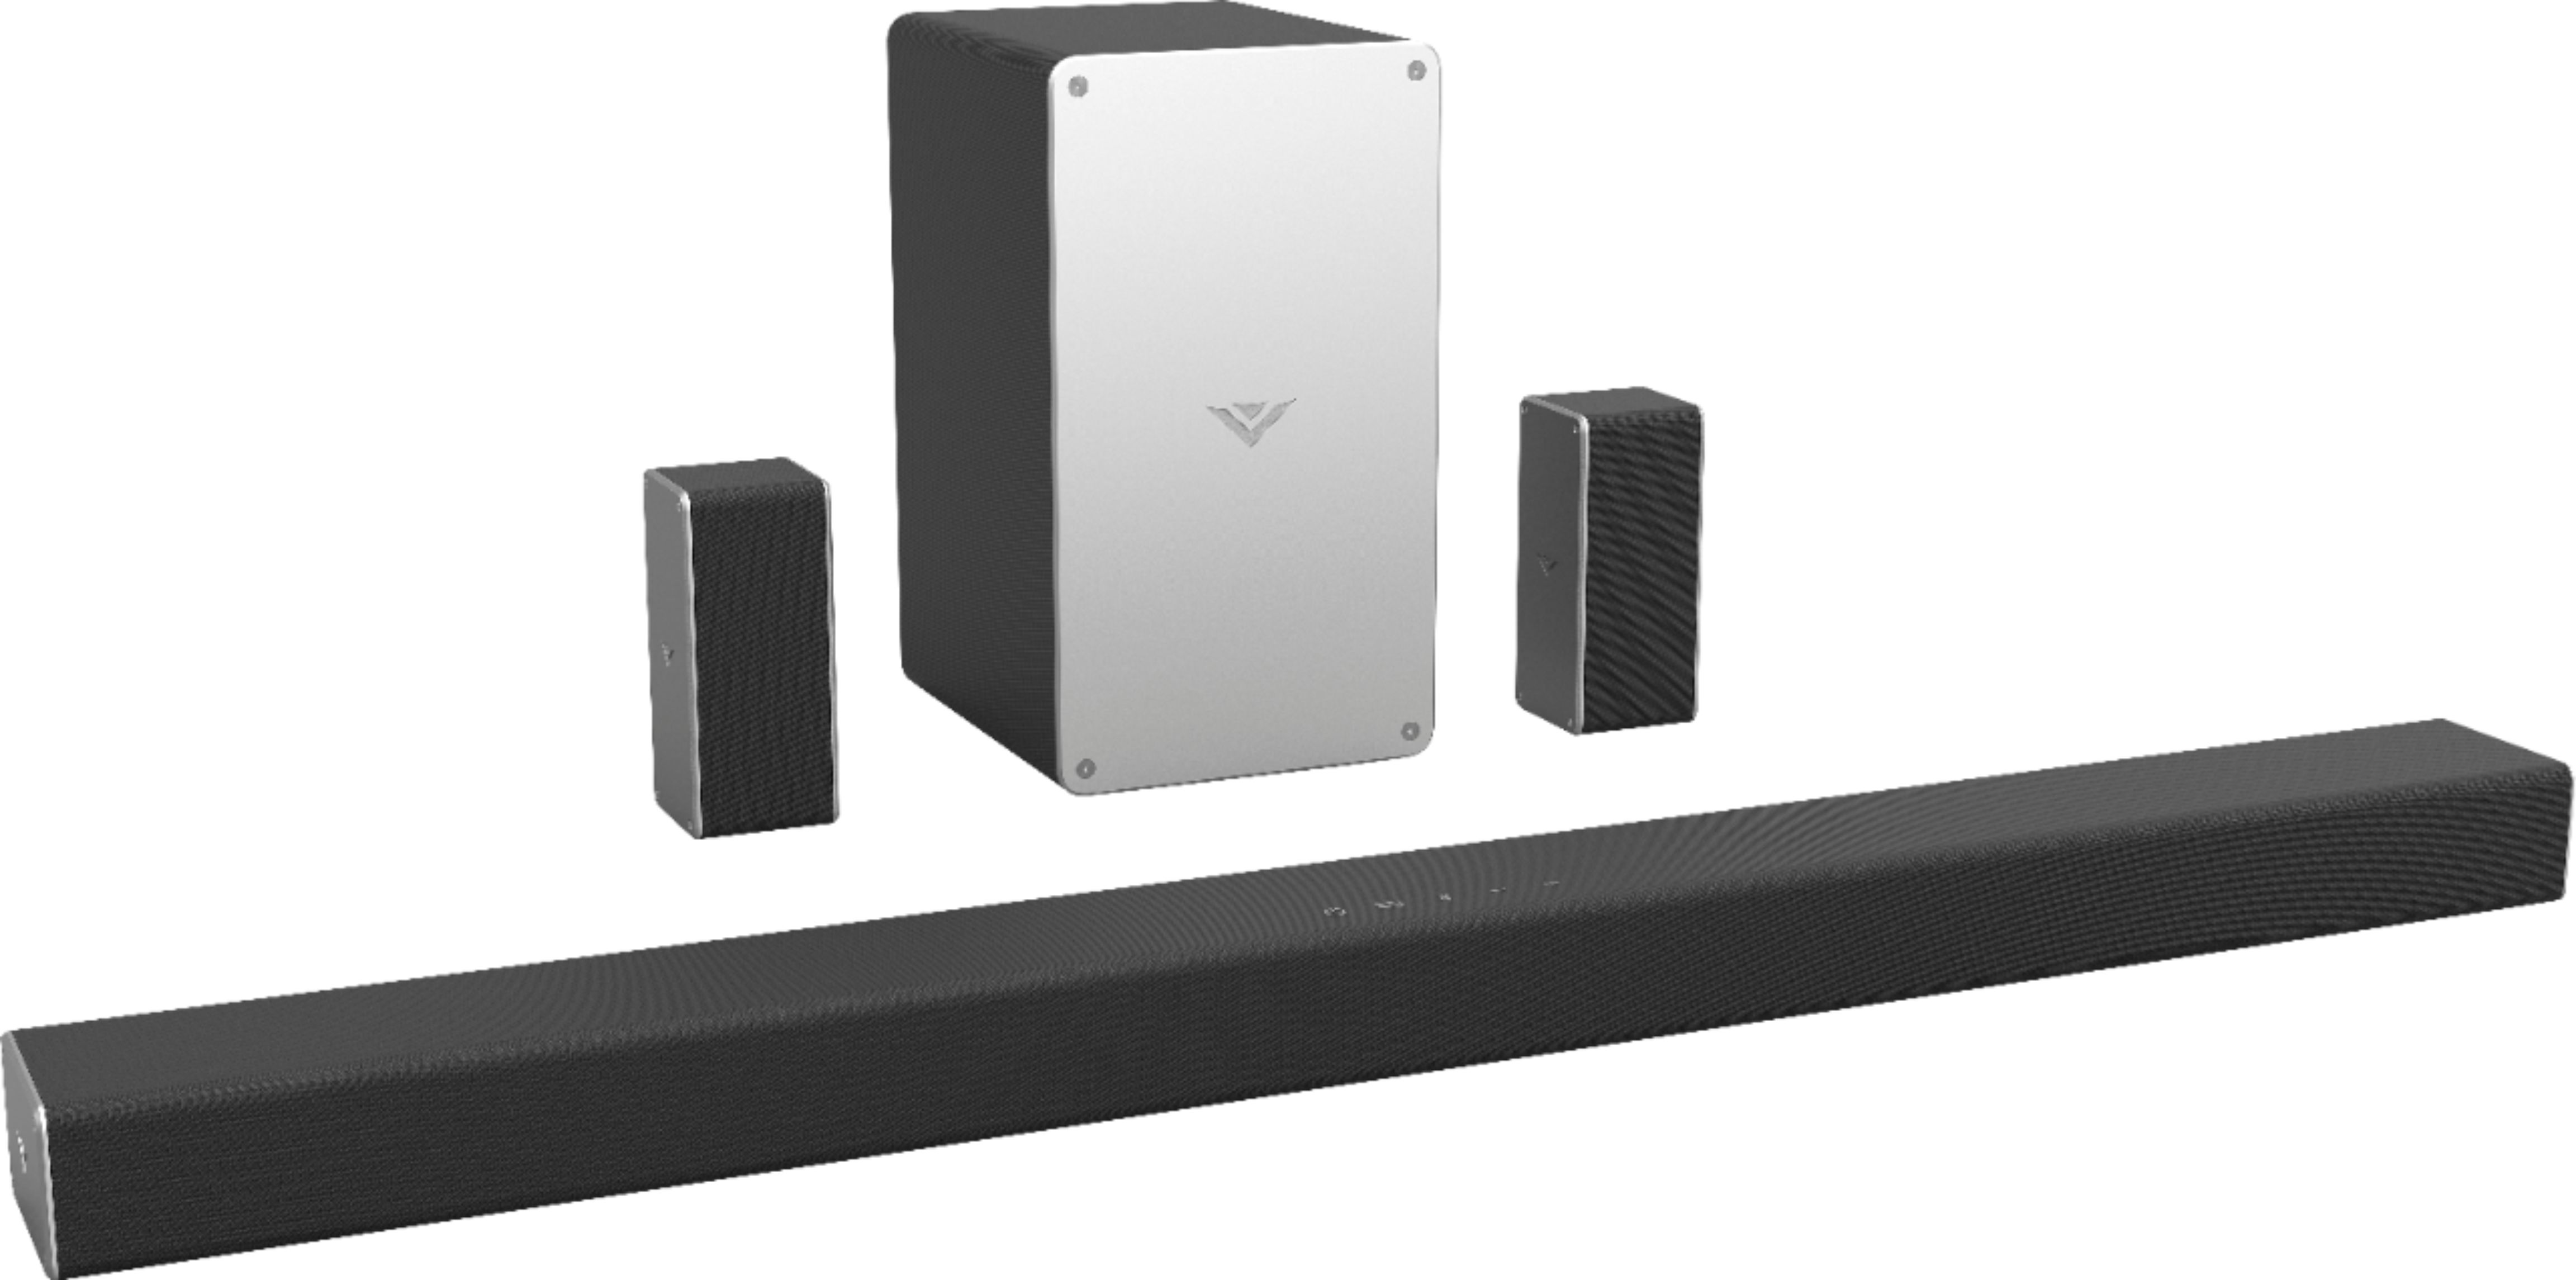
6. Connect your smart TV to a sound system or a karaoke mixing amplifier to enhance the audio quality. This will provide better sound output and allow you to adjust the microphone and music volume levels.
7. grab a microphone and start singing! Enjoy the karaoke experience from the comfort of your own home.
Conclusion
A karaoke machine is a fantastic entertainment device that allows you to sing along to your favorite songs. It provides hours of fun and can be enjoyed by individuals of all ages. Whether you’re hosting a party, having a family gathering, or simply want to have a solo singing session, a karaoke machine is the perfect addition to any event. With the ability to connect to your television and access a vast library of songs, you can turn any Smart TV into an unlimited karaoke player. By connecting your karaoke machine to a mixing amplifier, you can enhance the sound quality and have a professional karaoke experience. So, if you’re looking for a way to bring the joy of singing into your home, consider investing in a karaoke machine. It’s easy to set up, loads of fun, and guarantees to create lasting memories with friends and family.


