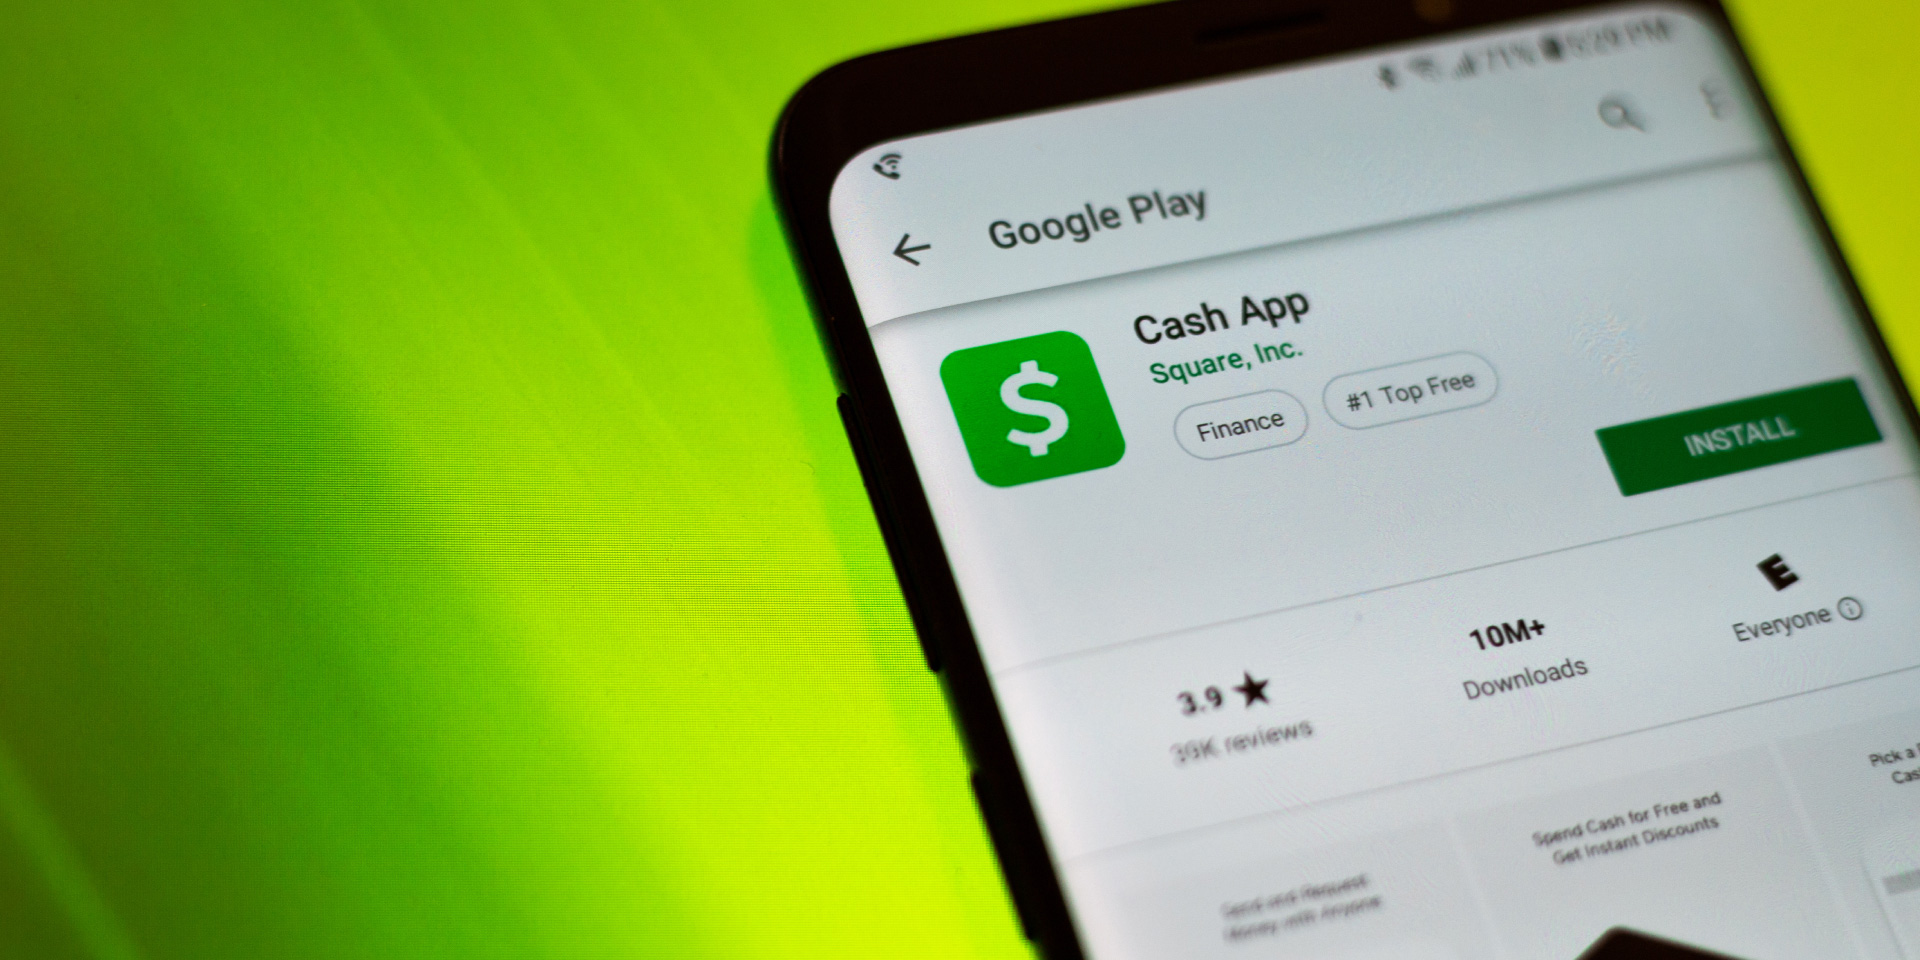
Cash App is a popular mobile payment service that allows users to send and receive money quickly and easily. With just a few simple steps, you can set up your Cash App account and start accepting payments from customers.
To get started, you’ll need a bank account, email address, phone number, and basic personal information such as your name and address. You’ll also need to provide identification, such as a driver’s license or passport, and your Social Security number or Employer Identification Number (EIN).
Once your account is set up, you’ll be assigned a unique cashtag, which is like your Cash App username. This cashtag is what you’ll share with your customers to receive payments. You can also set up payment links that you can share via email or social media.
It’s important to note that verified emails from Cash App will always come from addresses ending in @cash.app, @square.com, or @squareup.com. If you receive any emails claiming to be from Cash App but have a different email address, be cautious as it may be a phishing attempt.
As a Cash App for Business customer, you have the option to connect with your customers by sharing your Cash App QR Code, $Cashtag, or the email/phone number associated with your account. This makes it easy for your customers to send you payments directly through Cash App.
When you receive payments through Cash App for Business, there is a processing fee of 2.75% deducted from each payment. However, Cash App for Business accounts do not pay fees for Instant Deposits, which means you can access your funds instantly.
If you have an open brokerage account, you may also receive emails from support@drivewealth.com. This is a legitimate email address and is related to Cash App for Business accounts.
It’s worth mentioning that as a Cash App for Business customer, you may receive a Form 1099-K. This form is used to report payment card and third-party network transactions, and it’s important for tax purposes.
Setting up a Cash App account for your business is a straightforward process. By providing the necessary information and sharing your unique cashtag or payment links, you can start accepting payments from your customers conveniently and securely.

Does a Business Cash App Need Your Email?
A business Cash App account requires an email address. When setting up your business Cash App account, you will be prompted to provide your email address as part of the registration process. This email address will be used for important account notifications, transaction confirmations, and communication from the Cash App team.
Having a valid email address associated with your business Cash App account is essential for staying informed about your financial transactions and account activity. It allows you to receive updates and notifications regarding payments received, refunds, and any changes or updates to the Cash App services.
Furthermore, your email address is crucial for account recovery and security purposes. In the event that you forget your account password or need to verify your identity, Cash App may utilize your email address to send you instructions or verification codes.
By providing your email address, you ensure that you have a reliable means of communication with Cash App, which is essential for managing and safeguarding your business transactions.
What is Cash App Email Address?
Cash App email addresses typically end in @cash.app, @square.com, or @squareup.com. These are the verified email domains used by Cash App for official communication with its users. It is important to note that emails from these addresses are legitimate and can be trusted.
Furthermore, if you have an open brokerage account with Cash App, you may also receive emails from support@drivewealth.com. This is because Cash App partners with DriveWealth, a registered broker-dealer, to provide brokerage services. If you have any questions or concerns regarding your brokerage account, you can reach out to support@drivewealth.com for assistance.
How Do You Receive Money From Your Cash App Business Account?
To receive money from your Cash App business account, you can share your Cash App QR Code, $Cashtag, or email/phone number associated with your account with your customers. Here’s a detailed explanation of each method:
1. Cash App QR Code:
– Open your Cash App on your mobile device.
– Tap on the “Profile” icon located at the top left corner.
– Scroll down and select “Cash App QR.”
– Your unique QR code will be displayed on the screen.
– Ask your customers to open their Cash App, tap on the “Scan” icon, and scan your QR code.
– Once scanned, they can enter the amount and proceed with the payment.
2. $Cashtag:
– Your $Cashtag is a unique username associated with your Cash App account.
– Share your $Cashtag with your customers, either verbally or by displaying it on your website, social media profiles, or marketing materials.
– Ask your customers to open their Cash App, tap on the “$” icon, and enter your $Cashtag in the To field.
– They can then enter the amount and proceed with the payment.
3. Email/Phone Number:
– Share the email address or phone number associated with your Cash App account with your customers.
– Ask your customers to open their Cash App, tap on the “$” icon, and enter your email address or phone number in the To field.
– They can then enter the amount and proceed with the payment.
Bullet List Summary:
– To receive money, share your Cash App QR Code, $Cashtag, or email/phone number.
– Cash App QR Code: Open Cash App, go to Profile > Cash App QR, and ask customers to scan it.
– $Cashtag: Share your unique $Cashtag and ask customers to enter it in the To field.
– Email/Phone Number: Share your associated email address or phone number and ask customers to enter it in the To field.
By using any of these methods, you can easily receive payments from your customers who use Cash App for their transactions.
What Happens When You Make Your Cash App a Business Account?
When you convert your Cash App to a business account, there are several changes and benefits that you will experience. Here’s what happens when you make your Cash App a business account:
1. Business Profile: You will have the option to create a separate business profile with your business name and details. This helps in distinguishing your personal and business transactions.
2. Business Account Dashboard: You gain access to a dedicated business account dashboard within the Cash App. This dashboard provides you with tools and features specifically designed for managing your business finances.
3. Business Payments: With a business account, you can accept payments from your customers using your unique $cashtag, QR code, or through invoices. This makes it easier for your customers to pay you, and the funds will be directly deposited into your business account.
4. Business Insights: The Cash App business account provides you with detailed insights and analytics about your transactions. You can track your sales, view payment history, and analyze customer behavior to make informed business decisions.
5. Additional Security: Cash App for Business offers enhanced security features to protect your business transactions. These include two-factor authentication and the ability to limit employee access to your business account.
6. Multiple Users: If you have employees or partners, you can grant them access to your business account and set different permission levels for each user. This allows for easy collaboration and delegation of financial tasks.
7. Instant Deposits: As a Cash App for Business user, you get access to Instant Deposits without any additional fees. This means you can instantly transfer funds from your business account to your linked bank account, ensuring quick access to your funds.
8. Invoicing: Cash App for Business allows you to create and send professional invoices to your customers. You can customize the invoices with your business logo, itemized details, and payment instructions, making it convenient for your customers to pay you.
9. 2.75% Processing Fee: It’s important to note that Cash App deducts a 2.75% processing fee on each payment you receive to your business account. This fee helps cover the costs associated with processing the transactions.
10. Tax Reporting: Cash App for Business provides you with a Form 1099-K if you meet the IRS criteria. This form summarizes your annual transactions and helps with tax reporting.
Converting your Cash App to a business account offers several benefits and features tailored for managing your business finances effectively.
Conclusion
Cash App is a convenient and user-friendly platform that allows individuals and businesses to easily send and receive money. Setting up an account is simple, requiring only basic personal information and a bank account. Once your account is set up, you can create a unique cashtag and start accepting payments from customers.
Cash App offers various features for businesses, including the ability to create payment links and share your Cash App QR code. You can also connect with your customers by providing them with your $Cashtag, email address, or phone number associated with your account.
One of the advantages of using Cash App for Business is the instant access to funds. You do not have to wait for funds to be transferred to your bank account, as Cash App offers instant deposits. Additionally, Cash App for Business accounts do not pay fees for instant deposits.
It is important to note that Cash App charges a 2.75% processing fee on each payment received to your business account. This fee is automatically deducted from the payment.
Lastly, it is worth mentioning that Cash App may issue a Form 1099-K if you meet certain thresholds. This form reports your annual transaction volume to the IRS.
Cash App is a reliable and efficient platform for businesses to easily manage and accept payments. With its user-friendly interface and instant access to funds, Cash App is a great option for businesses of all sizes.


