Have you ever wondered how to make the most of Preview on your Mac? Preview is a powerful tool that allows you to view and edit various file types, including documents, images, and PDFs. In addition to its basic functions, Preview also offers a range of settings that can enhance your user experience and productivity. In this article, we will explore some of the essential Preview settings and how you can customize them to suit your needs.
1. Adjusting the Preview Window Size:
By default, Preview opens files in a window that fits the content. However, you can change this setting to always open files in a specific window size. To do this, go to the “Preview” menu, select “Preferences,” and navigate to the “Images” tab. Here, you can choose a fixed window size or set it to “Automatically resize window to fit contents” for a dynamic adjustment.
2. Customizing the Toolbar:
The toolbar in Preview contains various tools and shortcuts that can help you navigate and edit your files efficiently. To customize the toolbar, go to the “View” menu and select “Customize Toolbar.” Here, you can add, remove, or rearrange the available icons to create a toolbar that suits your workflow.
3. Enabling the Sidebar:
The sidebar in Preview provides quick access to thumbnails, bookmarks, and annotations, making it easier to navigate through multipage documents or large image collections. To enable the sidebar, go to the “View” menu and select “Show Sidebar.” You can also customize the sidebar by adding or removing certain elements, such as thumbnails or table of contents.
4. Utilizing the Markup Tools:
Preview offers a range of markup tools that allow you to annotate and highlight your documents or images. These tools include text boxes, shapes, lines, arrows, and more. To access the markup tools, go to the “Markup Toolbar” icon in the toolbar or press Command+Shift+A. Experiment with these tools to add comments, draw attention, or emphasize specific areas of your files.
5. Managing Metadata and Exif Information:
Preview provides detailed metadata information for each file, such as creation date, file type, dimensions, and camera or lens model for images. To view this information, go to the “Tools” menu and select “Show Inspector” or use the keyboard shortcut Command+I. The Inspector panel will display all the available metadata for the selected file.
6. Customizing Quick Look:
Quick Look is a handy feature in Finder that allows you to preview files without opening them in their respective applications. To customize Quick Look settings, go to the “Preview” menu and select “Preferences.” Here, you can enable/disable specific file types for Quick Look, adjust the preview size, or enable full-screen mode for a more immersive experience.
7. Configuring PDF Viewing Options:
If you frequently work with PDF files, Preview offers several viewing options to enhance your PDF reading experience. For instance, you can enable the table of contents sidebar, show page thumbnails, or enable continuous scrolling. To access these options, go to the “View” menu and explore the various PDF-specific settings.
Preview on Mac is a powerful and versatile tool for viewing and editing files. By customizing its settings, you can optimize your workflow and make the most of its features. From adjusting window sizes to customizing toolbars and utilizing markup tools, Preview offers a range of options to suit your preferences. Explore these settings, experiment with different configurations, and tailor Preview to your specific needs. Happy previewing!
What is the Preview Menu On a Mac?
The Preview menu on a Mac is a feature within the Finder window that provides users with a quick overview of a document or image without having to open it. It offers a small view or thumbnail of the file’s contents, allowing users to get a glimpse of what the document contains or what the image looks like. This can be particularly useful when trying to quickly locate a specific file or when browsing through a large number of documents or images.
In addition to the visual preview, the Preview menu also provides users with a comprehensive list of metadata for the file. Metadata includes information such as the file’s name, size, creation date, and modification date. This can be helpful for quickly checking details about a file without having to open it or rely solely on the file name.
Furthermore, the Preview menu can display additional metadata specific to certain file types. For example, for images, it can show information about the camera or lens model used, the exposure settings, and other technical details. This is particularly valuable for photographers or anyone working with image files who may need to access this information quickly.
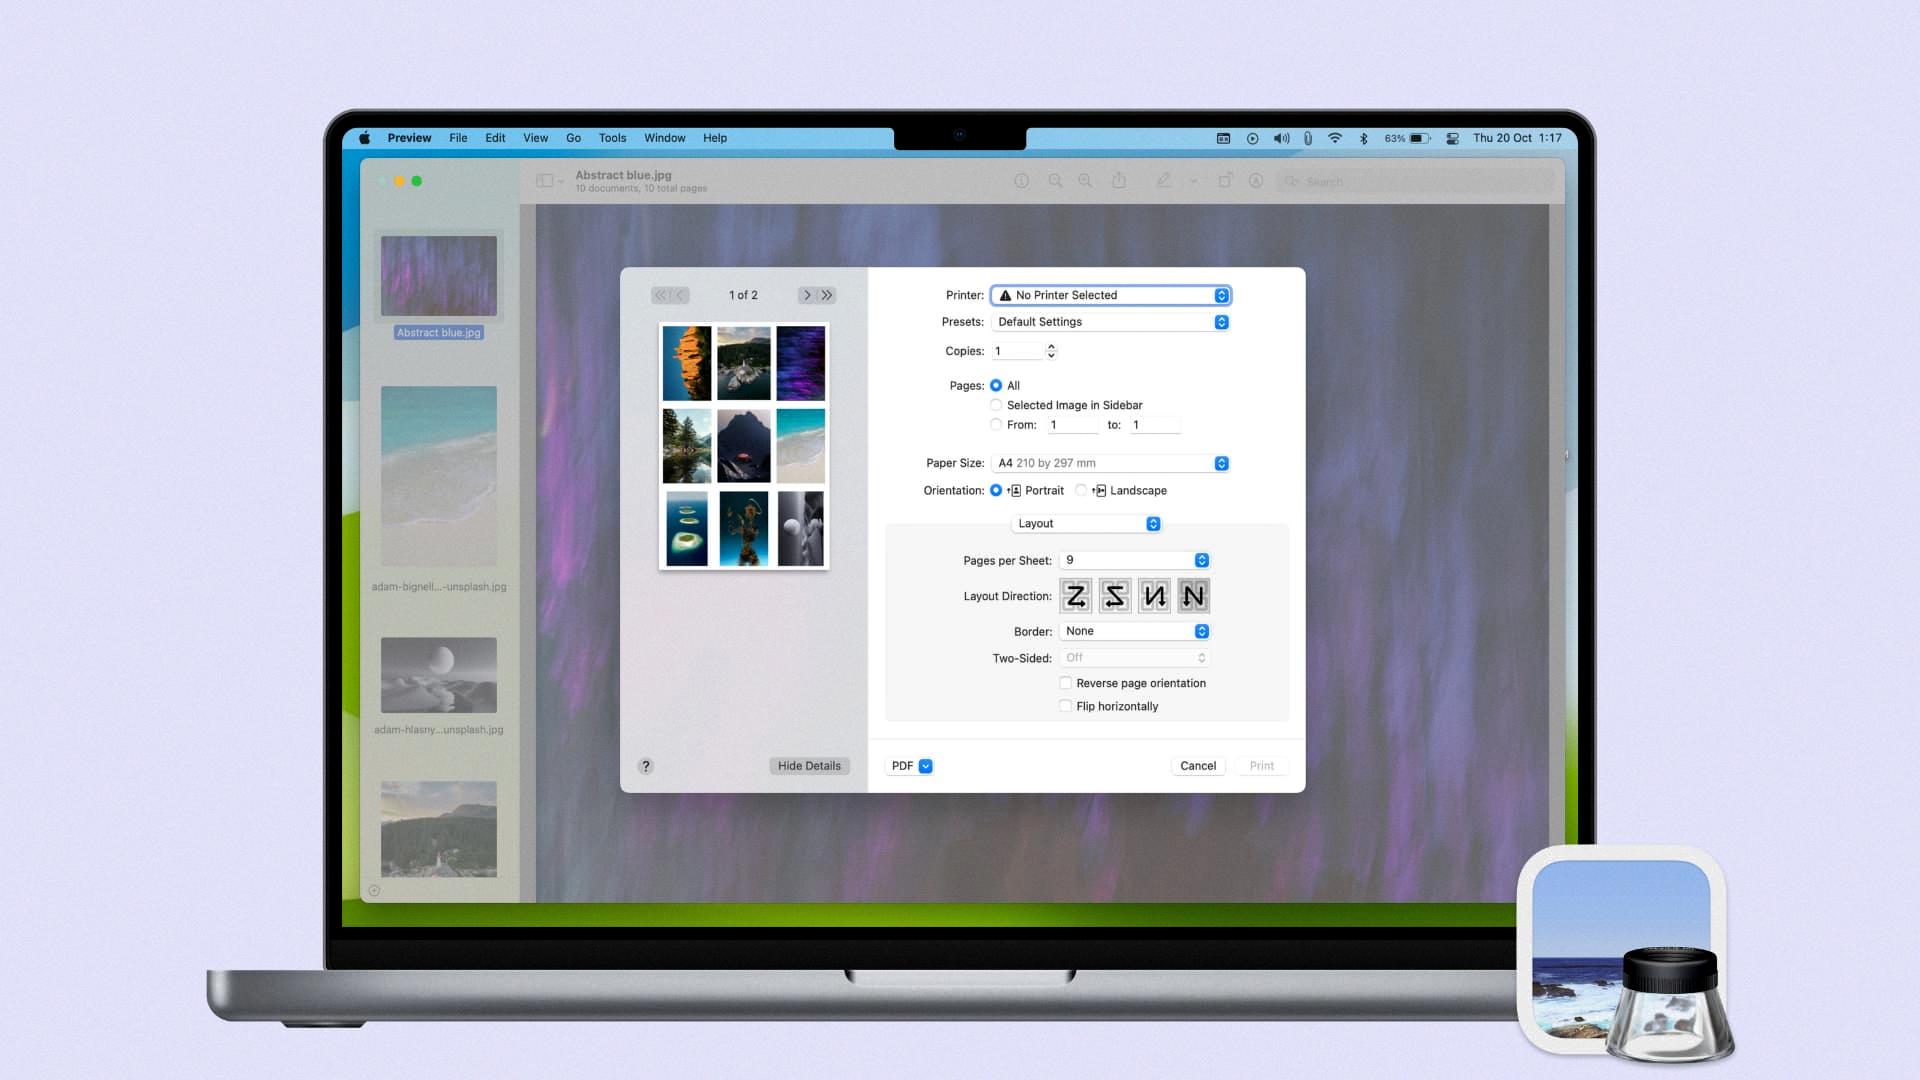
How Do You Fix The Preview App On Your Mac?
To fix the Preview app on your Mac, you can follow these steps:
1. Try multiple files: Sometimes, the issue might be with a specific file rather than the Preview app itself. To ensure this, try opening different files with Preview to see if the problem persists.
2. Force quit Preview: If Preview becomes unresponsive or freezes, you can force quit the app by pressing Command + Option + Escape and selecting Preview from the list, then clicking “Force Quit.”
3. Restart your Mac: A simple restart can often resolve various software glitches. Close all applications, click on the Apple menu in the top left corner of your screen, and select “Restart.”
4. Check macOS is up to date: Make sure your operating system is up to date by clicking on the Apple menu, selecting “System Preferences,” and then “Software Update.” If any updates are available, install them and check if the issue is resolved.
5. Reset Preview: Sometimes, resetting the Preview app can fix any underlying issues. Go to the Finder, click on “Go” in the menu bar, select “Go to Folder,” and type “~/Library/Containers/com.apple.Preview/Data/Library/Preferences/.” Locate the file named “com.apple.Preview.plist” and move it to the trash. Then, relaunch Preview.
6. Restart your Mac in safe mode: Starting your Mac in safe mode can help identify and fix any software conflicts. Restart your Mac and hold down the Shift key until the Apple logo appears. Release the Shift key and allow your Mac to start up. Test if Preview works in safe mode. If it does, restart your Mac normally and see if the issue persists.
7. Scan your Mac for malware: Malware or viruses can sometimes disrupt the functioning of applications. Use reliable antivirus software to scan your Mac and remove any potential threats.
8. Reinstall macOS: If all else fails, you can consider reinstalling macOS. This should be a last resort option and should only be done after taking proper backups of your data. You can reinstall macOS through the Recovery Mode by restarting your Mac and holding down Command + R until the Apple logo appears. Follow the on-screen instructions to reinstall macOS.
By following these steps, you should be able to troubleshoot and fix any issues with the Preview app on your Mac.
How Do You Set Up Quick Preview On Your Mac?
To set up Quick Look on your Mac, follow these steps:
1. First, select one or more items that you want to preview. You can do this by clicking on the items or dragging a selection box around them.
2. Once you have selected the items, press the Space bar on your keyboard. This will open the Quick Look window.
3. In the Quick Look window, you can view a preview of the selected item. For example, if you selected a document, you will be able to see its contents without opening it in a separate application.
4. If you have selected multiple items, the Quick Look window will show the last item you selected. However, you can easily navigate between the items by using the arrow keys on your keyboard.
5. To close the Quick Look window, simply press the Space bar again or click on the close button (an “X” in the top-left corner of the window).
It’s worth noting that Quick Look supports various file types, including documents, images, videos, and more. This feature can be quite handy when you want to quickly preview the content of files without launching their respective applications.
Setting up Quick Look on your Mac is a simple process. Just select the items you want to preview, press the Space bar, and enjoy the convenience of quickly viewing their content without opening separate applications.
Conclusion
The Preview settings on Mac provide users with a convenient way to view the content and metadata of various file types. It is a helpful tool for quickly checking details such as creation date, camera or lens model used for photos, and more. However, if you encounter issues with Preview not working properly, there are several steps you can take to resolve the problem.
Firstly, try opening multiple files in Preview to determine if the issue lies with a specific corrupt file. If this is the case, deleting or repairing the problematic file may solve the problem.
If the problem persists, force quit Preview and restart your Mac. Sometimes, a simple restart can resolve any software glitches or conflicts that may be causing Preview to malfunction.
Additionally, ensure that your macOS is up to date by checking for and installing any available updates. This can address any compatibility issues with Preview or other system components.
If the problem still persists, you can try resetting the Preview application. This can be done by navigating to the “Preview” menu, selecting “Preferences,” and clicking on the “Reset” button.
In more severe cases, restarting your Mac in safe mode can help identify and resolve any software conflicts that may be affecting Preview.
It is also important to regularly scan your Mac for malware, as malicious software can cause various issues with system applications, including Preview. Using reputable antivirus software can help detect and remove any malware present on your system.
If all else fails, reinstalling macOS may be necessary. This step should be taken as a last resort, as it can be time-consuming and may result in data loss if not performed correctly. It is recommended to back up your important files before proceeding with a reinstallation.
The Preview settings on Mac provide users with a convenient and comprehensive view of file content and metadata. However, if issues arise with Preview not working, there are several troubleshooting steps that can be taken to resolve the problem and ensure the smooth functioning of this essential tool on your Mac.

