Are you looking to make the most of your recordings in GarageBand? Microphones are an essential part of recording audio, and selecting the right one for your needs will ensure that you get the best quality sound. In this blog post, we’ll discuss how to select a microphone for use with GarageBand and the best practices for setting up and using microphones in GarageBand.
When selecting a microphone for use with GarageBand, it is important to consider both the type of microphone and its features. Generally speaking, condenser microphones are best suited for recording speech or vocals since they capture a wide range of frequencies. However, for recording instruments like guitars or drums, dynamic microphones are often preferred since they can handle higher sound levels without distortion. Additionally, some microphones come with built-in preamps or other features that can help improve signal quality when recording in GarageBand.
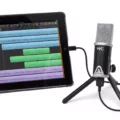
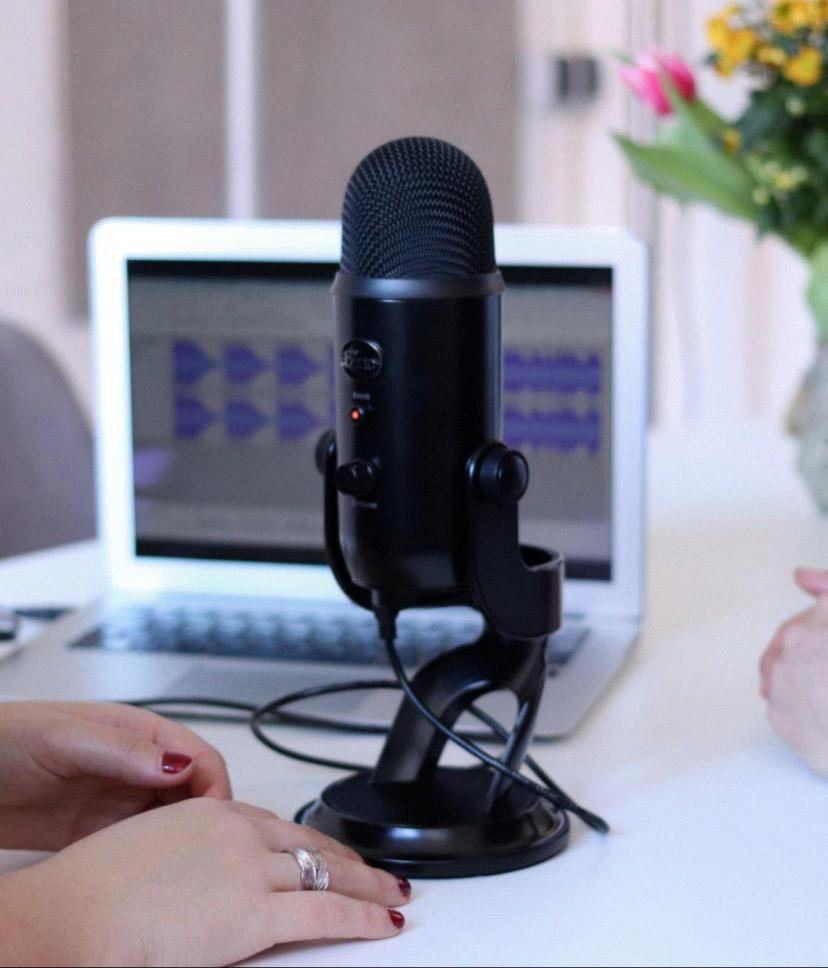
Once you have selected your microphone, you need to set it up properly. If you’re using a USB microphone, simply connect it to an available USB port on your Mac and select it as the input source in GarageBand’s Preferences > Audio > Devices menu. If you’re using an XLR microphone, you will need to connect it to either an audio interface or mixer before connecting it to your Mac via USB. Once connected, select the device as the input source in GarageBand’s Preferences > Audio > Devices menu.
Finally, once your microphone is connected and set up properly in GarageBand’s Preferences menu, make sure that the Monitoring button is turned on in both Smart Controls and on the track header so that you can hear yourself while recording. Additionally, make sure that any Input/Output settings are set up correctly in GarageBand’s Preferences so that all signals coming from your microphone are routed appropriately throughout your system.
Following these steps will ensure that you get optimal results when recording with a microphone in GarageBand. With some time and practice experimenting with different mics and settings within the software itself, you will be able to find out which combination works best for your desired outcome!
Turning On the Microphone in GarageBand
To turn on the microphone in GarageBand, first, make sure that it is connected properly to your Mac. If you’re using the built-in microphone, go to GarageBand > Preferences > Audio > Devices and select the built-in microphone as the input source. If your computer has an audio input port, connect the microphone to that port and choose Built-in Input as the track’s input source. Once you’ve done this, click on the Record button and you should be able to start recording with your microphone.
Source: blog.bluemic.com
Troubleshooting Issues with GarageBand Not Picking Up Microphone
The most likely reason that GarageBand is not picking up your mic is that your input settings have not been set up properly. To fix this, open GarageBand’s Preferences and make sure the correct input source (your microphone) is selected in the Audio/MIDI tab. Additionally, make sure that the Monitoring button has been turned on in the Smart Controls or on the track header. If both of these are configured correctly and GarageBand still isn’t picking up your mic, then it may be an issue with either your microphone or your computer’s audio input port.
Changing the Microphone Input in GarageBand iOS
To change the microphone input in GarageBand IOS, you will need to adjust the In level slider. First, drag the In level slider up or down to set the desired input level. If your input device supports left and right channels, tap the Channel button located under the In-level slider. Next, select either Input 1 or Input 2 to choose a single input channel, or choose Stereo if you would like to record in stereo. When you are done making changes, tap Done to save them.
Troubleshooting Issues with the Microphone Not Showing Up in the Input
Your microphone may not be showing up in input because it may have been disabled or the drivers are not installed correctly. To check if your microphone is disabled, open the Settings app and navigate to the System setting. Under the Troubleshoot button in the Input devices settings, click on Manage sound devices. Scroll down to see if your device is listed under the Disabled section. If it is, you can enable your microphone by clicking Enable. If it is not listed in this section, then it is likely that thee are driver issues preventing your microphone from being recognized by your system. You can try updating or reinstalling the device driver for your microphone to see if that resolves the issue.
Getting Mac to Recognize Microphone
In order to get your Mac to recognize your microphone, you will need to ensure that the microphone is connected properly and that the correct settings are enabled.
First, confirm that the microphone is connected properly. If it’s a USB microphone, make sure it is plugged into a USB port on your Mac. If it’s an external microphone, ensure it is connected to the correct audio input or headphone jack.
Once you have confirmed the connection is secure, open System Settings on your Mac. Select Privacy & Security, then click Microphone in the sidebar. Here you will be able to enable access to the microphone for each app in the list. Make sure all necessary apps are enabled so that your Mac will be able to detect and use your microphone.
After completing these steps, restart your computer and test if your Mac recognizes your microphone by opening an audio-recording program or conducting a voice search.
Conclusion
In conclusion, microphones provide a great way to capture audio with excellent clarity. Whether using a built-in microphone or an external device connected to your computer’s audio input port, it’s important to make sure that the Monitoring button is turned on, and that the Input/Output settings are properly configured in Garageband’s Preferences. With the right setup and proper use of a microphone, you can achieve high-quality recordings with ease.

