Are you looking for a step-by-step guide on how to scan from your Mac to an HP printer? You’ve come to the right place! HP printers are some of the most reliable and user-friendly models available, and scanning documents or images from your Mac to an HP printer is a breeze.
If you have an HP printer that supports scanning, the process starts with ensuring everything is connected properly. Make sure your HP printer is connected to your Mac computer via USB, Wi-Fi, or Ethernet cable. Once you’ve done this, it’s time to get started.
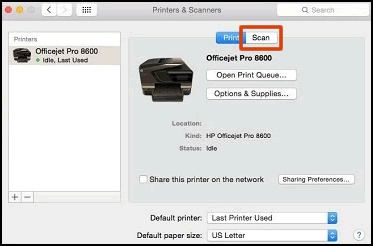
To begin, open the Apple menu and select System Preferences > Printers & Scanners. Here you can check that your HP printer has been added correctly and is ready to use. If not, click on the Add button and select your HP printer model from the list of available printers.
Once your HP printer has been added successfully, you can start scanning. To do this, open the Preview app on your Mac computer and choose File > Import from Scanner > [Your Printer]. This will open up a window where you can adjust any scan settings like color mode, resolution, etc., before hitting Scan in the lower right corner.
You can also scan directly from the HP Smart app on your Mac computer. Just click on the Scan tile on the home screen of the app, place your document or image on the scanner glass or in the ADF (automatic document feeder) of your printer if available, select any job type settings if needed, and hit Scan in the lower right corner when ready.
Using an HP printer with a Mac computer is easy once everything has been set up correctly! With just a few simple steps outlined above you’ll be able to scan documents or images directly from your Mac to an HP printer quickly and easily!
Enabling Scan to Printer on Mac
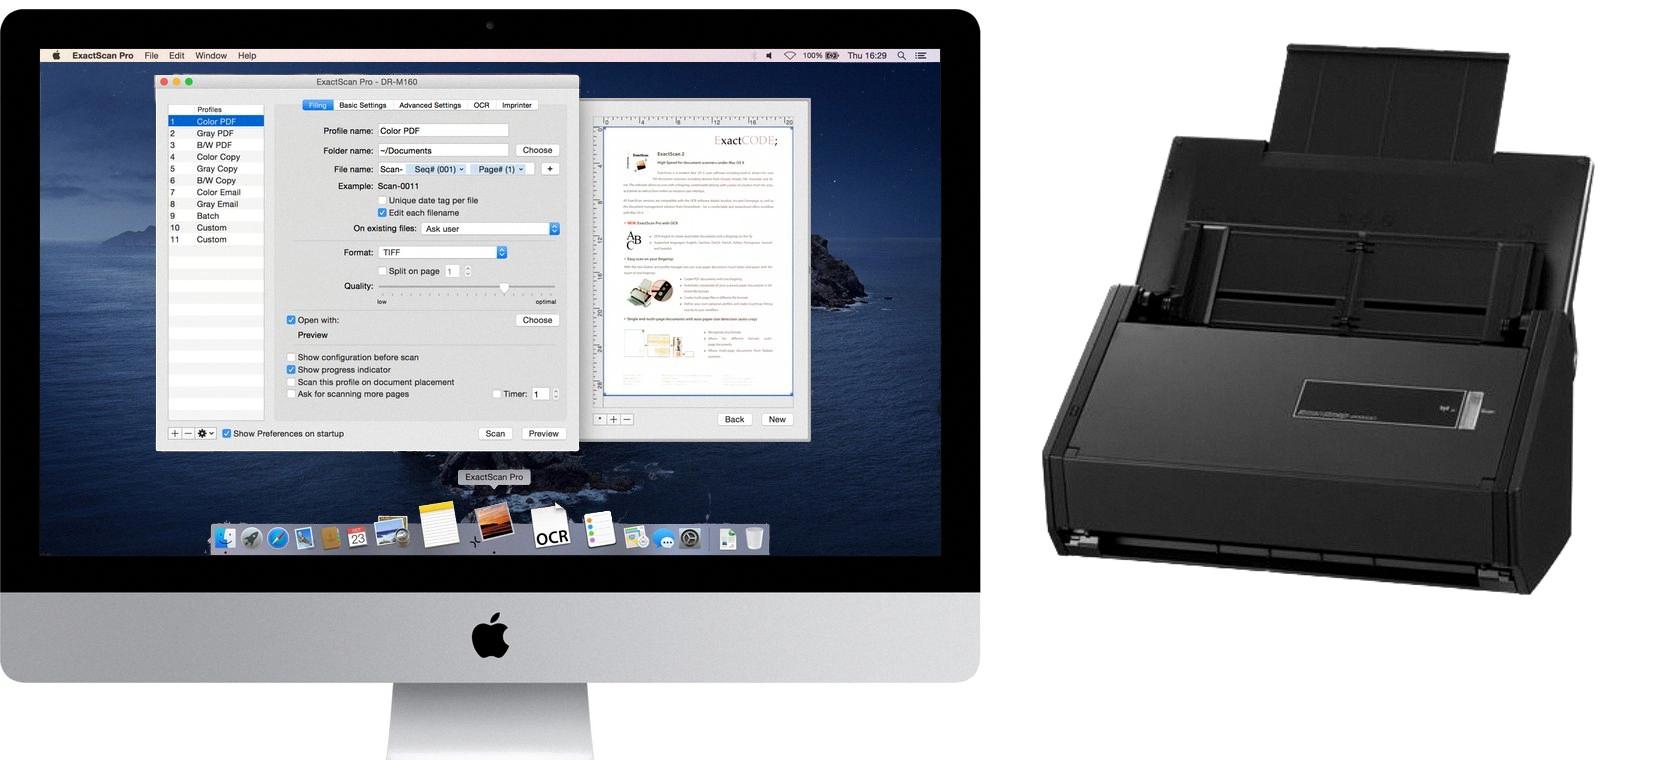
To enable scan to the printer on Mac, first make sure your scanner is properly connected to your Mac, either via USB cable or wireless connection. Then open the System Preferences window by clicking the Apple menu > System Preferences. Click the Printers & Scanners icon in the sidebar. If your scanner isn’t listed in the Printers list, click the Add Printer, Scanner, or Fax button on the right and select your scanner from the list. After you’ve added it to your system, you can initiate a scan-to-printer job by selecting File > Print from any compatible application. You’ll be prompted to select a printer and adjust any settings for that particular job. Once you’re satisfied with your selections, click Print and your document will be sent directly to the printer for output.
Source: exactscan.com
Troubleshooting Scanning Issues From Printer to Mac
It’s possible that your Mac’s USB connection to your printer/scanner is loose or not working properly. You should check and make sure the cables are securely connected. If that doesn’t work, then you may need to delete the scanner (or multifunction printer) from your Mac and add it back again. It could also be a software issue, so verifying that you have the latest version of scanning software installed on your Mac is recommended.
Scanning a Document Using a Mac
To scan a document using a Mac, you will need to start by preparing the pages. If you are using a document-feeding scanner, place the pages in the scanner’s document feeder. Then open the Preview app on your Mac and select File > Import from Scanner > [scanner]. This will open the Import dialog showing the overview scan being prepared. You can then adjust any scanning options you may need before clicking ‘Scan’. Once complete, you will have your scanned document saved on your computer.
Scanning a Document Using an HP Printer
To scan a document with your HP printer, first, open the HP Smart app on your device. On the home screen, click on the Scan tile. From the top menu bar, select an option for where to place the original document — either on the scanner glass or into the automatic document feeder (ADF). Then set up your scan job type, size, color, and resolution settings and click Scan in the lower right corner to begin scanning. You’ll be able to view a preview of your scanned document and save it once you’re satisfied with it.
Compatibility of HP Scanners with Mac Computers
Yes, HP scanners are compatible with Mac computers! HP Easy Scan is an app that uses the Apple ICA scan protocol so it can work with any HP device that is supported by an ICA scan driver. To use your HP scanner with a Mac, you will need to make sure you have installed the latest HP ICA driver for your product. You can find this driver online at www.hp.com/support or via Apple Software Update. Once you have the correct driver installed, your scanner should be ready to use with your Mac computer!
Setting Up a Printer to Scan
Setting up your printer to scan is a relatively straightforward process. First, make sure that your printer is connected to the same Wi-Fi network as your computer. Then, open the software or app that came with the printer and follow the instructions to install it on your computer. After that, you will be able to access scanning features from within the software or app. If you’re using a third-party scanning app, you may need to enter the printer’s IP address in order for it to be recognized. Finally, make sure that all of your scanner settings are properly configured so that you can get the best possible results when scanning documents.
Unable to Scan Documents From Computer Despite Being Able to Print
It is possible that the network scanning software is not set up properly or installed correctly on your computer. You may need to check if the network scanning software is compatible with your printer and operating system. Also, make sure that the correct drivers are installed for your printer. Additionally, if you have a firewall active on your computer, it may be blocking the necessary network connection for network scanning software to operate properly. Try disabling the firewall or temporarily changing your firewall/security settings to allow network connections.
Troubleshooting Mac-HP Printer Connection Issues
It is possible that your Mac is not recognizing your HP printer due to the printer, not being set up correctly or an issue with the software. To troubleshoot this issue, try resetting the printing system on your Mac. To do this, open the Printers & Scanners preferences, right-click or control-click on your printer’s name, and then select Reset printing system > Reset. This will remove the printer and its settings from your Mac, so you can restart the printer and wait for it to reconnect to the Mac.
Troubleshooting HP Printer Issues on Mac
The reason why HP printers may not be working with Mac is due to an issue with the certificate for HP’s Printer Driver software. With macOS Catalina (version 10.15) and continuing on to Mojave (10.14), Apple has revoked or not recognized the certificate for HP’s printer driver software. This means that the printer will not be able to communicate with the Mac computer, and thus, not be able to print.
To fix this issue, you will need to make sure you have the latest version of HP’s printer driver software installed on your Mac computer and then reinstall it if necessary. You can find the latest version of HP’s printer driver software on their official website or from Apple’s support page. Additionally, you may need to reset your printing system using the instructions found on Apple’s support page in order for your printer to work properly again with your Mac computer.
Scanning and Emailing a Document Using an HP Printer
To scan and email a document on your HP printer, start by placing the document face-down on the scanner glass or face-up in the document feeder. Make sure to adjust the paper guides to fit the size of the document. Next, from the Home screen on the printer control panel, select Scan, and then select Scan to Email. If prompted, type in your username and password. Your scanned document will now be sent as an email attachment.
Scanning a PDF on an HP Printer
To scan a PDF on your HP printer, you will first need to open the HP Printer Assistant software. Once the software is open, click “Scan”, then “Scan a Document or Photo”. This will open the scanning window. Next, click “Scan Settings” then “Scan Settings and Preferences” and then “Scan Document Settings”. In this window, you will have the option to select the file type you want to save your scanned file as – click the down arrow next to “Filetype:” and select “PDF (*.pdf)” from the list of options. You can then click “Scan” to start scanning your document into a PDF file. Once your document has been scanned, it will be saved in either your desktop or documents folder (depending on where you chose to save it).

