Are you looking for information on how to copy a Mac image address? In this guide, we’ll talk about how to copy image URLs on Macs, including how to find a Mac share image link. We’ll talk about copying URLs for images on different platforms, including Google Images, Chrome, Safari, and more!
Method 1: Using Google Images
If you want to copy a picture from Google Images and share it with a URL on Google Images Mac, here’s how to do it.
To copy image links on Google, head to Google Images and search for an image using a keyword. Click on the image you want to share, and then click on the Share button, as shown in the screenshot below.

You can then copy the Mac Google Image URL or share it directly via email, Facebook, WhatsApp, or X.
Method 2: Using Safari or Chrome
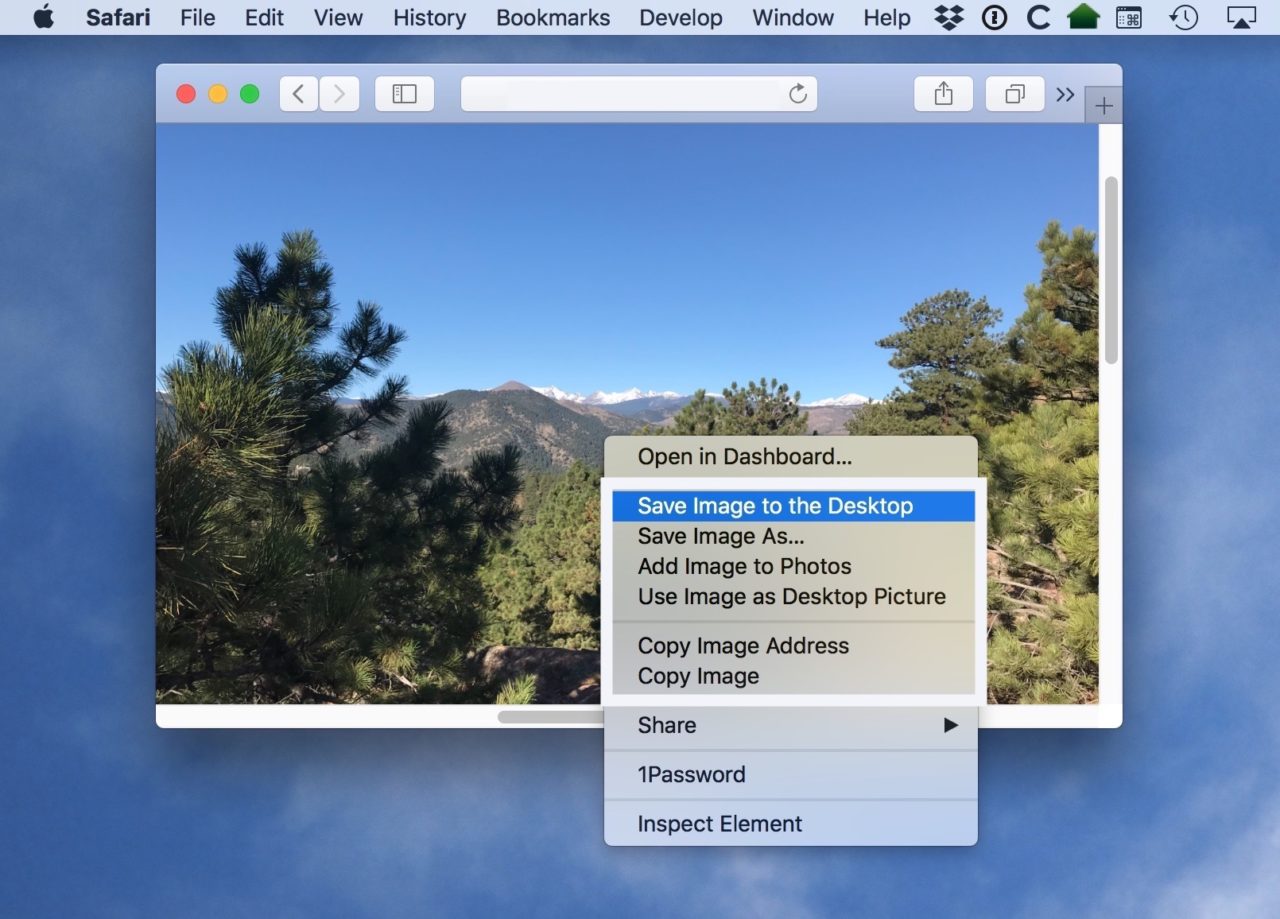
The second option is to use Safari or Chrome when browsing websites. Right-click on an image and select “Copy Image Address” from the drop-down menu that appears. This will copy the URL of the image onto your clipboard so that you can paste it anywhere you need it to go.
Method 3: Using Firefox
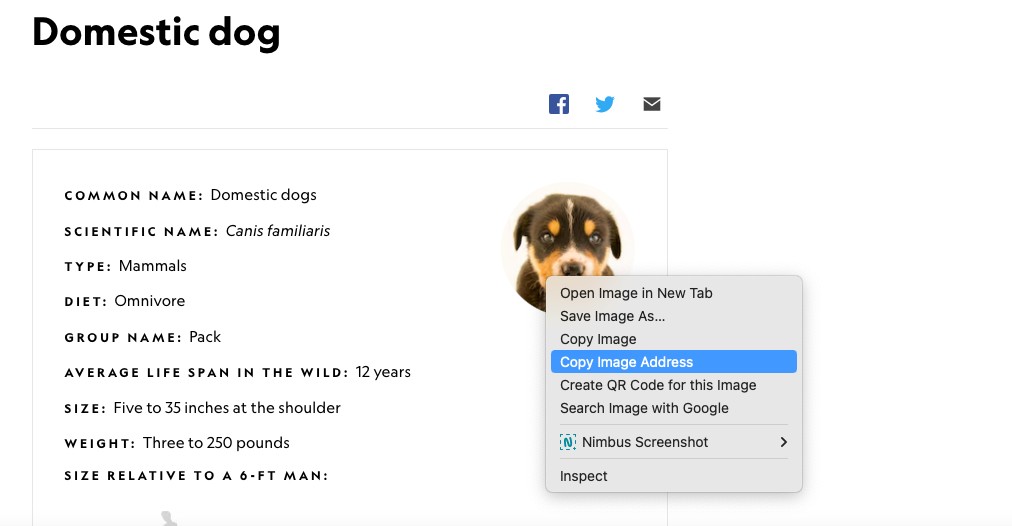
To copy a Firefox image URL on Mac, the process is almost the same as it is on Chrome.
To copy an image address on Firefox when browsing websites for images, right-click on the image and select “Copy Image Link” from the drop-down menu that appears. This will copy the Mac Firefox image link of the image onto your clipboard so that you can paste it anywhere you need it to go. See an example in the screenshot below.
Copying a Picture Address
Every image you see on a website is hosted somewhere on the internet. Usually, it is hosted as a file on the same website’s server, although sometimes, websites may insert images that are already hosted on other websites.
To copy a picture address on Mac, you simply have to right-click on the image and select the option to “copy image address/URL/link”. That will copy the image URL in Mac browsers. You can then share this URL with someone. After you get the Mac image link copy, you can send it to someone.
When they enter this address into their browser bar, they will be directed to the place on the internet where the image is hosted, and they will be able to see the image.
Copying an Image Address From Finder
What about the Finder copy image address? Unfortunately, there is no Mac Finder image URL that you can share publicly on the internet, since pictures in Finder are hosted on your computer and not on the internet, and they are thus not accessible from a web browser.
However, you can still share the image. If you copy image paths on Mac, it won’t really be useful to someone else using another computer. Instead, you should share the image file itself by sending it over WhatsApp or email.
You can also upload it to Google Photos, Dropbox, or iCloud and then share the URL so that your friend can access it over the internet. Once you upload it to a cloud hosting service, it will be hosted on the internet for others to access. You can adjust permissions so that only people you allow (such as people with a certain Gmail address) can access the link and view the image.
Obtaining the URL of an Image
To obtain image URLs on Macs, it generally depends on where you are getting it from. To get image links on Mac when browsing the web, you can right-click and copy the image address link.
Another option is performing an image URL search on Mac using Google Images, after which you can get an image’s URL by clicking the Share button. We talked about this option before, but it’s best for general ideas.
For example, if you want to show someone how a golden retriever looks, you might not be looking for a specific image of a specific golden retriever. Rather, any image of any golden retriever will work. In such a case, any image that appears on Google Images when you search for “golden retriever” will do the job.
Specific photo hosting websites, like Google Photos, have share options that allow you to get the URL for an image you uploaded.
Copying an Image URL From Apple Photos
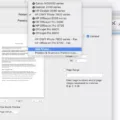
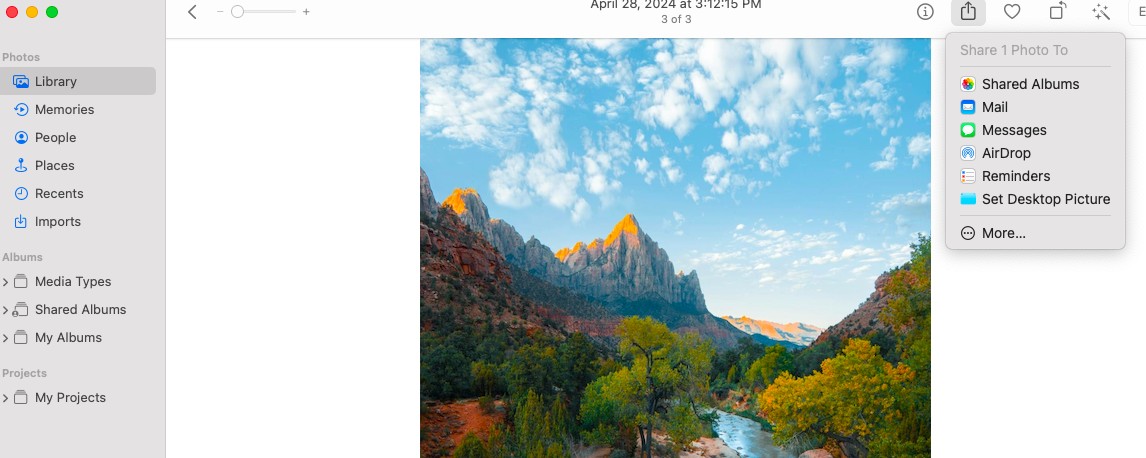
Photos is an app for viewing images on your computer. There is no Apple Photos image URL, since images are stored on your computer and not on the internet. Therefore, you can’t copy image links in the Photos app. Instead of getting a Mac Photos app image URL, though, you can share the image file itself by clicking on the share button on Photos. You can then select an option such as “Messages” or “Airdrop.” A screenshot showing this option is shown below.
What Is an Image Address?
Let’s talk about the image address definition. An image URL on Mac, or an image URL in general, refers to the URL of the image that points to the location on the internet where the image file is stored.
An image file itself doesn’t have a URL. It is just a file. However, when it is stored on a server or website that is publicly available on the internet, it is discoverable in the backend database of that website. That means you can access the file, even though it is stored on another computer since that computer is a server that is made available to others on the internet. It serves files to others. That is why it is called a server. Your computer, on the other hand, is a client that can request files from servers.
When you upload an image to Google Photos, it is also stored on one of Google’s server computers.
You can then access the photo online via its web image address.
However, if a photo is stored on your computer, and your computer is a standard computer that is not a server, others won’t be able to request access to it, since they can’t access your computer. You then have to share the actual file over the internet from your end via email or a messaging application. The file is sent as data, and depending on the messaging application, the user can either view the file as it is stored on the application’s server, or they can download it to their own computer.
Copying an Image URL in Safari
For the Safari image URL, right-click on an image in Safari while browsing the web. Then, select “Copy Image Address” to copy the image link on Safari. You can then share the Mac Safari image address with a friend, which they can access from any browser on any device that is connected to the internet. Remember, it will send them to the location on the internet where the image is hosted publicly!
Creating a URL for an Image on Mac
To create image URLs on Mac, you should upload your image to the internet. There is no Mac Photos image URL, so you should instead use a cloud hosting service like Google Drive or Google Photos. iCloud is an excellent option as well, as you can share the iCloud image link for people to view the image.
You can use Dropshare to make this easier. Dropshare integrates with over 27 cloud hosting providers, allowing you to easily upload images and files from your Mac and generate a Dropshare image URL so you can share an image with a friend.
Conclusion
Hopefully, you now understand how image sharing works on Macs.
To recap: To copy an image that is online, you simply need to find its image address URL, which you can do by right-clicking. To share an image stored on your computer, you can upload it to Google Photos. You can also use Dropshare to increase Mac productivity. Alternatively, you can share the file itself over email or messaging.

