Are you looking for a quick and easy way to print from your Macbook? Well, you’re in luck! Here’s a step-by-step guide on how to quickly and easily print from your Macbook.
The first thing you need to do is open the document or file that you want to print. Once it’s open, select File > Print, or press Command-P. This will bring up the Print dialog box.
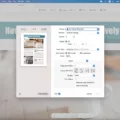
The Print dialog box will give you a few different printing options such as the number of copies, page range, paper size, and orientation. Adjust these settings as necessary and then click “Print” at the bottom right corner of the window.
If you want to customize your printing options even further, click the dropdown arrow next to “Printer” at the top of the Print dialog box. This will show additional advanced printer settings such as color management, resolution, and page scaling. Make adjustments where necessary and then click “Print” again.
That’s all there is to it! With just a few clicks of the mouse, you can easily print any document from your Macbook in no time at all. If you experience any issues or problems with printing from your Macbook, make sure to check out Apple’s troubleshooting guide for more information on how to solve printing problems on Macbooks.
Printing a Document on a Mac
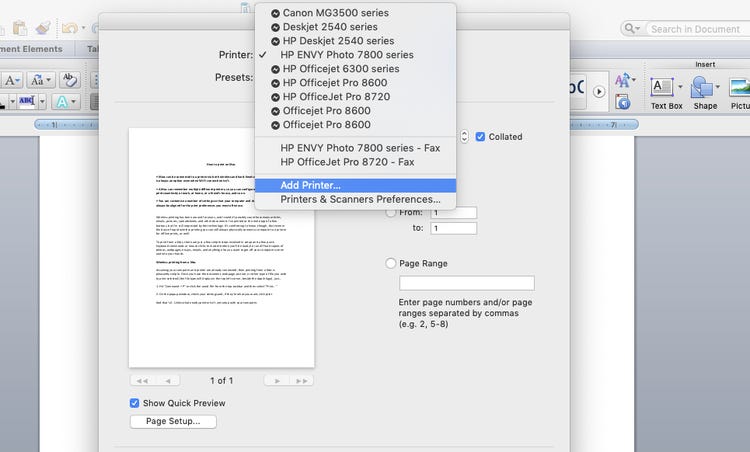
Printing a document on a Mac is simple and straightforward! To get started, open the document you want to print on your Mac. Then, choose File > Print, or press Command-P to open the Print dialog. From there, you can adjust any of the common printing options such as paper size and type, orientation, margin settings, number of copies, page range selection, and more. Once you have your desired settings selected, click Print and your document will be sent to the printer. And that’s all there is to it!
Print Shortcut on Mac
On a Mac, the shortcut for Print is Command-P. To use it, you can simply press the Command (?) and P keys together. This will bring up the Print window, where you can select your printer or other printing options before sending your document to be printed.
Troubleshooting Mac Laptop Printing Issues
There could be a few reasons why you can’t print from your Mac laptop. First, make sure the printer is connected properly and turned on. You may also need to add the printer to your Mac before you can use it. To do this, go to the Apple menu > System Preferences > Printers & Scanners, and add the printer by clicking the “+” button.
If the printer is already added, try resetting the printing system. On your Mac, choose Apple menu > System Settings, then click Printers & Scanners in the sidebar. Control-click the printer in the list on the right and choose Reset Printing System.
You may also need to make sure that your computer is running the latest version of MacOS and that you have installed any necessary software updates for your printer. Additionally, check that you have enough paper loaded into your printer and that any jams have been cleared.
If none of these solutions work, contact your printer manufacturer for more help.
Printing Wirelessly From a Mac
To wirelessly print from your Mac, you’ll need to make sure your printer is connected to the same Wi-Fi network as your Mac. Then open a document on your Mac and choose File > Print in the app you’re using. Select your AirPrint printer from the Printer menu. You can then select any other print options you want and click Print to start printing wirelessly from your Mac.
Accessing Print Settings on a Mac
The Print settings on a Mac can be found in the System Preferences. To access them, click on the Apple menu in the top left corner of your screen and select System Preferences. In the sidebar, click on Printers & Scanners. This will open up all of the Print settings for your Mac. From here you can add or remove printers, configure their settings, and manage print jobs.
Source: hellotech.com
Printing a PDF on a Macbook
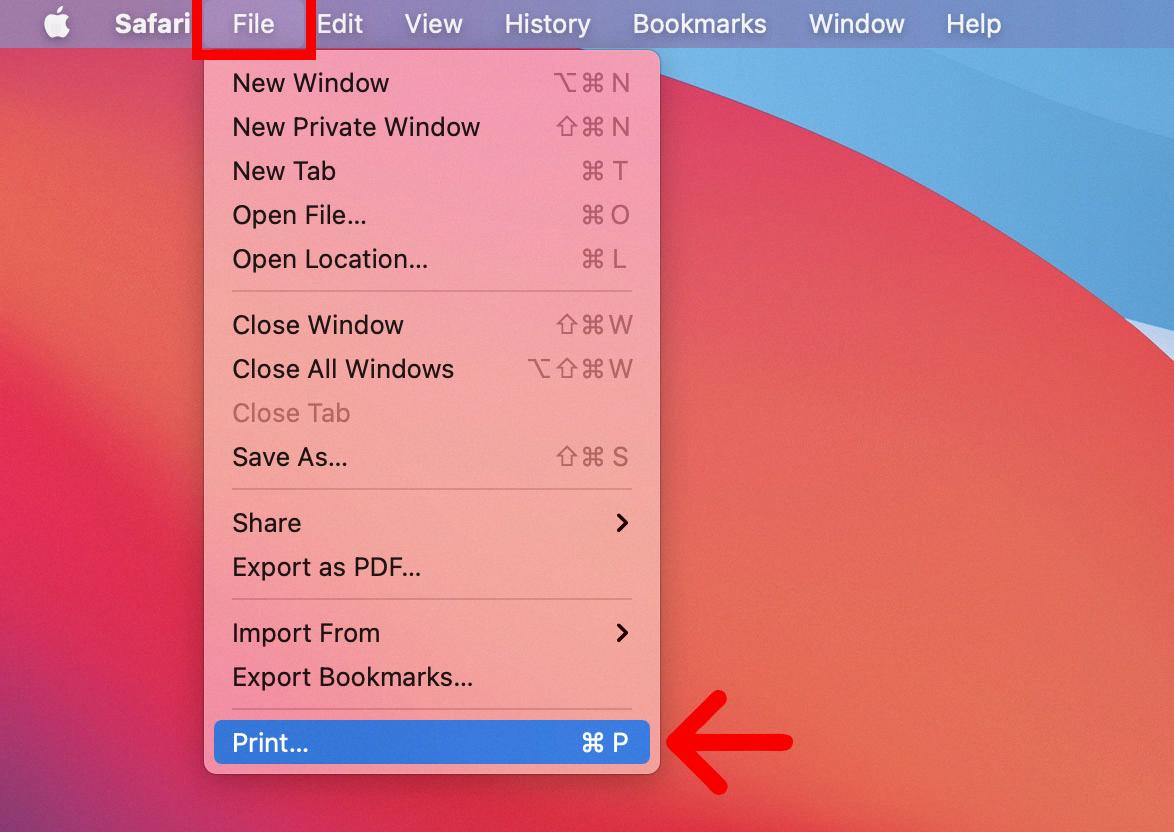
Printing a PDF on a Macbook is easy! First, open the PDF you wish to print. Once the document is open, click on the File menu and select Print, or press Command+P. This will bring up the Print dialog window. Make sure your printer is selected in this window, and you can preview the PDF before printing. If needed, adjust your settings to customize how you want the document to look when printed. When everything looks good, click Print and your document will be sent to your printer!
Printing Using Keyboard Shortcuts
The key shortcut to print is Ctrl+P. Pressing this combination of keys on your keyboard will open the print dialog box, allowing you to select the printer and the number of copies you wish to print.
Troubleshooting Issues with Printing from a Laptop
There could be a few possible reasons why your laptop won’t let you print. First, make sure that the printer is properly connected to your laptop either through a wired or wireless connection. If it is, then check to make sure that the printer driver is up to date and installed correctly on your laptop. Additionally, you should check that the printer has enough toner or ink and that there are no paper jams. Finally, if you’re still having trouble printing, try restarting both your laptop and the printer.
Troubleshooting Mac Printing Issues with PDFs
It is possible that your Mac is having trouble communicating with the printer. To ensure that our Mac and printer are connected correctly, please try resetting the print system by going to Finder> Apple Menu > System Preferences > Printers & Scanners, then Control + Click in the left side printer list and select Reset Print System. Once you’ve done this, re-add your preferred printer by going to Finder> Apple Menu > System Preferences > Printers & Scanners and selecting Add from the list.
If you still cannot print PDFs after resetting the print system, it is possible that there is an issue with either your printer or with the PDF file itself. Try using a different PDF file to see if that fixes the issue. If not, make sure that your printer is compatible with Mac computers, as some may only be compatible with Windows machines. You can also check if there are any firmware updates available for your printer in order to ensure compatibility with Macs.
Enabling Wireless Printing
To enable wireless printing you will need to first make sure that your printer is on and within range of your Wi-Fi network. Next, you’ll want to tap the Setup button, then select Network or Wireless Settings. From there, select the Wireless Setup Wizard option, and follow the steps to enter your network name and password. Once you’ve completed these steps, your printer should be able to connect to your Wi-Fi network and be ready for wireless printing.
Connecting to a Printer Wirelessly
To connect to your printer wirelessly, first, open the Wi-Fi or wireless settings on your computer or mobile device. You will see a list of available wireless networks. Find the name of your Wi-Fi Direct printer, select it from the list, and then enter the password to connect. Once you have entered the password and connected, you should be able to use your printer wirelessly without having to connect directly with a cable.

