If you are looking for a reliable and easy-to-use computer, then a Mac computer is the perfect choice for you. If you are using a Mac, then you may want to know how to scan documents into your computer so that you can store them or share them with others. Scanning documents into your Mac is a straightforward process that requires minimal setup.
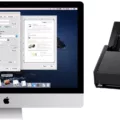
First, make sure that your scanner is connected to your Mac via a USB cable or through Wi-Fi. Once it is connected, launch the Image Capture app on your Mac by clicking on its icon in the Applications folder or by searching for it in Spotlight Search.
After launching the Image Capture app, select your scanner from the devices list and set the desired parameters such as color mode and resolution. Then place the document that needs to be scanned onto the scanner’s glass plate and click “Scan” in order to start scanning the document. The scanned document will be saved on your Mac’s hard drive in JPEG format by default but you can also choose other formats such as PDF, PNG, or TIFF depending on what works best for you.
Once the scanning is complete, you can check out and edit the scanned document using the Preview app or any other image editing software of your choice. If needed, you can even save it with a new name so that it doesn’t get confused with other documents in the Finder app.
scanning documents into a Mac computer is an easy task provided that all of its necessary components like scanner and cables are properly connected. With just a few clicks of the mouse button, anyone can quickly scan any paper document onto their macOS without any hassle and use them for various purposes such as business presentations or sharing them online with colleagues or family members.
Scanning a Document and Emailing it as a PDF on Mac
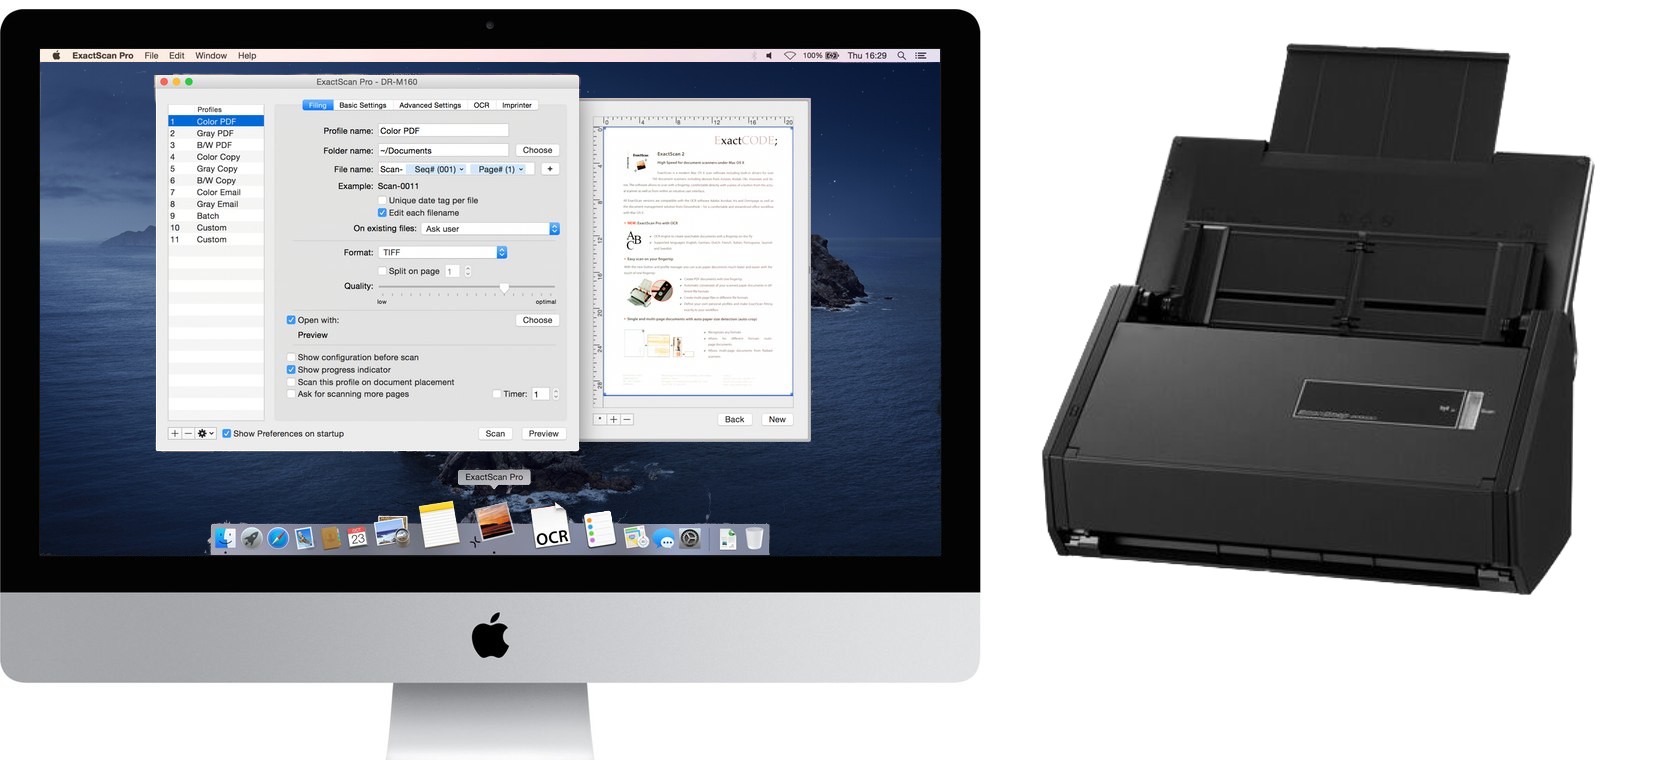
To scan a document and email it as a PDF on Mac, you will first need to open the document you wish to scan in the Preview app. Once the document is open, click on ‘File’ and select ‘Create PDF from Scanner’ from the menu. This will activate your Mac’s default scanning feature, allowing you to scan your document. After you have scanned the document, click ‘File’ again and select ‘Export as PDF’. You will be prompted to save the file, so choose a memorable name and location. Once it is saved, open your email application (e.g. Mail) and create a new message. In the body of the message, click ‘Attach File’ and locate the scanned PDF file in order to attach it to your message. Finally, enter the recipient’s email address, write a short message if desired, and click ‘Send’. Your recipient should now receive an email with the scanned PDF attached for viewing or printing!
Troubleshooting Scanning Issues From Printer to Mac
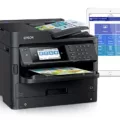
It’s possible that there could be a few different reasons why you’re not able to scan from your printer to your Mac. First, make sure that the scanner is plugged into an electrical outlet and turned on, and that its cables are securely connected. If everything looks good there, try deleting the scanner (or multifunction printer) from your Mac and adding it again. If the issue persists, it could be a problem with the printer’s drivers or software, or a compatibility issue between the printer and your Mac. You may need to reach out to the manufacturer for support in order to resolve this issue.
Scanning and Emailing a Document on a Mac
To scan and email a document on your Mac, you will need to first connect and turn on your scanner. Then select File > Import From Scanner from the menu bar in the Preview app to open the Import dialog box. Here, you will be able to preview your document before scanning it. Once you are ready to scan, choose options such as color, document type, size, orientation, and more. Once you have chosen the desired settings, click Scan and it will be saved to your computer.
Next, open your mail client of choice such as Mail or Outlook, and compose a new message. Then attach the scanned document by clicking the paperclip icon at the top of the main window or dragging and dropping it into the email body. Finally, enter the recipient’s address and click Send. Your scanned document is now on its way!
Enabling Printer to Scan to Mac
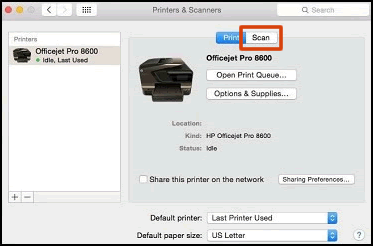
To enable your printer to scan to your Mac, start by opening the System Settings app. From the Apple menu, select System Preferences > Printers & Scanners. If you don’t see your scanner in the list of printers, click the Add Printer, Scanner, or Fax button on the right side of the window. Select your scanner from the list, then click Add. Once it’s been added, you can select it and configure any settings you need in order to scan to your Mac.
Can HP Printers Scan to Mac Computers?
Yes, HP printers can scan to Mac. To do so, open HP Easy Scan from the Applications list. From there you can select to scan documents or photos and choose whether to save the file as a PDF, JPEG, TIFF, or PNG. You can also adjust settings such as color mode and resolution. Once you’ve made your selections, click Scan to save the file to your Mac.
Does Mac Have a Scanner App?
Yes, Mac now has a powerful scanner app called Doc Scanner. It allows you to quickly and precisely scan paper documents, business cards, receipts, and more using the camera on your iPhone or iPad. You can then share your scanned documents as either images or PDFs, and even use OCR technology to convert them into text. Doc Scanner makes it easy to quickly capture important information from physical documents and bring it into the digital world.
Where to Store Scanned Documents on Mac
Scanned documents are usually stored in your Mac’s “Pictures” folder by default. You can find this folder by clicking on the Finder icon in the Dock, then clicking on the “Pictures” folder listed in the left panel. If you’ve used a scanner with your Mac before, you’ll likely find a folder containing your scanned documents already inside this folder.
Alternatively, when you open up a scanning application such as Image Capture or Preview, you can choose where to save your scanned documents by clicking on the “Show Details” button and selecting a destination from the “Scan To:” dropdown menu.

