Premiere Pro is a powerful video editing software by Adobe that enables users to create, edit and export professional-quality videos. It is used by filmmakers, television producers, and digital content creators to create stunning videos for a variety of platforms. Whether you are a beginner or an experienced user, Premiere Pro can help you create stunning visuals for your projects.
Exporting from Premiere Pro is a fairly straightforward process once you understand the basics. To get started, open the project in which you want to export your video. Once the project is open, go to File > Export > Media. This will bring up the Export Settings window where you can select the format and destination of your video file.
When selecting the format of your video file, it’s important to consider what platform you want to share it on. For example, if you plan on uploading the video onto YouTube or Vimeo, then MPEG-4 or H.264 are good options as they are both supported by these platforms. If you need a higher quality version for broadcast or other professional uses then you may want to opt for an intermediate codec such as Apple ProRes or DNxHD/HR formats. Additionally, if you need an audio-only file then select one of the audio formats such as AAC or WAV.
Once the desired format has been selected, click ‘Export’ at the bottom right corner of the window and Premiere Pro will begin creating your exported file based on your settings. Depending on how long your project is and its complexity this process can take anywhere from a few minutes to several hours so be sure to plan accordingly!
If all goes well your exported file sould now be available in whatever location you specified in the Export Settings window! Congratulations on successfully exporting from Premiere Pro!
Exporting From Adobe Premiere Pro
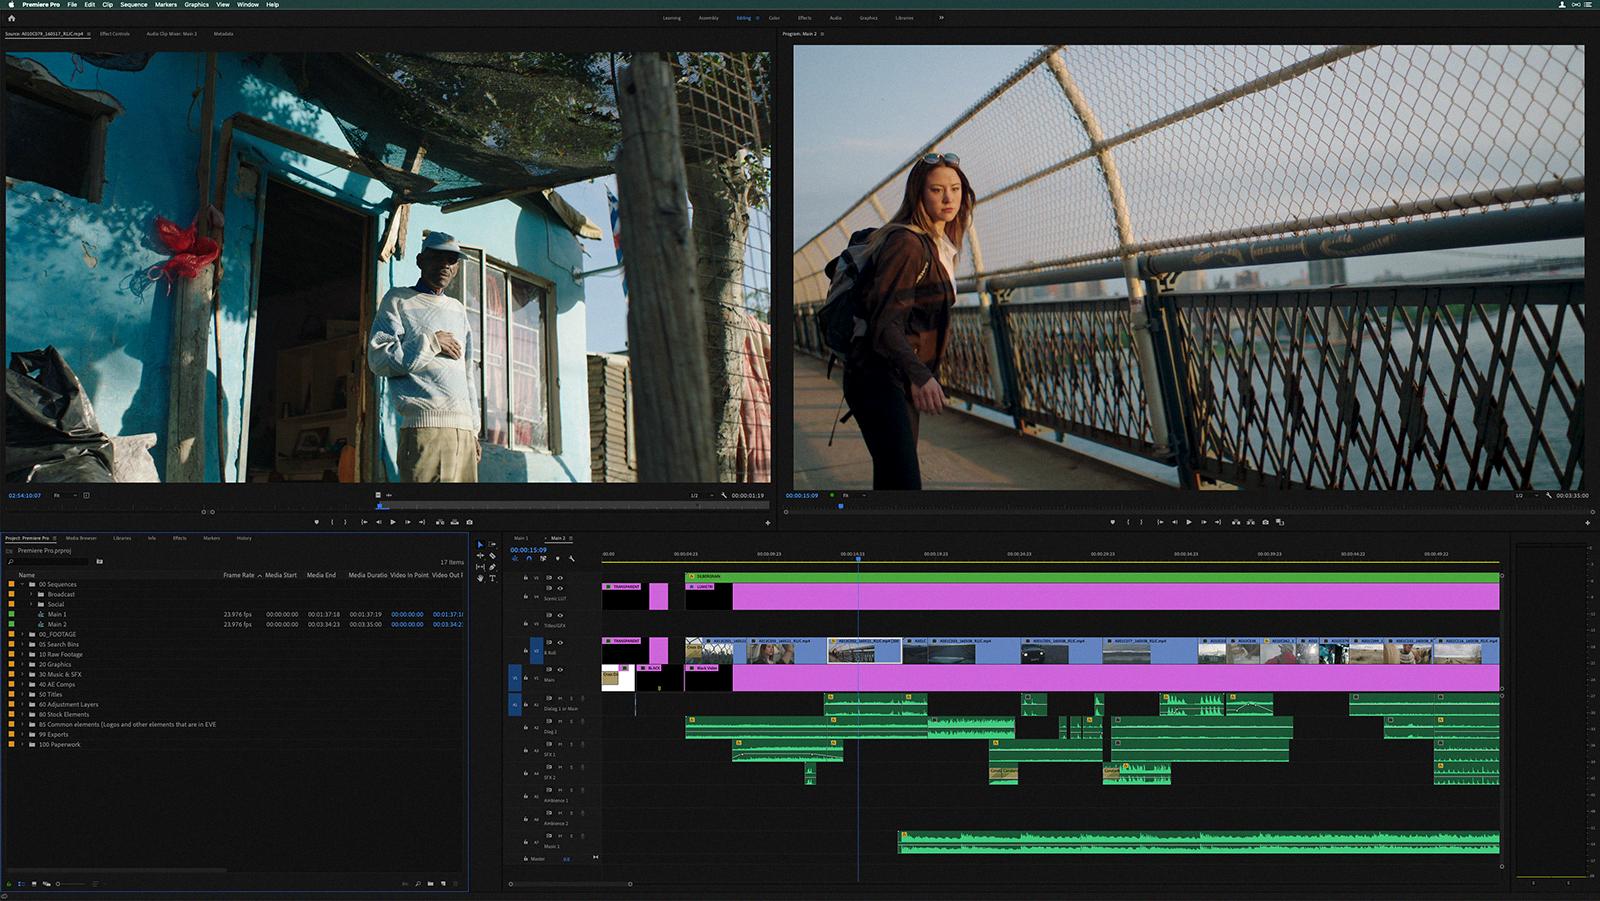
To export from Adobe Premiere Pro, go to File > Export > Media, or press the shortcut key Ctrl + M on PC or Cmd + M on Mac. Ensure the sequence you wish to export is selected before you do this. This will open your Export Settings window. From here, you can choose your desired format, resolution, frame rate and more. You can also select an output destination folder for your exported video file. Once you have made all of your selections and settings, click ‘Export’ to save your video file to its desired location.
Source: helpx.adobe.com
Exporting from Premiere Pro to MP4
Exporting from Adobe Premiere Pro to mp4 is a straightforward process. To begin, open the Premiere Pro project you want to export. Then select ‘Export’ from the header bar at the top of the screen to open the Export workspace. In this workspace, you can give your file a name in the ‘File Name’ dialog, and specify whre you want to save it by clicking ‘Location’. From there, choose ‘H.264’ from the ‘Format’ menu. You can then adjust any additional settings as desired, such as quality or resolution. Finally, click ‘Export’ and your file will be ready for use!
Exporting From Premiere Pro: What Format Should I Use?
When exporting from Premiere Pro, the best format to choose depends on what you intend to do with the video. If you are looking for a format that offers good quality and compatibility with other devices, then AVI and MP4 are both popular choices. If you need a high-quality, lossless format for archiving purposes, then a TIFF sequence is recommended. For videos that will be shared online or over networks, H.264 is a common choice due to its small file size and excellent compression rate. Finally, if you want to edit your video further in anoter program, then exporting as an EDL or XML is recommended. Whichever format you choose, make sure it is supported by the device or platform you intend to use it on.
Exporting Files from Adobe Premiere
When exporting files from Premiere Pro, the best formats to choose are H.264, Quicktime MOV, AVI, and TIFF Sequence. H.264 is a popular format due to its high image fidelity and relatively small file size. Quicktime MOV is great for exporting with an Alpha Channel as it provides high image fidelity and a reasonable file size. AVI is a widely used format that can be used for most types of projects. Lastly, TIFF Sequence is a lossless format which results in very high quality images but large file sizes.
Is H.264 the Same as MP4?
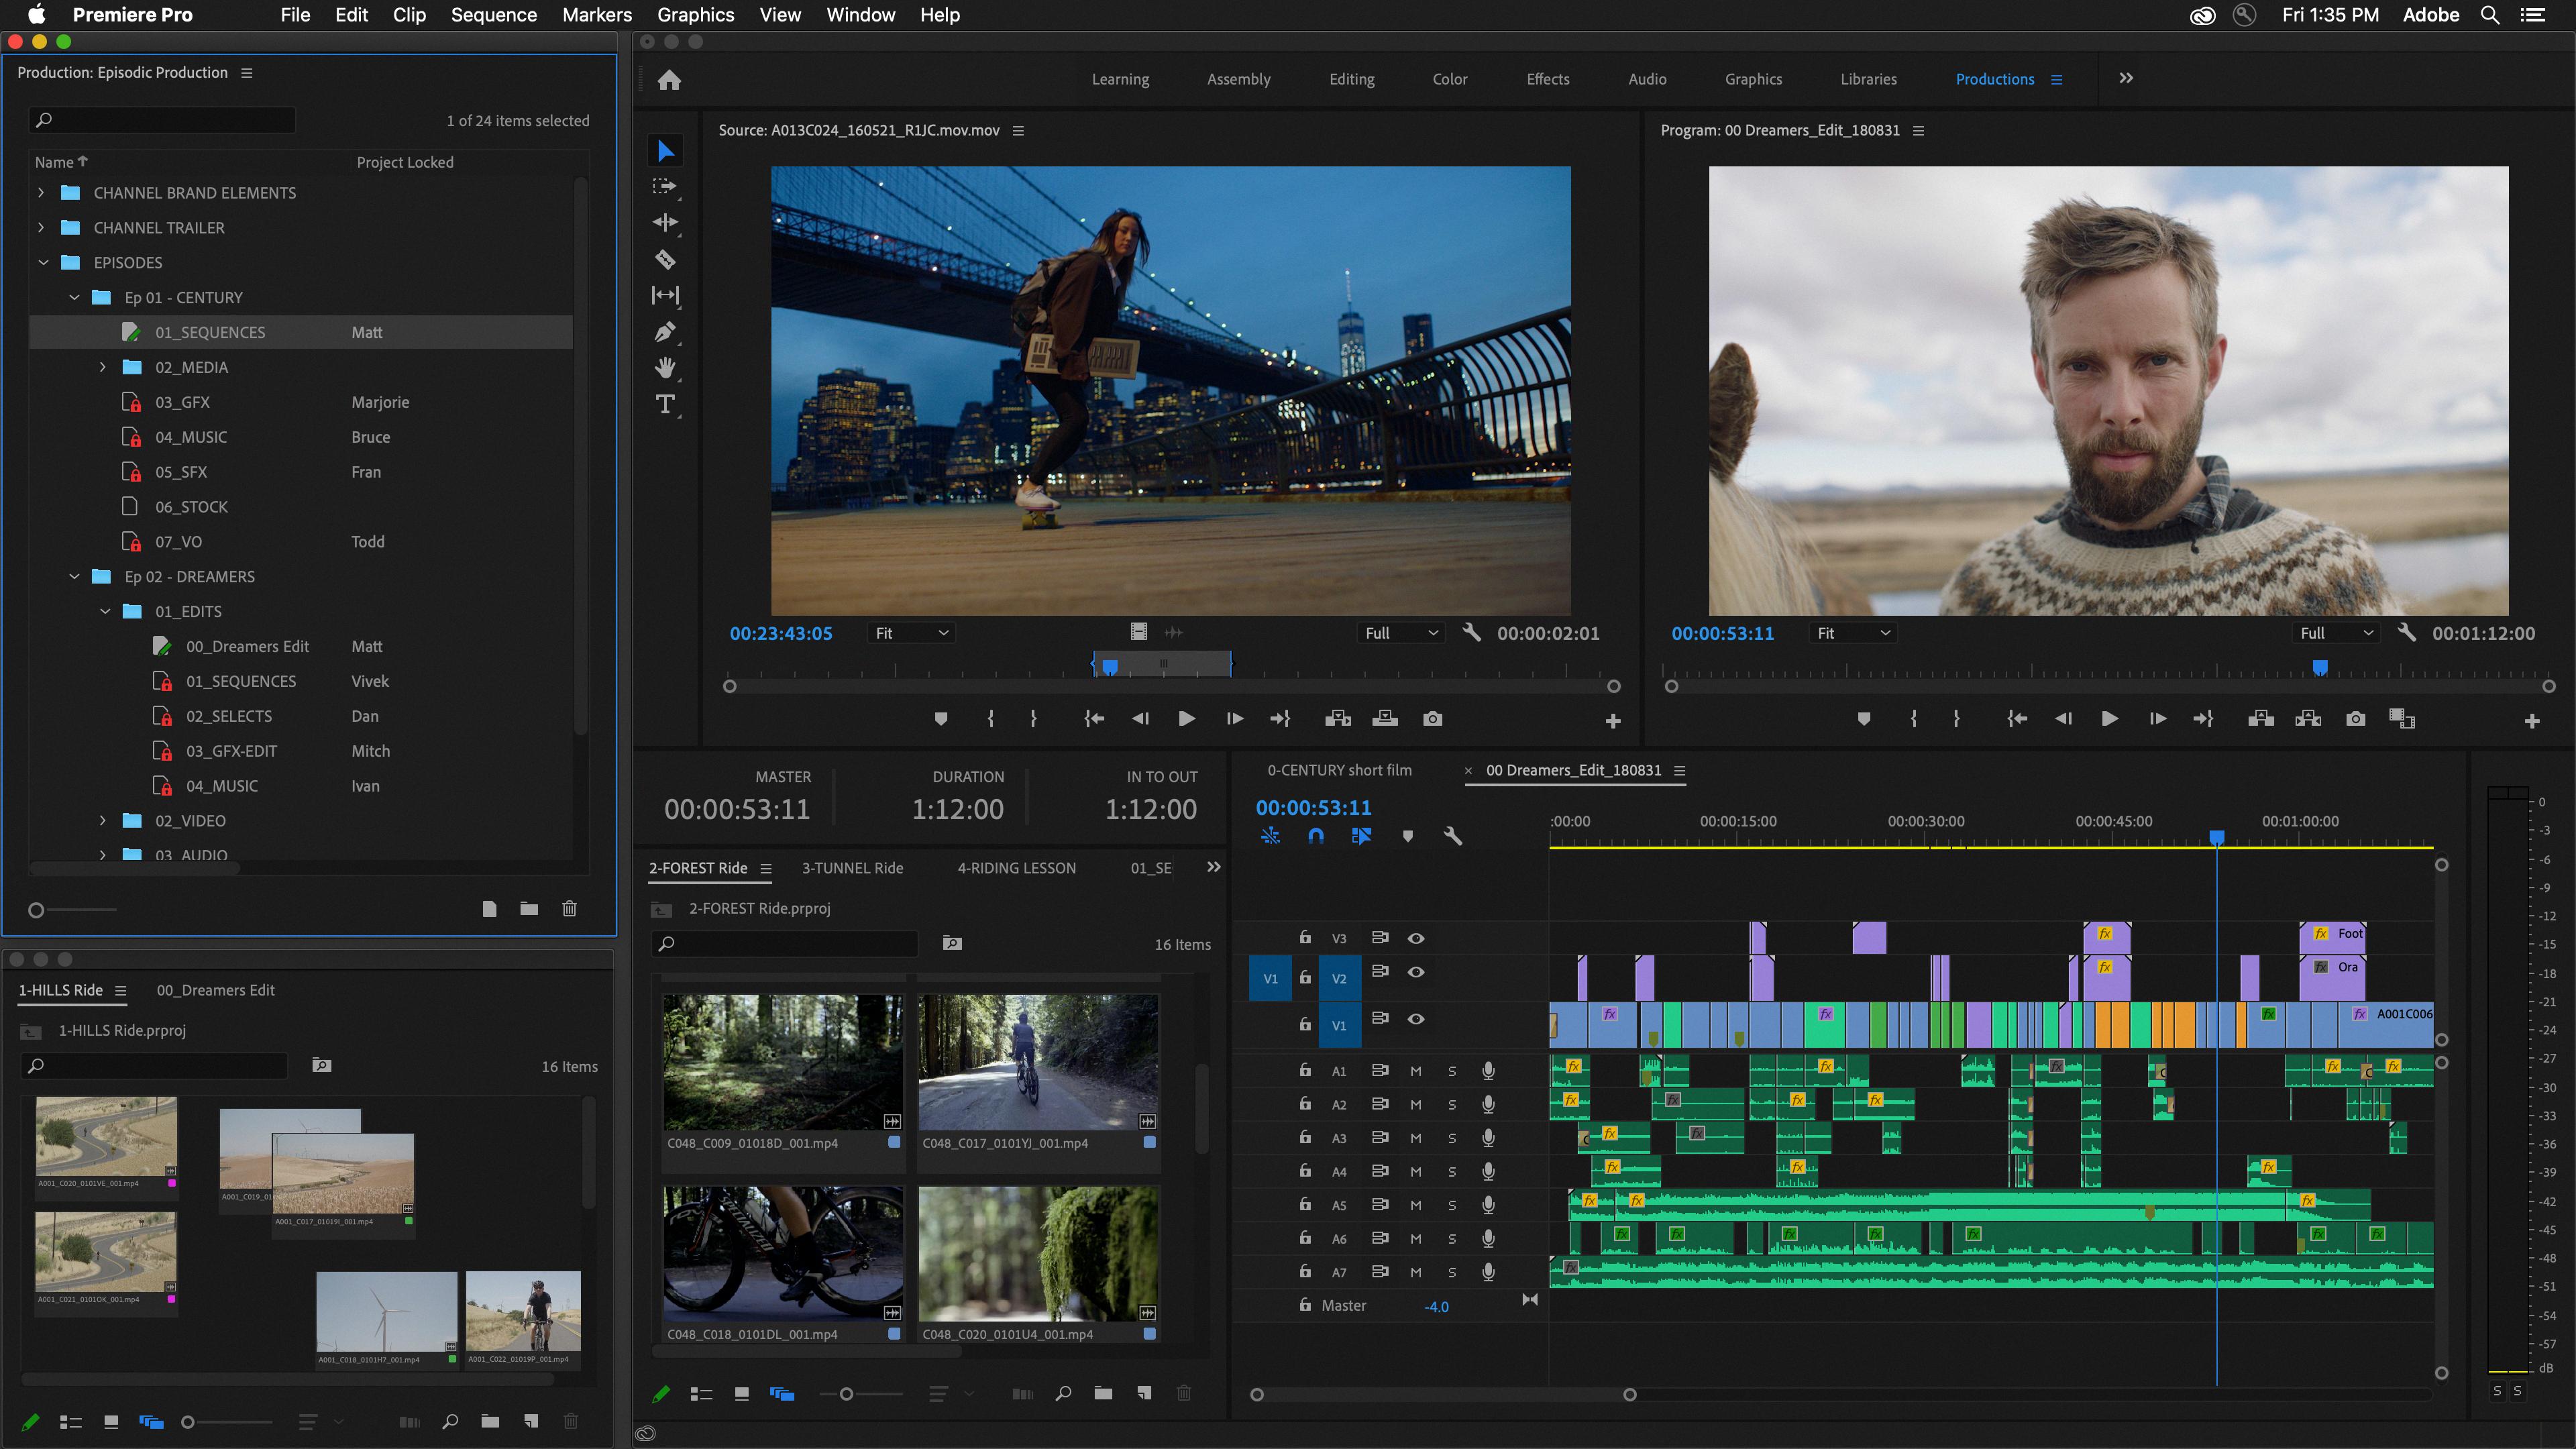
No, H.264 and MP4 are not the same thing. H.264 is a video compression codec, meaning it is a mathematical algorithm that reduces the size of a video file while preserving the quality of the image. This compressed file requires a video container to host the encoded video, and this is where MP4 comes in. MP4 is a file container format which can hold audio, video, images and subtitle tracks in one file – it acts as a wrapper for the compressed H.264 video file, allowing playback on compatible devices. To sum up, H.264 is used to compress the original digital video while MP4 proides the structure that contains it.
Source: variety.com
Is MPEG4 the Same as MP4?
No, MP4 is not the same as MPEG4. MPEG4 is a video compression standard that defines how to encode video, while MP4 is a container format that can contain both audio and video encoded usng different standards, including but not limited to MPEG4. An MP4 file can contain audio and/or video encoded with other standards besides MPEG4, such as H.264 or HEVC, whereas an MPEG4-encoded video will always be packaged into an MP4 file.
Exporting Videos: What Is The Best Format?
The best format to export a video largely depends on what you plan on using the video for. If you plan to upload the video to social media platforms, then MP4 is your best option as it is the most universally supported format. It offers lower definition than some other formats, but its small file size and compatibility makes it ideal for streaming online.
If you are creating a video with high-definition visuals, then another format may be more suitable. H.264 is widely used in HD and Ultra HD videos, as it offers higher quality than MP4 without an excessively large file size. However, if your goal is to create a project for broadcast television or cinematic purposes, then you should look into using an even higher quality codec like ProRes or DNxHR.
Exporting High-Quality Video from Premiere Pro
To export a video from Premiere Pro without losing quality, you’ll need to make sure that you use the correct settings. First, open the Export Settings dialog box. Under the Video tab, select your desired format, such as H.264 for most common uses. Next, scroll down to Bitrate Settings and switch the bitrate encoding to “VBR, 2 pass”. Set the target and maximum bitrates to 2 and 5 respectively. Finally, click Export and wait for Premiere Pro to finish encoding your video. Your video should now be exported without any quality loss!
Do I Need to Render Before Exporting in Adobe Premiere CC?
No, you do not need to render before exporting from Adobe Premiere Pro CC. In Premiere, you can export directly from the timeline without pre-rendering. This means that you can do all of your effects, color correction, and other editing work without having to wait for a lengthy pre-rendering process. The only time you’ll have to wait is when exporting for the first time; after that, your timeline will be saved and ready for future exports.
Source: en.wikipedia.org
Rendering a Video in Adobe Premiere
Rendering a video in Adobe Premiere Pro is a straightforward process. First, you will need to define the work area. This can be done by selecting the area of your video project that you want to render. After defining the work area, you can then select “Sequence” from the top menu and choose “Render In to Out” or “Render Selection” depending on if you are rendering your entire sequence or just a specific section. You will then be prompted to select a destination folder and an output format for your rendered video file. Once this is done, click ‘OK’ and Premiere Pro will begin rendering your video project. When it’s finished, you’ll find the rendered file in the destination folder that you specified.
Where Do Premiere Pro Exports Get Saved?
When you export a file from Premiere Pro, the file will be saved to the destination you have chosen. Depending on your preferences, this could be a specific folder on your computer or an external hard drive. If you select the “Queue” box in the export window, the export process will be transferred to Adobe Media Encoder (if it is installed). Once the process is complete, the exported files will appear wherever you specified as their destination.
Exporting Media in Adobe Premiere Pro: Challenges and Solutions
There can be several reasons why you may not be able to export media in Premiere Pro. The most common issues include: incompatible formats, unsupported codecs, and media corruption within Premiere Pro.
Incompatible formats can occur if the codec used to create the clip is not supported by the program you are exporting to. To fix this, you’ll need to convert the clip into a supported format or use a diferent program for exporting.
Unsupported codecs can also cause issues when exporting in Premiere Pro. Certain codecs may be unsupported by certain devices or programs, so it’s important to check for any incompatibilities before exporting. If you’re having issues with an unsupported codec, you may need to re-encode your video file using a different codec that is supported.
Media corruption within Premiere Pro can also hinder your efforts to export a clip in Premiere Pro. It may be the case some footage or some frames may be corrupt within Premiere Pro. To fix this, you will need to disable all tracks but one and then export the video again.
These are just some of the potential causes for why you may not be able to export media in Premiere Pro – if none of these solutions work for your situation then it might help to investigate further or consult an expert on the matter.
Saving a Video as an MP4
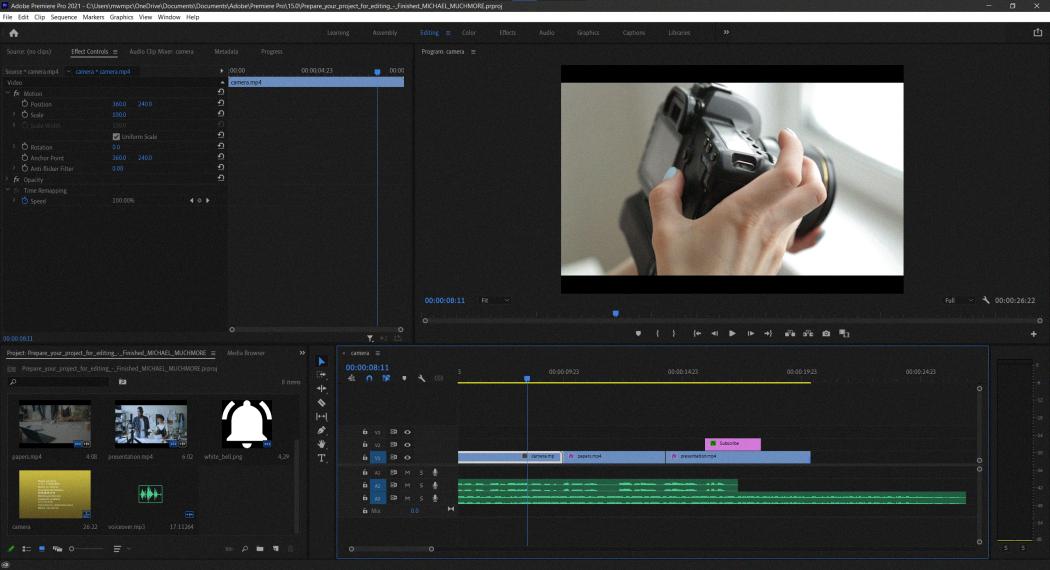
To save a video as an MP4, begin by selecting File > Export. Next, open the File Format list and select MP4 as the desired format. You can also select the video Quality you want: Presentation Quality, Internet Quality, or Low Quality. Once you’ve made your selections, click Export to save your video as an MP4 file.
Source: pcmag.com
Using MP4 Files in Adobe Premiere
Yes, you can use MP4 files in Adobe Premiere Pro. It is one of the most commonly used video formats, and it is supported by many editing programs. MP4 is a container format that can contain audio, video and subtitles in different codecs like H.264 or H.265. You can import MP4 files into your Premiere Pro project by dragging them directly from your computer into the Project panel or by using the Media Browser panel to locate and select the file.
Sharing a Project in Adobe Premiere Pro
To share a project in Premiere Pro, first navigate to the Premiere Pro project you want to send. Then, click on the ‘Add Project’ button. You will then be asked to enter the email address of your recipients, a package name and message (optional) and a password if you want to protect the content. Once all of that is entered, select ‘Upload and Send’ to deliver the project. Your recipient will receive an email containing a download link for the project that they can use to access it.
Best Export Settings for YouTube in Adobe Premiere
The best export settings in Adobe Premiere for YouTube depend on the quality of the video you are uploading.
For Quad HD (2560 x 1440) resolution, you should select the H.264 codec with a bit rate of at least 20 Mbps. The frame rate should be set to either 24fps or 30fps, and the audio should be set to AAC with a bit rate of 192 Kbps or higher.
For Full HD (1920 x 1080) resolution, you should select the H.264 codec with a bit rate of at least 10 Mbps. The frame rate should be set to either 24fps or 30fps, and the audio should be set to AAC with a bit rate of 128 Kbps or higher.
For HD (1280 x 720) resolution, you sould select the H.264 codec with a bit rate of at least 5 Mbps. The frame rate should be set to either 24fps or 30fps, and the audio should be set to AAC with a bit rate of 128 Kbps or higher.
For SD NTSC Wide (854 x 480) resolution, you should select the H.264 codec with a bit rate of at least 2 Mbps. The frame rate should be set to either 24fps or 30fps, and the audio should be set to AAC with a bit rate of 96 Kbps or higher.
It is important to note that tese settings are only recommended guidelines; they may need to be adjusted depending on your source footage and desired output quality level.
What Does It Mean to Have Export Quality?
Export quality refers to the quality of goods or services produced and exported from a country or region. It is determined by the extent to which the exported goods or services meet customer expectations, are competitively priced, and comply with safety and environmental regulations. Export quality also takes into account factors such as product innovation, brand image, customer service and after-sales support. The higher the export quality of a country’s goods or services, the more likely it is to attract business from customers in foreign markets.

Source: premiumbeat.com
The Difference Between Rendering and Exporting
No, rendering and exporting are not the same thing. Rendering is the process of creating a final video or image based on a set of instructions. This includes combining all of the elements (video clips, effects, text, etc.) that make up the project into one final file. Exporting is the process of taking the completed render and encoding it into a playable file format that can be shared with others. Both processes are essential in producing a finished product from a creative project.
Consequences of Exporting a Video Without Rendering
If you export a video without rendering, Final Cut Pro (FCP) will still render all of your clips and effects before exporting. This may take longer than if you rendered everything beforehand, but the end result will be the same. The exported file will contain all of the rendered clips and effects, wich can then be used in other video programs or shared on the web.
Conclusion
Premiere Pro is a powerful and versatile video editing software. It offers powerful tools, an intuitive user interface, and a wide range of features to help users create stunning videos. With its comprehensive library of effects and transitions, as well as its support for various media formats, Premiere Pro makes it easy to customize and produce professional-looking videos with ease. Additionally, the program’s integration with Adobe Creative Cloud allows users to collaborate seamlessly with other Adobe applications. With all these features, it’s no wonder that Premiere Pro is a popular choice among video editors.


