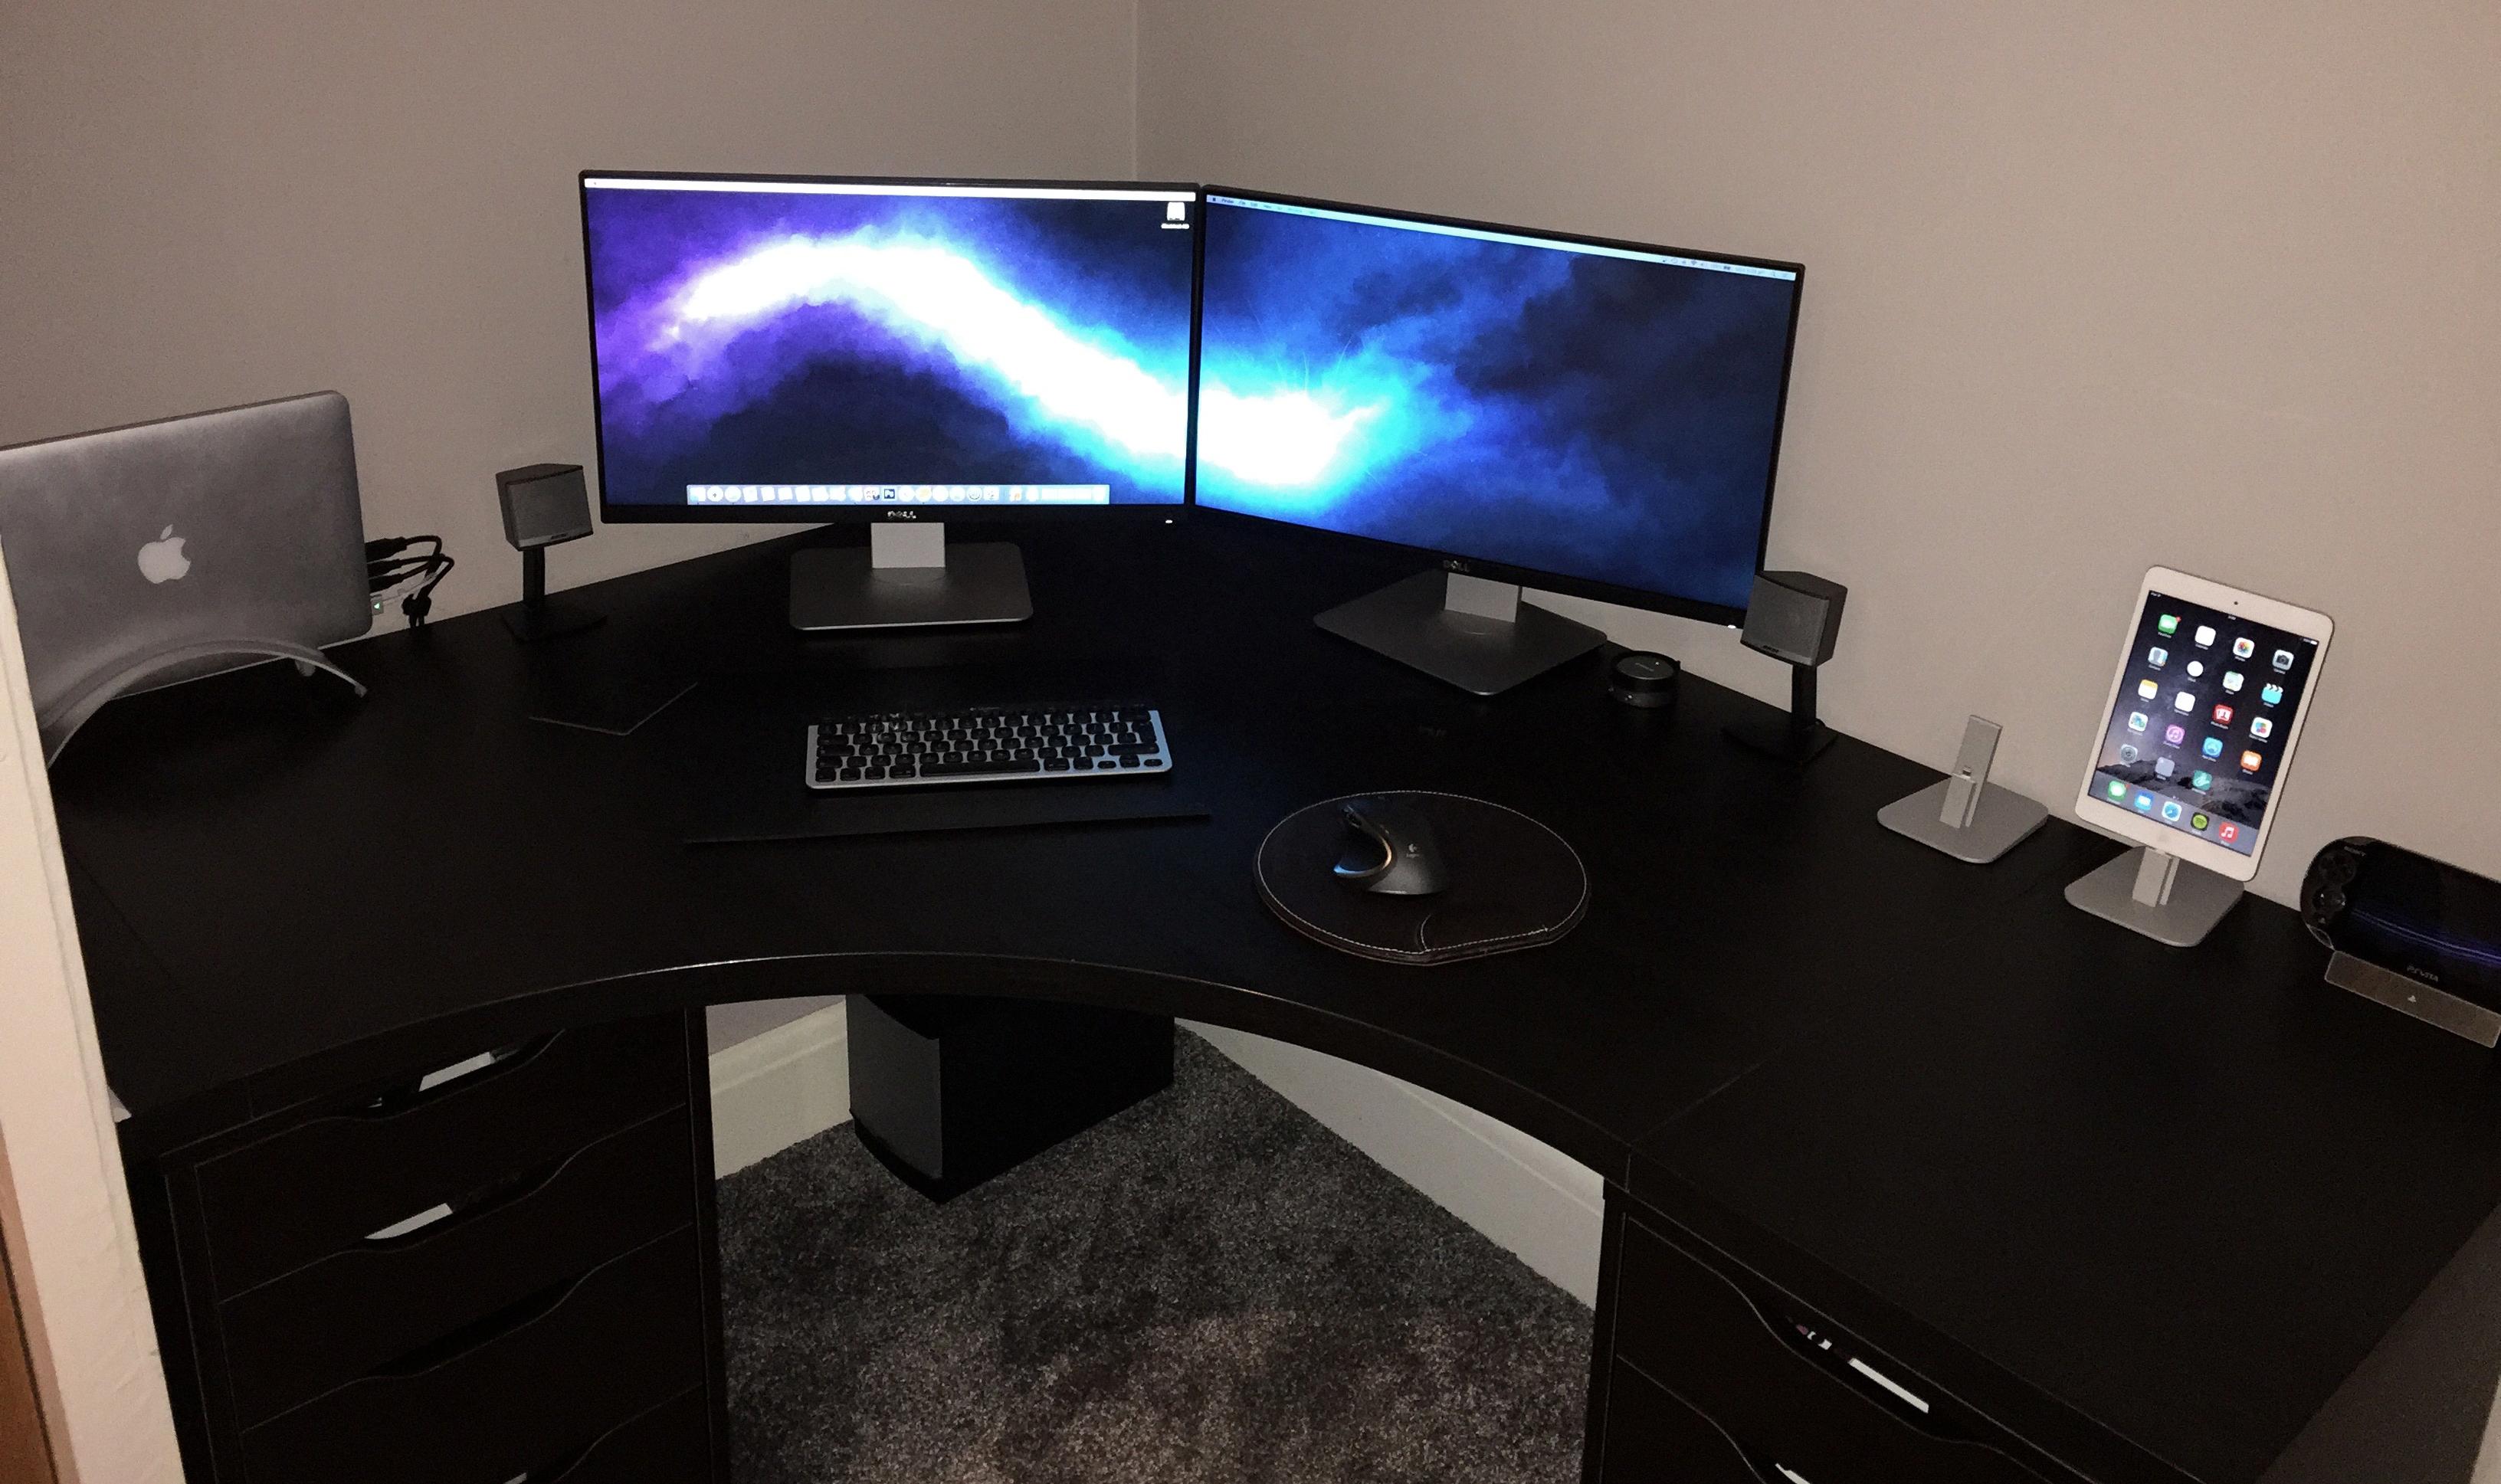
Are you looking to upgrade your workstation to include dual monitors on your MacBook Pro? It can be a daunting task, but with the right information and a few simple steps, you can soon have an expanded work setup.
Fortunately, Apple’s Macbook Pro laptops come with ports that allow you to easily connect an extra monitor or two. To successfully connect dual monitors to your Macbook Pro, you’ll need the correct cables and adapters. Let’s get started!
Begin by connecting the video cable of your first monitor to either the HDMI port, mini DisplayPort, or Thunderbolt (over USB-C) port on your Macbook Pro. Once connected, your Macbook will detect the display automatically and you can start using it as an extended workspace.
If you’re using an HDMI display with a USB-C Digital AV Multiport Adapter for your 13-inch MacBook Pro, plug the adapter into one of its Thunderbolt / USB 4 ports. From there, simply plug the HDMI cable from the adapter into your monitor.
The second display should be connected in a similar fashion as above. Once both monitors are connected and powered up, open System Preferences on your Macbook and select Mission Control. Here you will find an option labeled “Displays have separate Spaces” which allows OS X to snap windows across both displays as you prefer them.
In addition to setting up multiple displays on your laptop, it’s also important to adjust their resolution settings so they look their best. Open System Preferences again and select the Display tab then set the desired screen resolution for each monitor before clicking OK or Apply Changes when finished. Finally, open the Color tab in System Preferences and set it to Millions of Colors for optimal viewing quality across both displays.
And that’s all there is to it! With these simple instructions in mind, you’re now ready to enjoy all the benefits that come with having dual monitors on your Macbook Pro. Whether it’s improved multitasking capabilities or more screen real estate for creative projects – having two displays has never been easier!
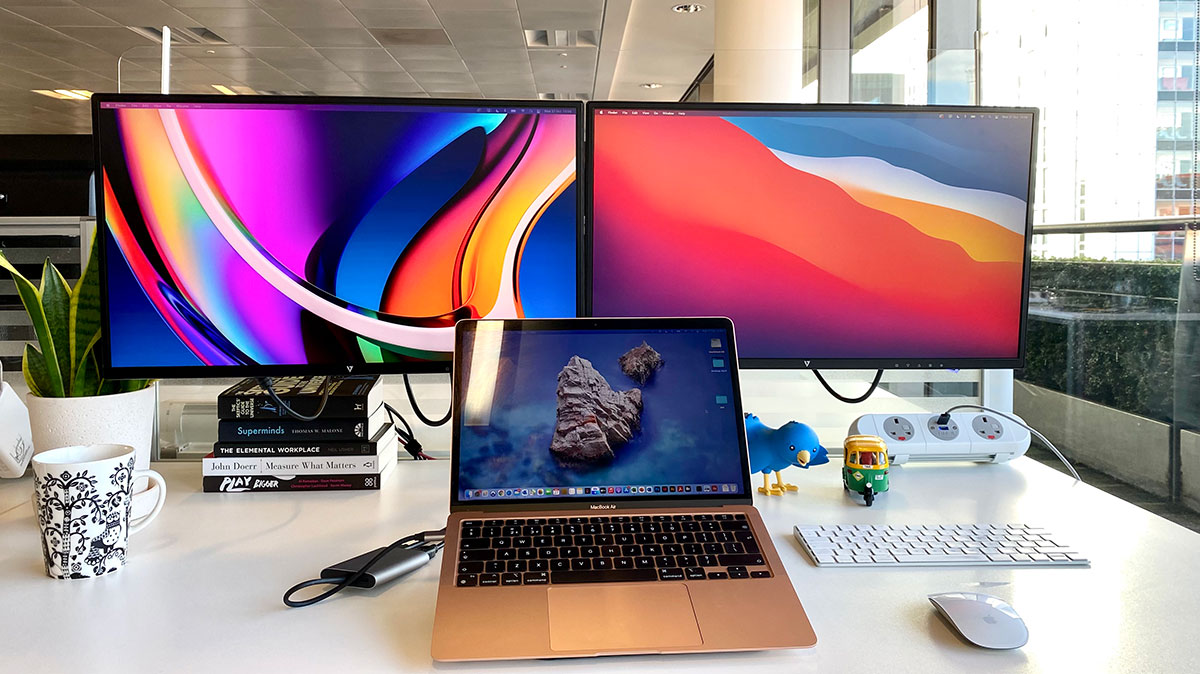
Connecting Two HDMI Monitors to a MacBook Pro
To connect two HDMI monitors to your MacBook Pro, you will need two HDMI cables and two video adapters. The first adapter should be a USB-C to HDMI adapter that connects to one of the MacBook’s USB-C ports. Then, connect the other end of the adapter to one of the HDMI monitors using an HDMI cable.
Next, connect a mini DisplayPort to HDMI adapter to another USB-C port on the MacBook Pro and attach an HDMI cable between this adapter and the other monitor. Once all connections are made, your MacBook Pro should auto-detect both displays and allow you to use them side by side or in extended mode with different content on each monitor.
Setting Up Dual Monitors on a Mac
To get dual monitors to work separately on Mac, you will need to open System Preferences and select the Mission Control preference pane. Then, uncheck the ‘Displays have separate Spaces’ option. This will allow you to use each monitor independently and move windows between the two screens. Additionally, you can use the Arrangement tab in the Displays pane of System Preferences to set up your monitors in a specific order. Once that’s done, you can drag windows between monitors as needed.
Connecting a Second Monitor to a MacBook
You can easily connect a second monitor to your MacBook by using an appropriate cable or adapter. If you have a 14-inch or 16-inch MacBook Pro, simply plug the cable from the second monitor into the HDMI port on your laptop. For 13-inch MacBook Pro models, you will need to use a USB-C Digital AV Multiport Adapter to connect the HDMI display or HDTV to a Thunderbolt / USB 4 port on your laptop. Once connected, go to System Preferences > Displays and select the Arrangement tab. Then drag your cursor across both displays to create one continuous desktop space.
Troubleshooting Issues with Connecting a Second Monitor to a MacBook Pro
There could be several reasons why your second monitor isn’t working with your MacBook Pro. First, make sure that the cable connecting your external display to your MacBook Pro is secure. If the cable is loose, try reconnecting it and see if that solves the issue. Second, check that you are using the correct type of cable to connect the two devices – if you are not using a USB-C or Thunderbolt adapter, you may need to purchase one in order to display on a second monitor. Third, check that both devices are powered on and that the settings for each device are configured correctly – for example, make sure your external display is set as an extended desktop and not a mirrored one. If none of these solutions solve the issue, then you may need to contact Apple Support for further assistance.
Source: macrumors.com
MacBook Pro Models Supporting Dual External Monitors
The M1 Mac Mini is the only MacBook Pro model that natively supports up to two external monitors—one via the HDMI port and a second via USB-C. The M1 MacBook Air and M1/M2 MacBook Pro models support only one external display. However, with the help of a Thunderbolt 3 or USB-C dock, you can connect additional displays to any of these models.
Connecting Two Monitors to a MacBook Pro M1
Yes, you can connect up to two external displays to your MacBook Pro M1 using both the Thunderbolt 4 (USB-C) and HDMI ports. Make sure that you have the proper cables for each connection type. Additionally, each port supports different resolutions, so be sure to check these before purchasing any additional monitors. For example, the Thunderbolt 4 port supports up to 6K resolution while the HDMI port supports up to 4K resolution.
Using One HDMI Port with Two Monitors
If you have a computer with one HDMI port, you can use two monitors by using an HDMI splitter. To do this, start by plugging the end of the HDMI splitter into the HDMI port on your computer. Then, connect one end of each cable to a monitor. Once all connections are secured, turn on both your monitors and computer – you should now see your desktop extended across both screens! If you experience any issues with the setup, make sure that all cables are securely connected and that the resolution settings for both monitors match.

