When it comes to setting up your home theater system, one essential piece of equipment is an HDMI receiver. An HDMI receiver acts as a hub for all of your audio and video devices, allowing you to easily switch between them and enjoy high-quality sound and pictures.
Connecting your HDMI receiver to your TV is a crucial step in getting your home theater system up and running. The process can vary slightly depending on the specific devices you are using, but we will outline some general steps below.
First, make sure you have an HDMI cable that is long enough to reach from your receiver to your TV. You will want to connect the cable to the HDMI port on your TV that is labeled “ARC” (Audio Return Channel) or the port specified in your manual as supporting ARC. This will allow your TV to send audio signals back to your receiver.
Next, turn on the Control for HDMI setting on both your TV and your receiver. This setting allows your devices to communicate with each other and can make switching between them much smoother.
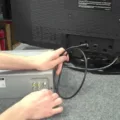
Now it’s time to connect your audio cable. You have a few options here, including coaxial digital cable, optical digital cable, or a standard audio cable. Connect one end of the cable to the audio output jack on your TV and the other end to the corresponding input on your receiver. Depending on your device, the input may be labeled TV INPUT or VIDEO INPUT.
You will need to connect your video source device to your HDMI transmitter. This could be a set-top box, Blu-ray player, gaming console, or any other device that outputs video. The transmitter will then send a wireless signal to your receiver, which will display the video on your TV.
Once all of your devices are connected and configured, you should be able to enjoy high-quality audio and video from your home theater system. Don’t forget to experiment with different settings and configurations to find the setup that works best for you.
Setting up your HDMI receiver to your TV can be a straightforward process as long as you follow some basic steps. Make sure you have the right cables, turn on the Control for HDMI setting, connect your audio cable, and connect your video source device to your transmitter. With a little bit of patience and attention to detail, you can have a top-notch home theater system up and running in no time.
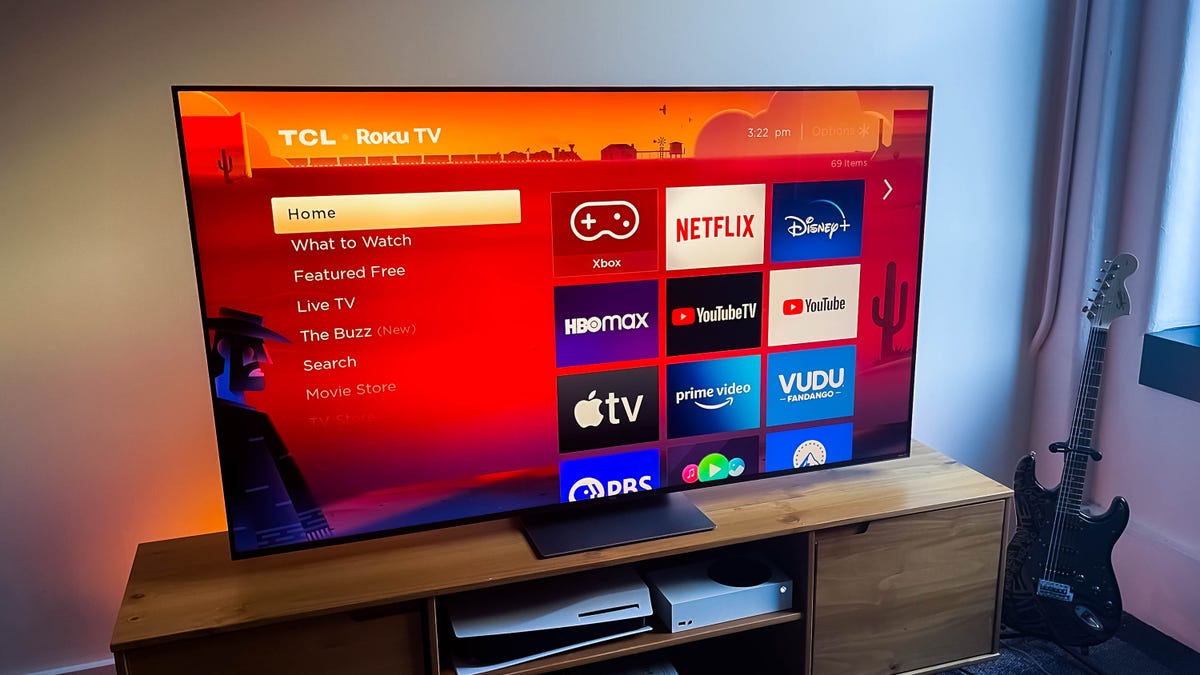
Connecting an HDMI Receiver to a TV
To connect your HDMI receiver to your TV, follow these steps:
1. Ensure that you have an HDMI cable that is compatible with both your TV and receiver.
2. Look for the HDMI ports on both your TV and receiver. These ports are usually labeled as HDMI, and some TVs and receivers may have more than one HDMI port.
3. Connect one end of the HDMI cable to the HDMI port on your receiver, and the other end to the HDMI port on your TV. Make sure that the cable is securely connected to both ports.
4. Turn on your TV and receiver. You should see the receiver’s menu or interface displayed on your TV screen.
5. If your TV and receiver support Audio Return Channel (ARC), connect the HDMI cable to the HDMI port that is labeled ARC on both your TV and receiver. This will allow you to send audio signals from your TV to your receiver, eliminating the need for a separate audio cable.
6. Turn on the Control for the HDMI setting on both your TV and receiver. This will allow your TV to control your receiver’s volume and power, and vice versa.
7. If your TV and receiver do not support ARC, connect a separate audio cable (such as an optical or RCA cable) from your TV to your receiver. This will allow you to send audio signals from your TV to your receiver.
By following these steps, you should be able to connect your HDMI receiver to your TV and start enjoying your favorite movies, TV shows, and music with high-quality audio and video.
Connecting HDMI to TV or Receiver
When it comes to connecting your HDMI devices, there are two main options: connecting them directly to your TV or connecting them to your receiver. Both methods have their pros and cons, so the best choice depends on your specific needs and preferences.
If you choose to connect your HDMI devices directly to your TV, you’ll be able to switch between inputs using your TV’s remote control. This can be convenient if you don’t want to hassle with multiple remotes or if you prefer to control everything from one central location. However, you’ll miss out on some of the benefits of using a receiver, such as improved audio quality and the ability to send audio to multiple speakers.
On the other hand, if you choose to connect your HDMI devices to your receiver, you’ll be able to take advantage of features like surround sound and audio calibration. You’ll also be able to switch between inputs using your receiver’s remote control, which can be more intuitive for audio and home theater enthusiasts. However, this setup can be more complicated to set up and may require additional cables and equipment.
Ultimately, the choice between connecting your HDMI devices to your TV or your receiver depends on your specific needs and preferences. If you prioritize simplicity and convenience, connecting directly to your TV may be the best choice. If you prioritize audio quality and advanced features, connecting to your receiver may be the way to go.
Connecting a Receiver to a TV
To connect your receiver to your TV, you can use different types of audio cables such as coaxial digital cable, optical digital cable, or audio cable. Here are the steps to connect your receiver to your TV:
1. Locate the Audio Output jack on your TV. It is usually located at the back or side of the TV.
2. Choose the type of audio cable that you want to use based on the available ports on your TV and receiver.
3. Connect one end of the audio cable to the Audio Output jack on your TV.
4. Connect the other end of the cable to the corresponding jacks on your A/V receiver or home theater system.
5. Check the ports on the receiver or home theater system and choose the audio input that corresponds to the TV input. It may be labeled as TV INPUT or VIDEO INPUT.
6. Once you have connected the cables, turn on the TV and receiver to test the audio. If necessary, adjust the settings on your TV and receiver to get the desired sound output.
By following these steps, you can easily connect your receiver to your TV and enjoy the high-quality audio output from your home theater system.
The Benefits of Using an HDMI Receiver
An HDMI receiver is a device that is used to receive and decode a digital signal that has been transmitted wirelessly over an HDMI connection. The receiver is typically used to connect a TV to a wireless video HDMI transmitter, which is used to send a video signal from a source device to the TV without the need for a physical HDMI cable. The receiver connects to the TV and receives the wireless signal, which it then decodes and displays on the TV screen. Some HDMI receivers may also include additional features such as audio decoding and amplification, allowing them to provide a complete home theater experience. an HDMI receiver is an essential component of any wireless home theater system, allowing you to enjoy high-quality video and audio content without the need for messy cables and wires.
Conclusion
Connecting an HDMI receiver to a TV is a relatively simple process that requires only a few steps. The first step is to ensure that both devices are connected using an HDMI cable and that the cable is plugged into the HDMI port that supports ARC. Once this is done, you need to turn on the Control for HDMI setting on both the TV and the receiver. You can then connect a Coaxial Digital Cable, Optical Digital Cable, or Audio cable to the Audio Output jack on your TV, and connect the other end of the cable to the corresponding jacks on the A/V receiver or home theater system. Depending on your device, the audio input may be labeled TV INPUT or VIDEO INPUT. It is also important to note that you can choose to connect all devices to the receiver with a single cable going to the TV, or you can connect all devices to the TV with a single audio cable going to the receiver. Ultimately, the method you choose will depend on your specific needs and preferences. setting up an HDMI receiver to a TV is a straightforward process that can greatly enhance your viewing experience.

