VCRs, or Video Cassette Recorders, were once the primary means of watching and recording television shows and movies. While they have been largely replaced by digital devices like DVD and Blu-ray players, VCRs still have a place in many households. In this article, we will discuss how to connect a VCR to a TV, ensuring that you can enjoy your favorite movies and shows with ease.
The first thing you will need to connect your VCR to your TV is an RCA Cable. This cable is also known as a Composite Video Cable and consists of a yellow connector for video and attached red and white connectors for audio. If your TV does not have a composite video input, but instead an RGB input, you will need to determine which one can be used as a composite video signal.
Once you have your RCA Cable, connect the 3.5mm plug to the analog video input on your TV. If your TV uses a 3.5mm input and you have the TV’s adapter, you can use that instead. Next, connect the colored plugs on the other end of the cable to their matching ports on the back of your TV or on the analog video adapter.
Ensure that your television is tuned to the appropriate channel or video input to receive the signal from the DVD/VCR combo. Attempt to play a different media in the DVD/VCR combination deck to ensure that everything is working properly.
If you are experiencing issues with the VCR component only, you may need to clean the video heads using a dry head-cleaning cassette. This can help remove any dust or debris that may be impacting the performance of your VCR.
Connecting a VCR to a TV is a fairly simple process that can be accomplished with an RCA Cable and a few basic steps. By following the instructions outlined in this article, you should be able to enjoy your favorite movies and shows on your VCR with ease.
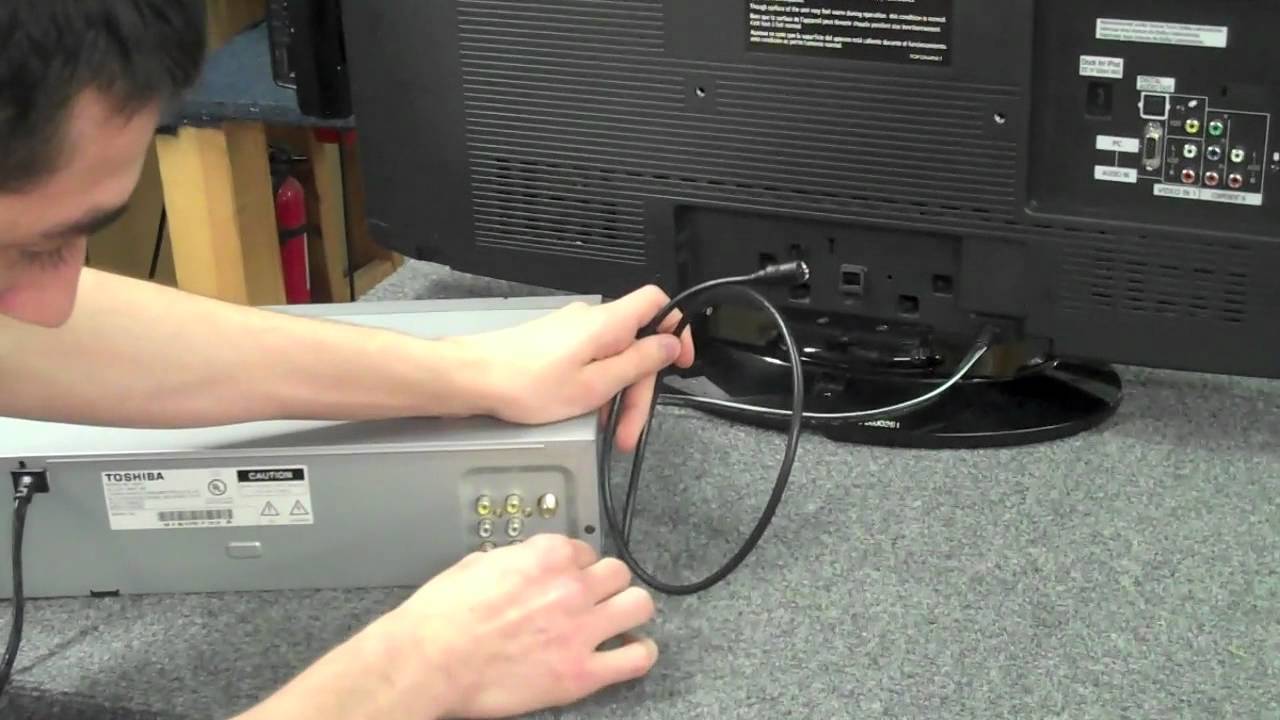
Cables Needed for Connecting a VCR
To connect a VCR to a TV, you will need an RCA cable. This cable consists of a composite video cable (usually a yellow connector) and two attached audio cables (usually a red connector and a white connector). If your TV does not have a composite video input, but has an RGB input (red-green-blue video input), you can check to see which one can be used as a composite video signal. It is important to ensure that you have the appropriate cables to ensure a proper connection between your VCR and TV.
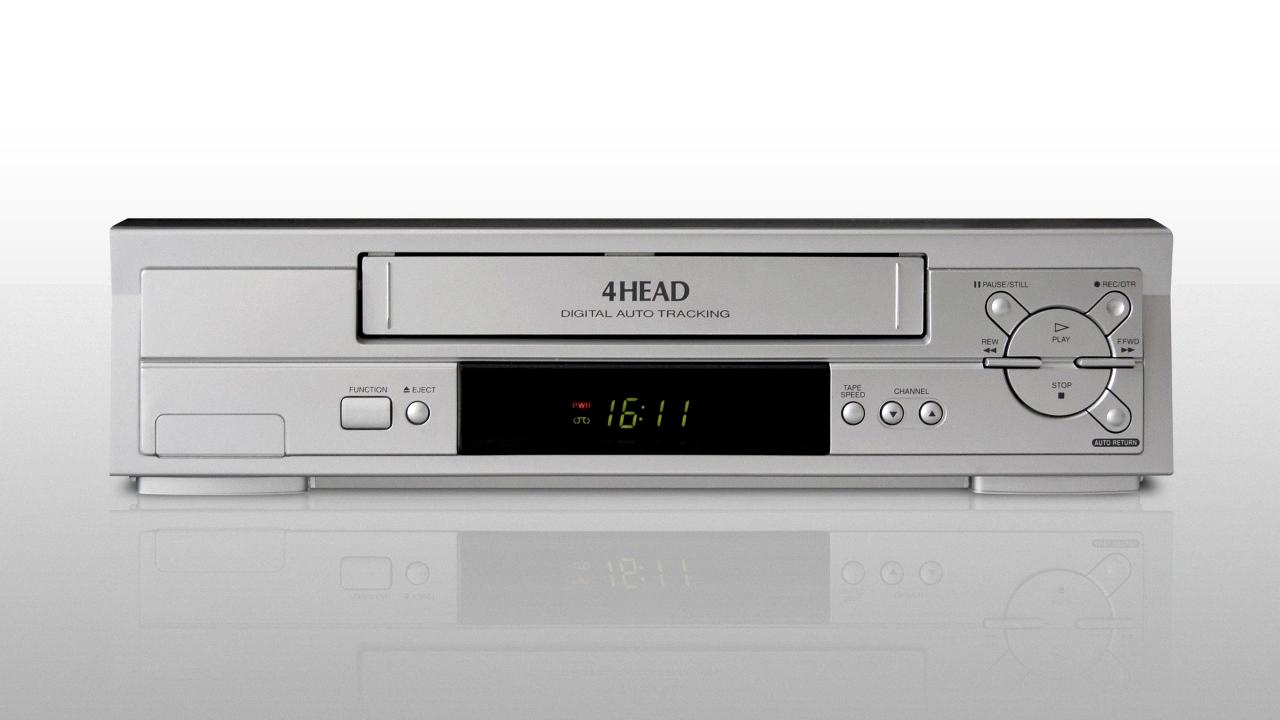
Connecting a VCR to a TV
To hook up your VCR to your TV, follow these steps:
1. Locate the analog video input on your TV. This is usually labeled as “AV In” or “Video In” and is commonly located on the back of your TV.
2. Find the appropriate cables to connect your VCR to your TV. Most likely, you will need a composite video cable (yellow), and RCA audio cables (red and white).
3. Connect one end of the composite video cable to the yellow video output on the back of your VCR.
4. Connect the other end of the composite video cable to the analog video input on your TV.
5. Connect one end of the RCA audio cables to the red and white audio outputs on the back of your VCR.
6. Connect the other end of the RCA audio cables to the corresponding audio inputs on your TV.
7. Turn on your TV and VCR, and set your TV to the appropriate input channel (usually labeled as “AV” or “Video”).
8. Insert a VHS tape into your VCR and press play.
If you encounter any issues, double-check your connections and make sure your TV and VCR are set to the correct input channels.
Troubleshooting a VCR Not Appearing on a TV Screen
If your VCR is not showing up on your TV, it could be due to several reasons. The first thing you need to do is ensure that the television is tuned to the appropriate channel or video input to receive the signal from the DVD/VCR combo. You can check the user manual of your TV to find out how to change the channel or input settings.
If the issue persists, you can try playing a different media in the DVD/VCR combination deck. This will help you determine whether the problem lies with the VCR component or the TV.
If the issue is unresolved for the VCR component only, it is possible that the video heads may need to be cleaned using a dry head-cleaning cassette. This cassette will help remove any dirt or dust that may have accumulated on the video heads, causing the VCR not to show up on the TV.
Additionally, you can also check the cables that connect the VCR to the TV. Make sure they are securely plugged in and not damaged. If any cables are damaged, replace them with new ones.
A VCR not showing up on a TV can be caused by tuning issues, problems with the VCR component, or issues with the cables connecting the VCR to the TV. By following the above steps, you should be able to identify the problem and take appropriate action to fix it.
Conclusion
The VCR may be an older technology, but it still holds its value for many people who have a collection of VHS tapes. When connecting the VCR to a TV, it is important to use the correct cables and ensure that the TV is tuned to the right channel or input. If issues arise with the VCR component, cleaning the video heads using a dry head-cleaning cassette may help to resolve the problem. Ultimately, while newer technologies have emerged, the VCR remains a reliable option for those who still enjoy watching their favorite VHS tapes.

