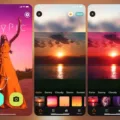
Editing dark photos on an iPhone is easier than ever before. With the latest iPhone models, it’s pssible to make even the darkest photos look brighter and clearer. Lighting is one of the most important elements in photography, and being able to adjust the brightness of a photo on-the-fly can be a huge help when editing.
The best way to edit dark photos on an iPhone is to use the built-in editing tools. The most commonly used tool for this purpose is the Brightness/Contrast tool. This tool allows you to adjust the overall brightness of your photo and make subtle changes in contrast. You can also use the Levels tool to further refine your adjustments and give your photo some extra “pop”.
Once you’ve adjusted the brightness and contrast, you may want to add some color back into your photo as well. To do this, you can use either the Vibrance or Hue/Saturation controls to restore some of the lost color from darker parts of your image. Just be sure not to overdo it – too much saturation can often make a photo look unnatural or fake.
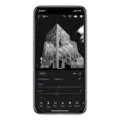
If you need to make more precise adjustments, you can create a linear gradient by tapping the plus sign, then selecting the square box on the right. This will allow you to target specific areas of your image with different brightness levels without affecting oter parts of your photo. Then, just tap on the Light menu and adjust exposure or contrast as needed until you get exactly what you want out of your photo!
With these quick tips, editing dark photos on an iPhone is easier than ever before! With just a few simple steps, anyone can turn a dull, dark photo into a bright and vibrant masterpiece that looks like it came straight out of a professional studio!
Editing Dark Pictures on iPhone
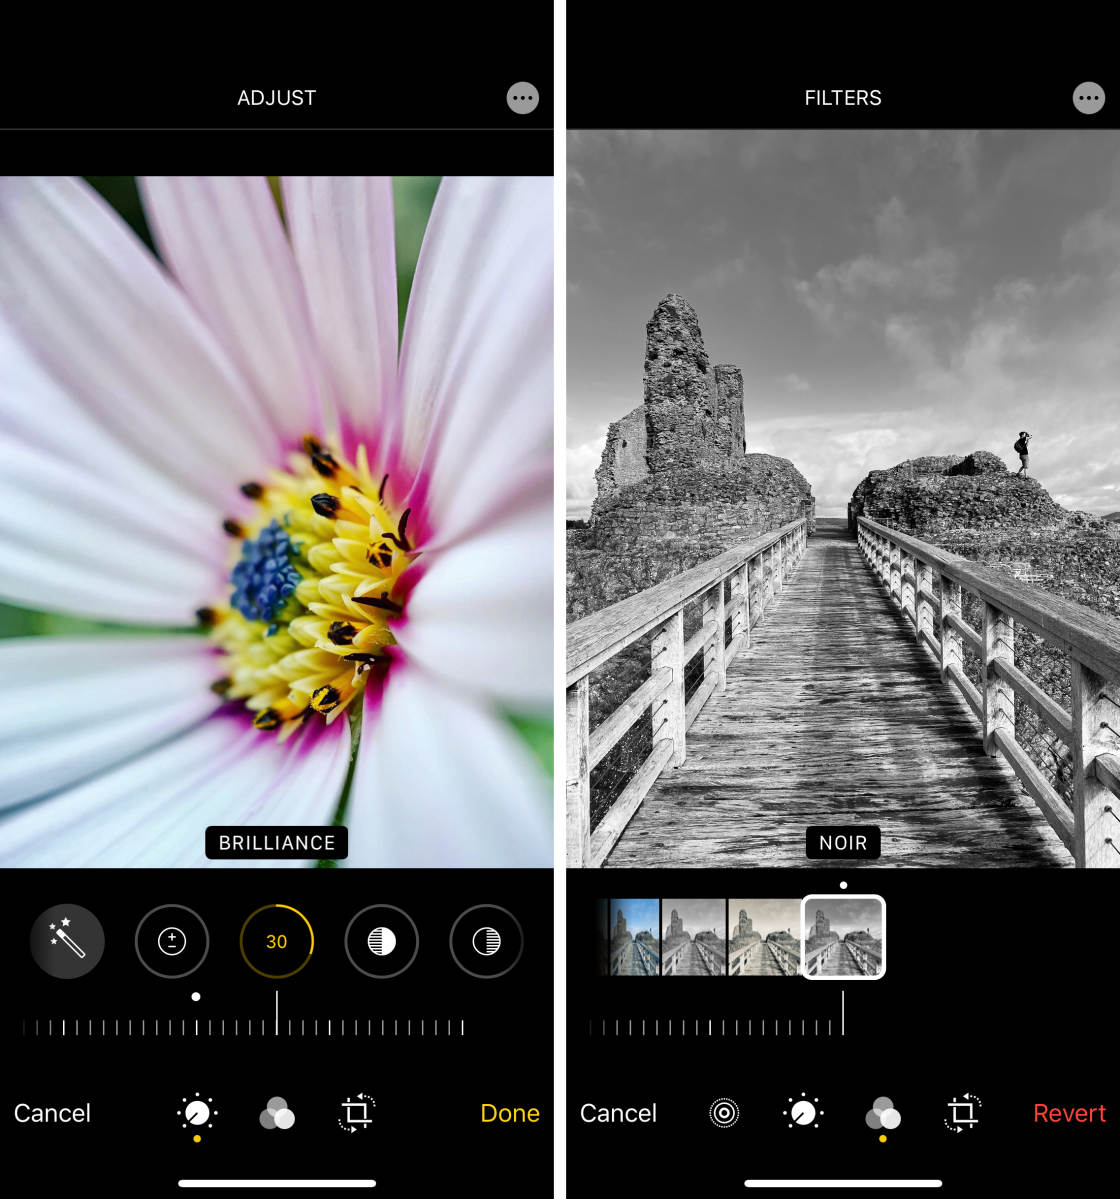
Editing dark pictures on iPhone is easy with the help of photo editing tools. First, open the photo in the Photos app and tap “Edit” at the bottom of the screen. From here, you can use a variety of tools to brighten up your photo. The Light tool allows you to adjust the overall brightness. You can drag the slider rght to make it brighter or left to make it darker. If you need more control over specific areas of your photo, you can use the Shadow tool which will lighten or darken shadows and midtones separately. To enhance contrast, you can use the Contrast tool which will make shadows darker and highlights brighter when you drag the slider right, or reduce contrast when dragging left. Finally, if needed, add a vignette effect with the Vignette tool to draw attention away from any overly dark areas in your photo.
Editing a Picture That Is Too Dark
To edit a picture that is too dark, you should first adjust the Brightness/Contrast or Levels settings to increase the oveall contrast of the image. This will make the darker areas appear brighter and more detailed. You can then use the Vibrance or Hue/Saturation controls to restore any color that may have been lost during the brightness adjustment. Finally, use a Curves or Tone Mapping tool to make any last minor adjustments to bring out the desired level of detail and brightness in your photo. With this approach, you should be able to create a bright, well exposed, and great-looking photo.
Lightening Part of a Picture on an iPhone
To lighten part of a picture on your iPhone, you will need to use the built-in editing features. First, open the photo in the Photos app and tap “Edit”. Then, tap the plus sign at the top of the screen and select the square box on the rght to create a linear gradient. Drag over the area of the photo you want to adjust (indicated by a red wash effect) and tap on the Light menu. From there, you can adjust brightness, exposure, highlights, shadows, contrast and more to lighten part of your picture. When you’re done adjusting, tap “Done” in the top right corner to save your changes.
Lightening Part of an Image on a Phone
To lighten part of a picture on your phone, you can use the brightness, highlights, and white point adjustments. First, tap the Brightness icon and adjust the overall lightness or darkness of the photo. Then, tap Highlights and adjust the detail in the brightest areas. Finally, if you want to make certain areas even brighter, you can tap White point and adjust the brightest value. This will help you lighten specific parts of your photo.
Where to Find the Retouch Button on iPhone Photos
The Retouch button is located on the Quick Fixes tab at the top of the Edit pane in iPhone Photos. To access it, open a photo in edit view and click on the Quick Fixes tab. From there, you will see the Retouch button near the right side of the menu bar. Clicking on this button will bring up additional options for retouching your photo, including tools to remove blemishes, smooth skin, remove red-eye, and whiten teeth.
Does the iPhone Have an Eraser Function for Pictures?
Yes, iPhones have an eraser function for photos. The eraser tool can be accessed by tapping the tools icon at the bottom of the screen when viewing an image. There are two types of erasers available: the Pixel Eraser and the Object Eraser. The Pixel Eraser works like a traditional eraser, allowing you to erase individual pixels from your image. The Object Eraser is more specific and allows you to erase entire objects from your photo with a single touch.
Retouching Photos on an iPhone
Yes, you can retouch photos taken with an iPhone. Using the Photos app, you can use the editing tools to adjust the crop, angle, light, add a filter, and more. You can also adjust the brightness and saturation levels of your photo to give it a more professional look. Additionally, there are other third-party apps available that offer additional advanced retouching features such as skin smoothing or red-eye reduction.

