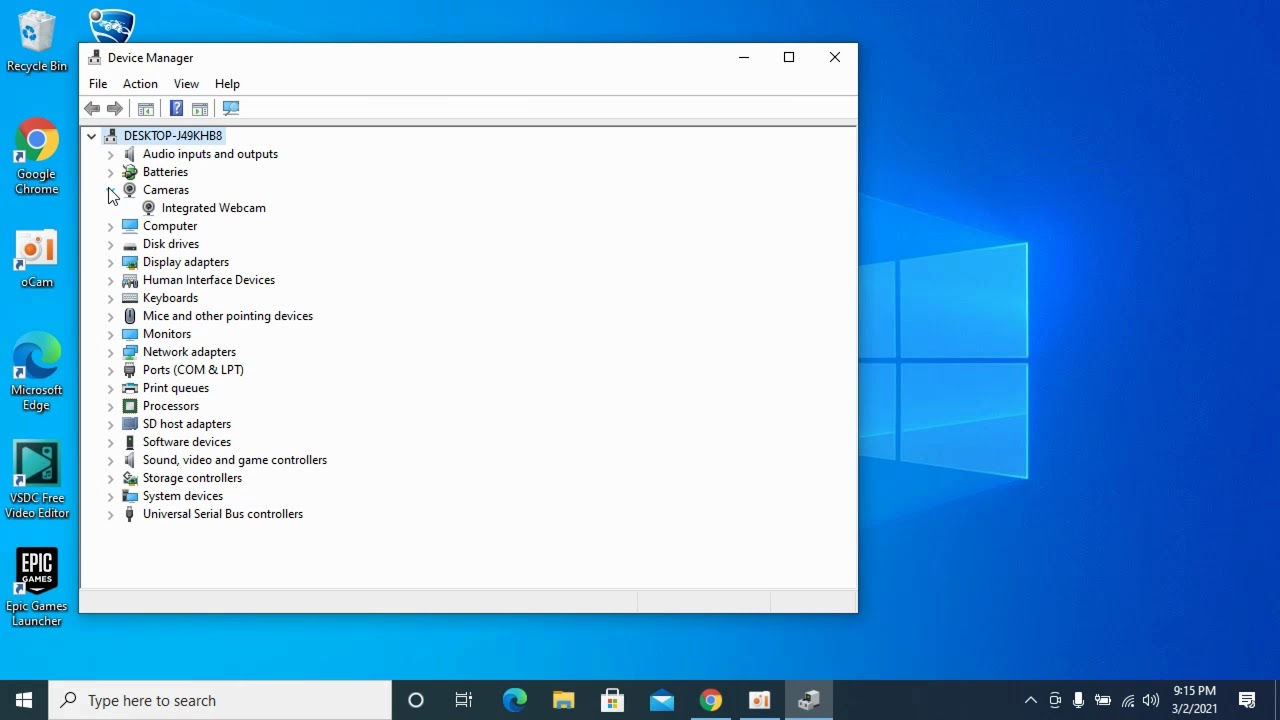
One of the essential tasks in using a computer is setting up the default camera. In Windows 10, you have the flexibility to choose which camera you want to use as your default. This allows you to control which camera is used by default when you open apps that require camera access, such as video conferencing or taking pictures.
To begin, open the Settings app on your computer. You can do this by clicking on the Start menu and selecting the gear icon. Once the Settings app is open, click on the “Devices” option.
In the left-hand menu of the Devices settings, you will find an option called “Camera.” Click on it to access the camera settings. Here, you can manage the camera access for different apps and select your default camera.
Firstly, make sure that the toggle switch under “Allow apps to access your camera” is turned on. This allows apps to access your camera when needed. If the switch is turned off, you won’t be able to use your camera with any apps.
Next, you can choose the default camera that Windows 10 will use when you open apps that require camera access. Click on the drop-down menu under the “Choose which apps can access your camera” section. Here, you will see a list of apps that can access your camera.
To set your internal webcam as the default camera, select your webcam from the list of available cameras. If you have multiple cameras connected to your computer, make sure to choose the correct one.
Once you have selected your default camera, you can close the Settings app. Windows 10 will now use your chosen camera as the default when you open apps that require camera access.
It’s important to note that not all apps may respect the default camera setting in Windows 10. Some apps may have their own camera settings that you need to configure separately. In such cases, you will need to check the app’s settings and make the necessary adjustments.
Setting your default camera in Windows 10 is a simple process that can be done through the Settings app. By following the steps outlined above, you can ensure that your internal webcam is selected as the default camera for your computer.

How Do You Change Your Default Camera Settings in Windows 10?
To change the default camera settings in Windows 10, follow these steps:
1. Open the Settings app by clicking on the Start menu and selecting the gear icon.
2. In the Settings window, locate and click on the “Devices” option.
3. Within the Devices settings, you will find a menu on the left-hand side. Click on “Camera.”
4. In the Camera settings, you will see an option labeled “Allow apps to access your camera.” Ensure that the toggle switch next to it is turned on. This will allow applications on your computer to access and use the camera.
5. Additionally, if you have multiple cameras connected to your computer, you can choose the default camera by selecting it from the drop-down menu under “Choose which apps can access your camera.”
By following these steps, you can change the default camera settings in Windows 10. It is important to make sure the camera is allowed to be accessed by apps, and if needed, select the desired camera as the default option.
How Do You Change the Default Camera Used?
To change the default camera used on your device, follow these steps:
1. Click on the three dots ( ) located in the top right corner of your browser window.
2. In the dropdown menu, select “Settings.”
3. Within the Settings menu, click on “Privacy and security.”
4. Look for the “Site Settings” section and click on it.
5. Scroll down and locate the “Camera” option and click on it.
6. A menu will appear with a list of available cameras connected to your device.
7. Select the camera you want to set as the default from the menu.
By following these steps, you will be able to change the default camera used on your device.
How Do You Use Your Logitech Camera Instead of Your Laptop Camera?
To utilize your Logitech camera instead of your laptop camera, you can follow these steps:
1. Open the settings app on your computer.
2. Navigate to the video settings section.
3. In the video settings, search for an option that allows you to select your default camera or webcam.
4. Look for your Logitech camera in the list of available cameras.
5. Once you find your Logitech camera, select it as your default camera.
6. Save the changes you made in the settings app.
7. Exit the settings app.
By following these steps, you will be able to use your Logitech camera instead of your laptop camera for various applications or software on your computer.
How Do You Change the Camera Access on Your Computer Windows 10?
To change the camera access on your Windows 10 computer, follow these steps:
1. Click on the Start button located at the bottom left corner of your screen.
2. From the Start menu, select Settings. This will open the Windows Settings app.
3. In the Settings app, click on the Privacy option. It is represented by an icon that resembles a padlock.
4. Within the Privacy settings, locate and click on the Camera option. This will open the Camera settings page.
5. On the Camera settings page, you will find a section titled “Allow access to the camera on this device”. Click on the Change button below this section.
6. A new window will appear with a toggle switch. Make sure the switch is turned on to allow camera access for your device.
7. If the switch is already turned on, then camera access for your device is already enabled.
8. Close the Settings app.
By following these steps, you can change the camera access on your Windows 10 computer.
Conclusion
To conclude, changing the default camera in Windows 10 is a simple process that can be done through the Settings app. By following a few steps, you can set your internal webcam as the default camera, ensuring that it is the primary camera used by your computer for various applications and software.
First, open the Settings app by clicking on the Start menu and selecting the gear icon. Then, click on “Devices” and select “Camera” in the left-hand menu. Make sure the toggle switch under “Allow apps to access your camera” is turned on.
If you want to set a specific camera as the default, you can do so by following these steps. Click the three dots ( ) on the top right corner of the Camera app and select “Settings.” Then, go to “Privacy and security,” followed by “Site Settings.” Click on “Camera” and select the desired camera from the menu.
Alternatively, you can also change the default camera by accessing the video settings on your computer. Look for an option to select your default camera or webcam. Select your desired camera, such as your Logitech webcam, from the list of available cameras. Save your changes and exit the settings app.
It’s worth noting that ensuring camera access is turned on is crucial to allow apps and software to use your chosen default camera. To do this, go to the Settings app, navigate to “Privacy,” and select “Camera.” Make sure the “Camera access for this device” is turned on.
By following these steps, you can easily change the default camera in Windows 10 and ensure that your preferred camera is used for various applications and software on your computer.


