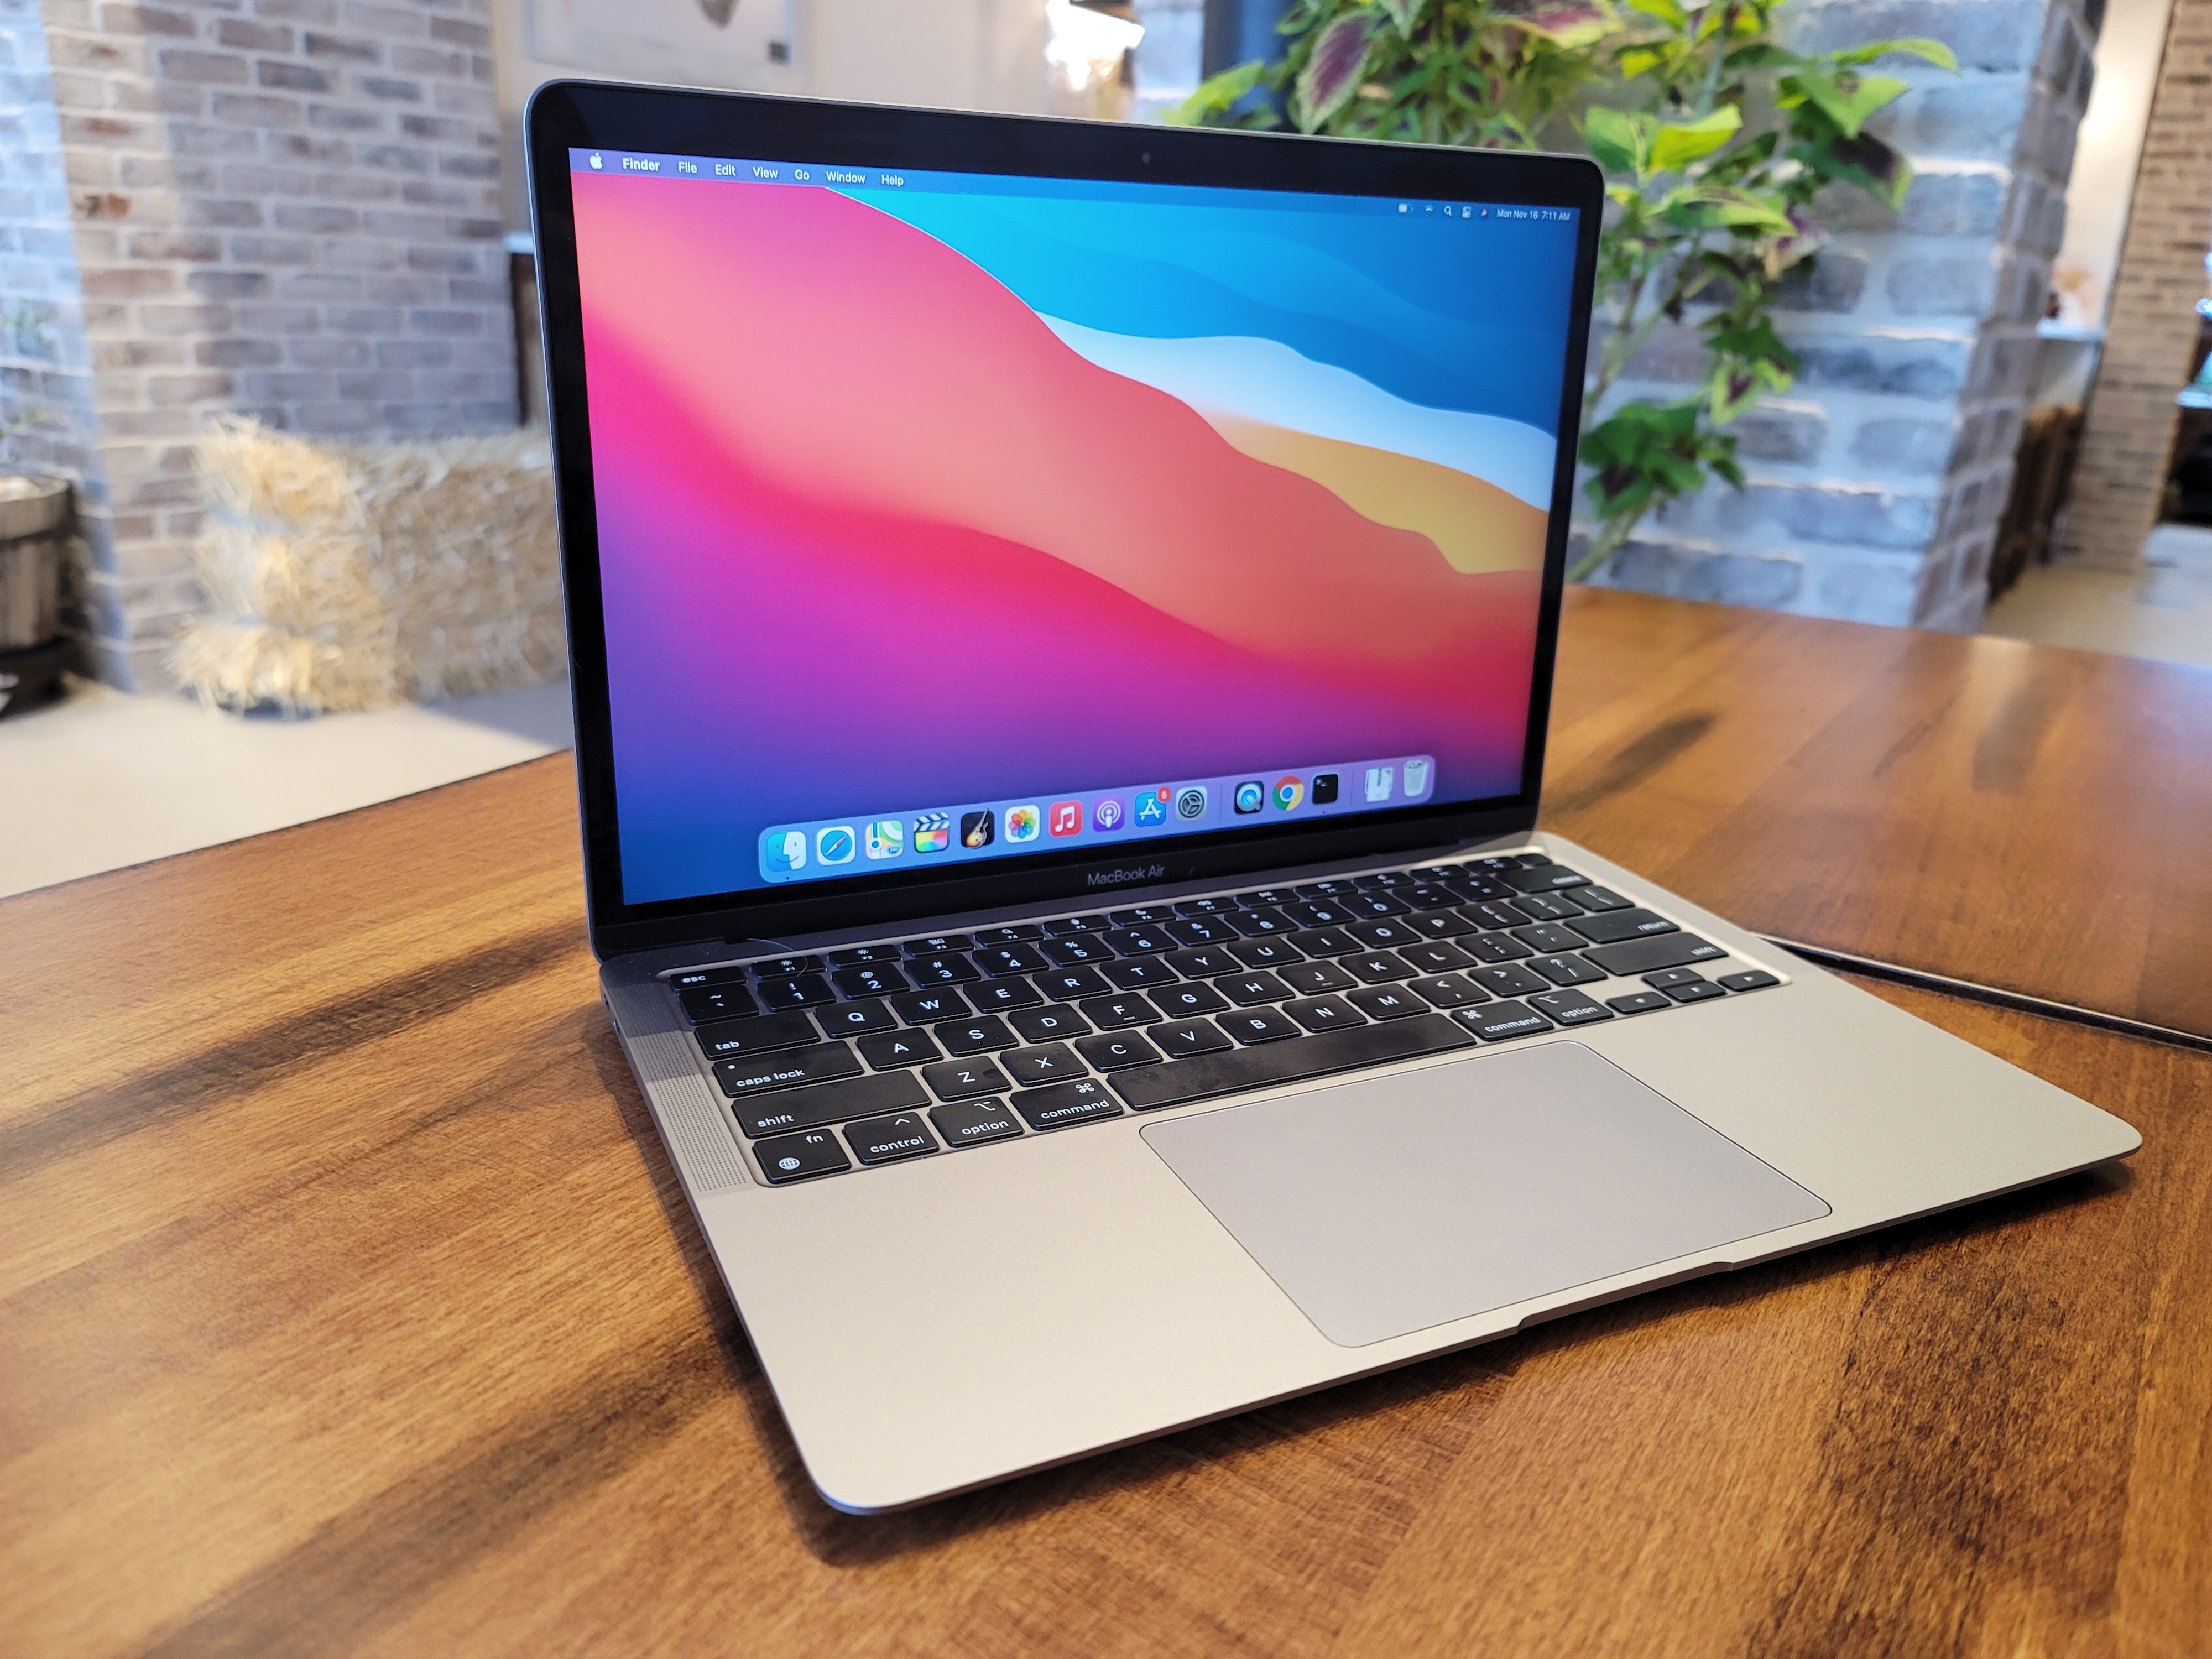
Are you looking to install Windows on your 2011 MacBook Pro but don’t know how? Look no further! With the help of Boot Camp, you can easily and quickly install Windows on your Mac wthout any hassle.
Boot Camp is a feature that is included with newer versions of macOS that allows users to install and run Windows on thir Macs. With Boot Camp, users can partition their hard drive into two separate partitions – one for macOS and one for Windows. This allows the user to switch between macOS and Windows whenever they please.
Before beginning the installation process, it is important to make sure your Mac meets the minimum requirements for installing Windows 10 – at leat 4 GB of RAM, an Intel processor, a minimum of 10 GB of free storage space, and an internet connection. Additionally, you will need a copy of the Windows 10 ISO file in order to complete the installation process.
Once these requirements are met and you have a copy of the ISO file ready, you can begin the installation process. The fist step is to disable El Capitan’s System Integrity Protection in order to modify Boot Camp so that it allows for creation of a bootable USB. Next, you will need to download the Boot Camp Support Software from Apple’s website in order to create the bootable USB. After creating the bootable USB, use Boot Camp Assistant (located in Applications > Utilities) to create a partition for Windows on your Mac’s hard drive – this is where all your files and programs will be stored once installed.
Once this partition has been created, it is necessary to delete the Hybrid MBR which was generated by Boot Camp during partitioning – this can be done using Disk Utility or Command Prompt in Windows. After deleting the Hybrid MBR, it’s time to install Windows! Insert your bootable USB into your Mac and restart; when prompted, choose “Install” from the menu options and follow all instructions until completion. Once completed successfully – congratulations! You have successfully installed Windows 10 on your 2011 MacBook Pro using Boot Camp!
Installing Windows on a Mac with Boot Camp doesn’t have to be difficult or confusing; with just a few simple steps and some patience you can have a dual-booting machine capable of running both macOS and Windows 10!
Installing Boot Camp on a MacBook Pro 2011
Installing Boot Camp on a MacBook Pro 2011 is a relatively straightforward process. Before beginning, you will need to make sure you have the necessary Windows 10 installation files, as well as the Boot Camp Windows Support Software.
First, you will need to disable System Integrity Protection (SIP) in El Capitan before proceeding. To do this, restart your Mac and press Command + R while it’s booting up. Once in Recovery Mode, open the Terminal and enter “csrutil disable” into the command line.
Next, you will need to modify Boot Camp to allow the creation of a bootable USB drive with Windows 10 on it. To do this, open Boot Camp Assistant from your Applications folder and select “Create a Windows 7 or later install disk” from the options provided. Select “Download the latest Windows support software from Apple” and click Continue to download the necessary software components for installation.
Once downloaded, click “Create a bootable USB drive” and then select your USB drive from the list of drives provided. Select “Format this drive as MS-DOS (FAT)” and click Format to create your bootable USB drive with Windows 10 on it.
Now you can create an additional partition for Windows on your hard disk using Boot Camp Assistant. Select “Install Windows 7 or later” from the options provided and click Continue to begin creating a partition for your new operating system. Once complete, you can delete any existing Hybrid MBR files by opening Disk Utility and selecting your hard disk from the list of disks provided in the left-hand pane of the window.
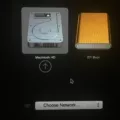
Finally, once all preparations are complete, you can begin installing Windows 10 on your Mac by inserting your USB into one of your computer’s USB ports and restarting it while pressing Option/Alt at startup until you see a selection screen appear with both Mac OS X and Microsoft Windows listed as boot options. Select Microsoft Windows from this menu and follow any instructions that appear onscreen until setup is complete – congratulations!
Source: arstechnica.com
Installing Windows 10 on a Mac Mid 2011
Installing Windows 10 on a Mac mid 2011 is an easy process. To begin, make sure your macOS version and processor are up to date by checking for updates. Then, turn off FileVault in System Preferences and download Windows 10 from Microsoft’s website. Afterward, use the Boot Camp Assistant in Utilities to create a partition for Windows 10 and install the necssary drivers. Once all of this is finished, you can insert the Windows installation disc and follow the on-screen instructions to complete installation. Lastly, configure Windows 10 by creating your administrator account, choosing language preferences, setting up updates, and customizing other personal settings.
Lack of BootCamp on Macbook Pro
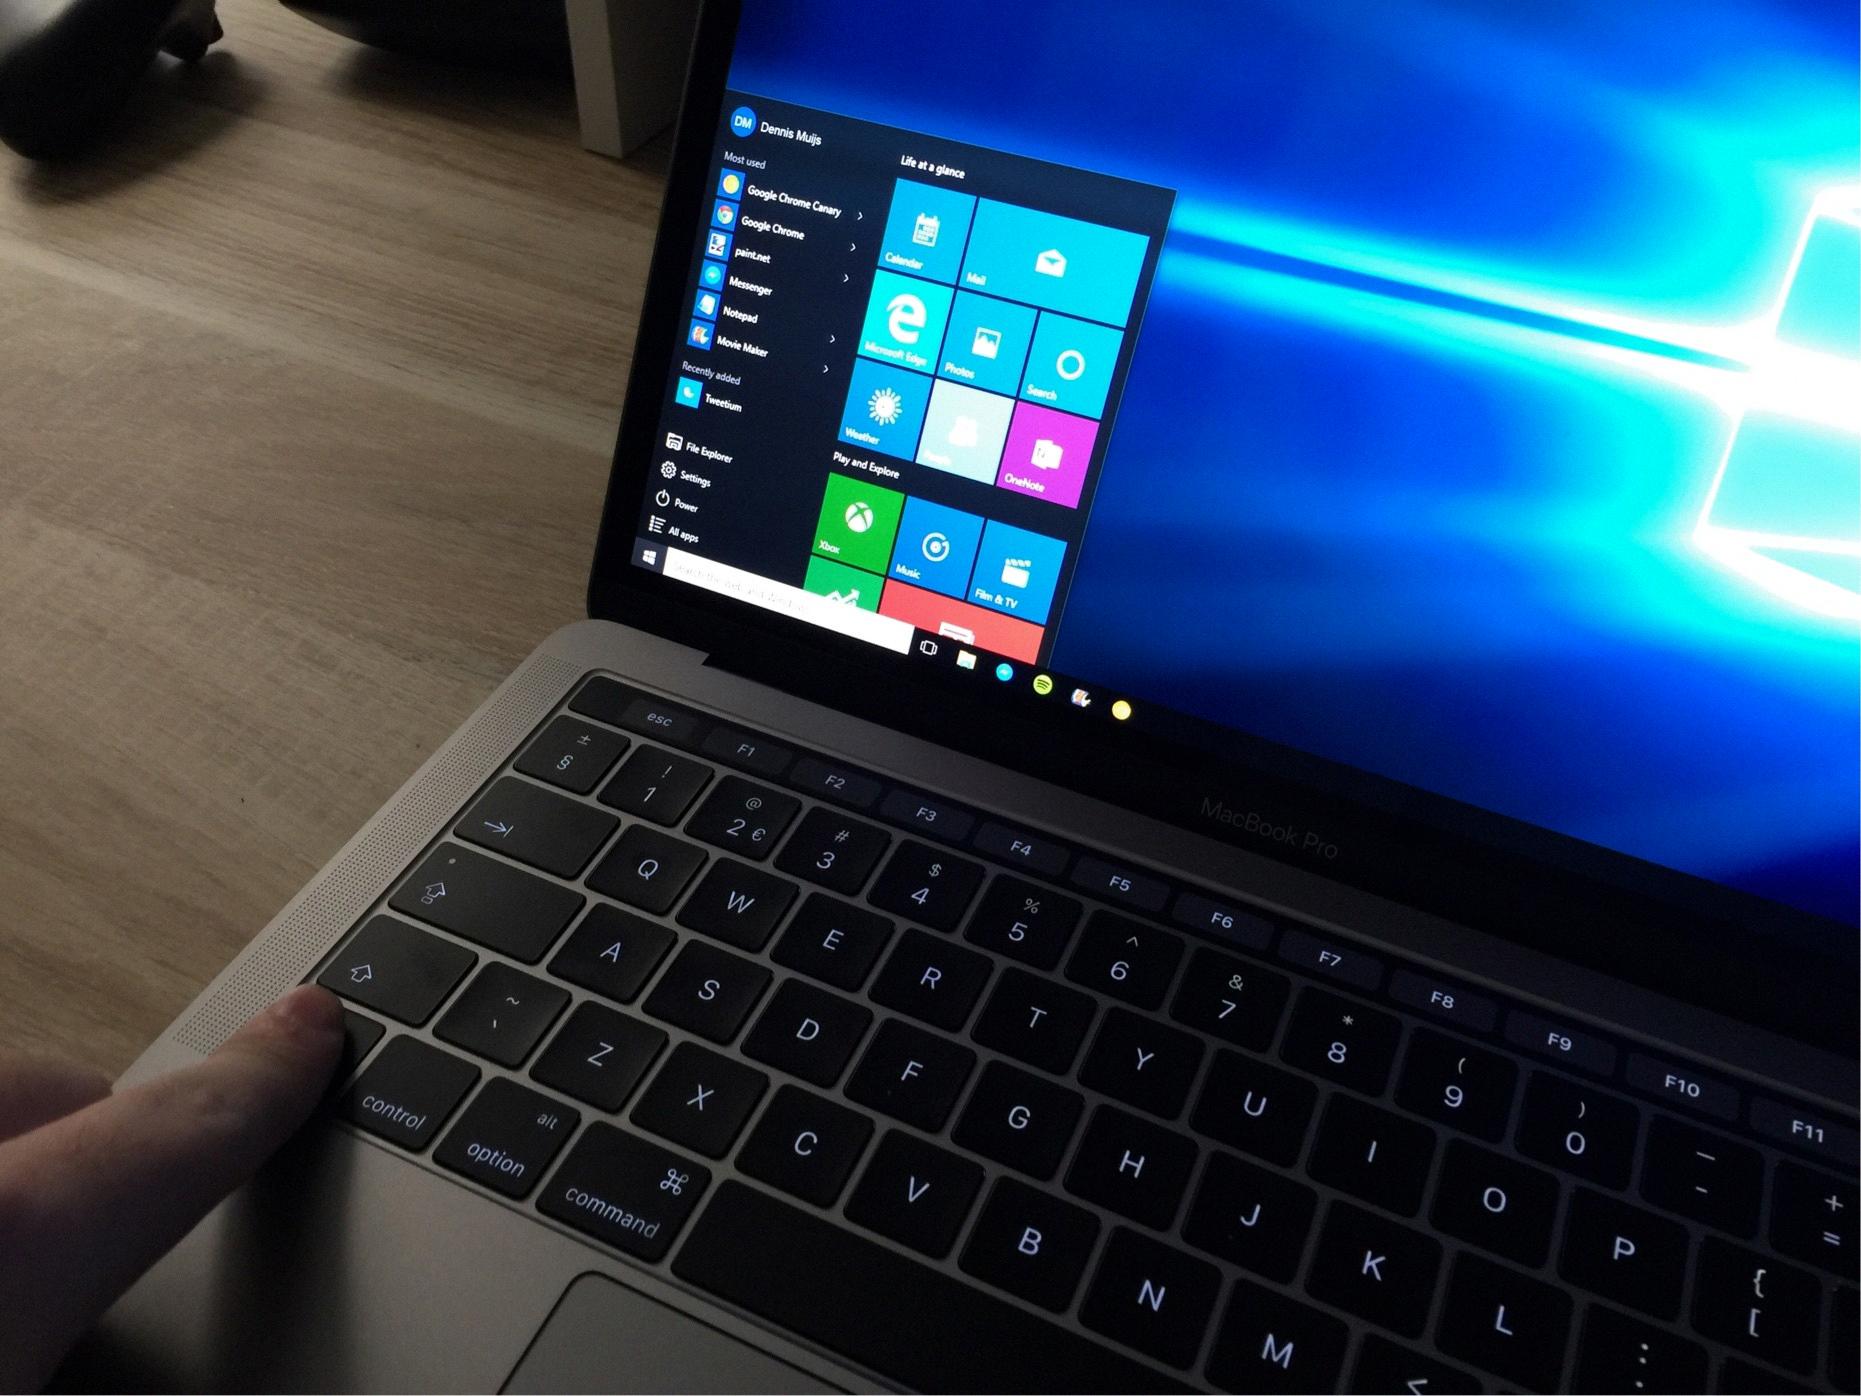
Your Macbook Pro likey does not support Boot Camp because it is powered by an Apple M1 chip. Apple M1 Macs are the latest generation of Macs and do not support traditional Intel-based Boot Camp. However, you can still install Windows on your Mac using virtualization software like Parallels or VMWare Fusion. This will allow you to run Windows in a window on your Mac, giving you access to both macOS and Windows applications.
Source: apple.stackexchange.com
Lack of Boot Camp on Mac Computers
Your Mac does not have Boot Camp because it is powered by Apple Silicon (M1 chip). Apple Silicon Macs employ a feature called “Rosetta 2” which is integrated emulation software that allows ARM-based Macs to run Intel code. Unfortunately, this emulation software does not support Boot Camp. Boot Camp is a utility that assists users in installing Microsoft Windows operating systems on Intel-based Macs, and since your Mac is powered by Apple Silicon, this feature cannot be used.
Can a MacBook Pro Late 2011 Run Windows 10?
Yes, the MacBook Pro late 2011 can support Windows 10. To install Windows 10 on this Mac, you will need to use Boot Camp Assistant, which is a built-in utility for Macs that allows you to install a separate copy of Windows on your Mac. You will also need an external USB drive for older Mac computers. Once the installation is complete, you should be able to use Windows 10 on your MacBook Pro late 2011.
Using MacOS With Boot Camp
Yes, you can still use macOS with Boot Camp. After you install Windows on your Intel-based Mac uing the Boot Camp Assistant, you will be able to choose which operating system to use when you turn on or restart your Mac. You will have the option to set either macOS or Windows as the default operating system. Even if you set Windows as the default operating system, you can still access and use macOS whenever you want by simply restarting your Mac and selecting macOS at startup.
Creating a Windows 10 Bootable USB on Mac Without BootCamp
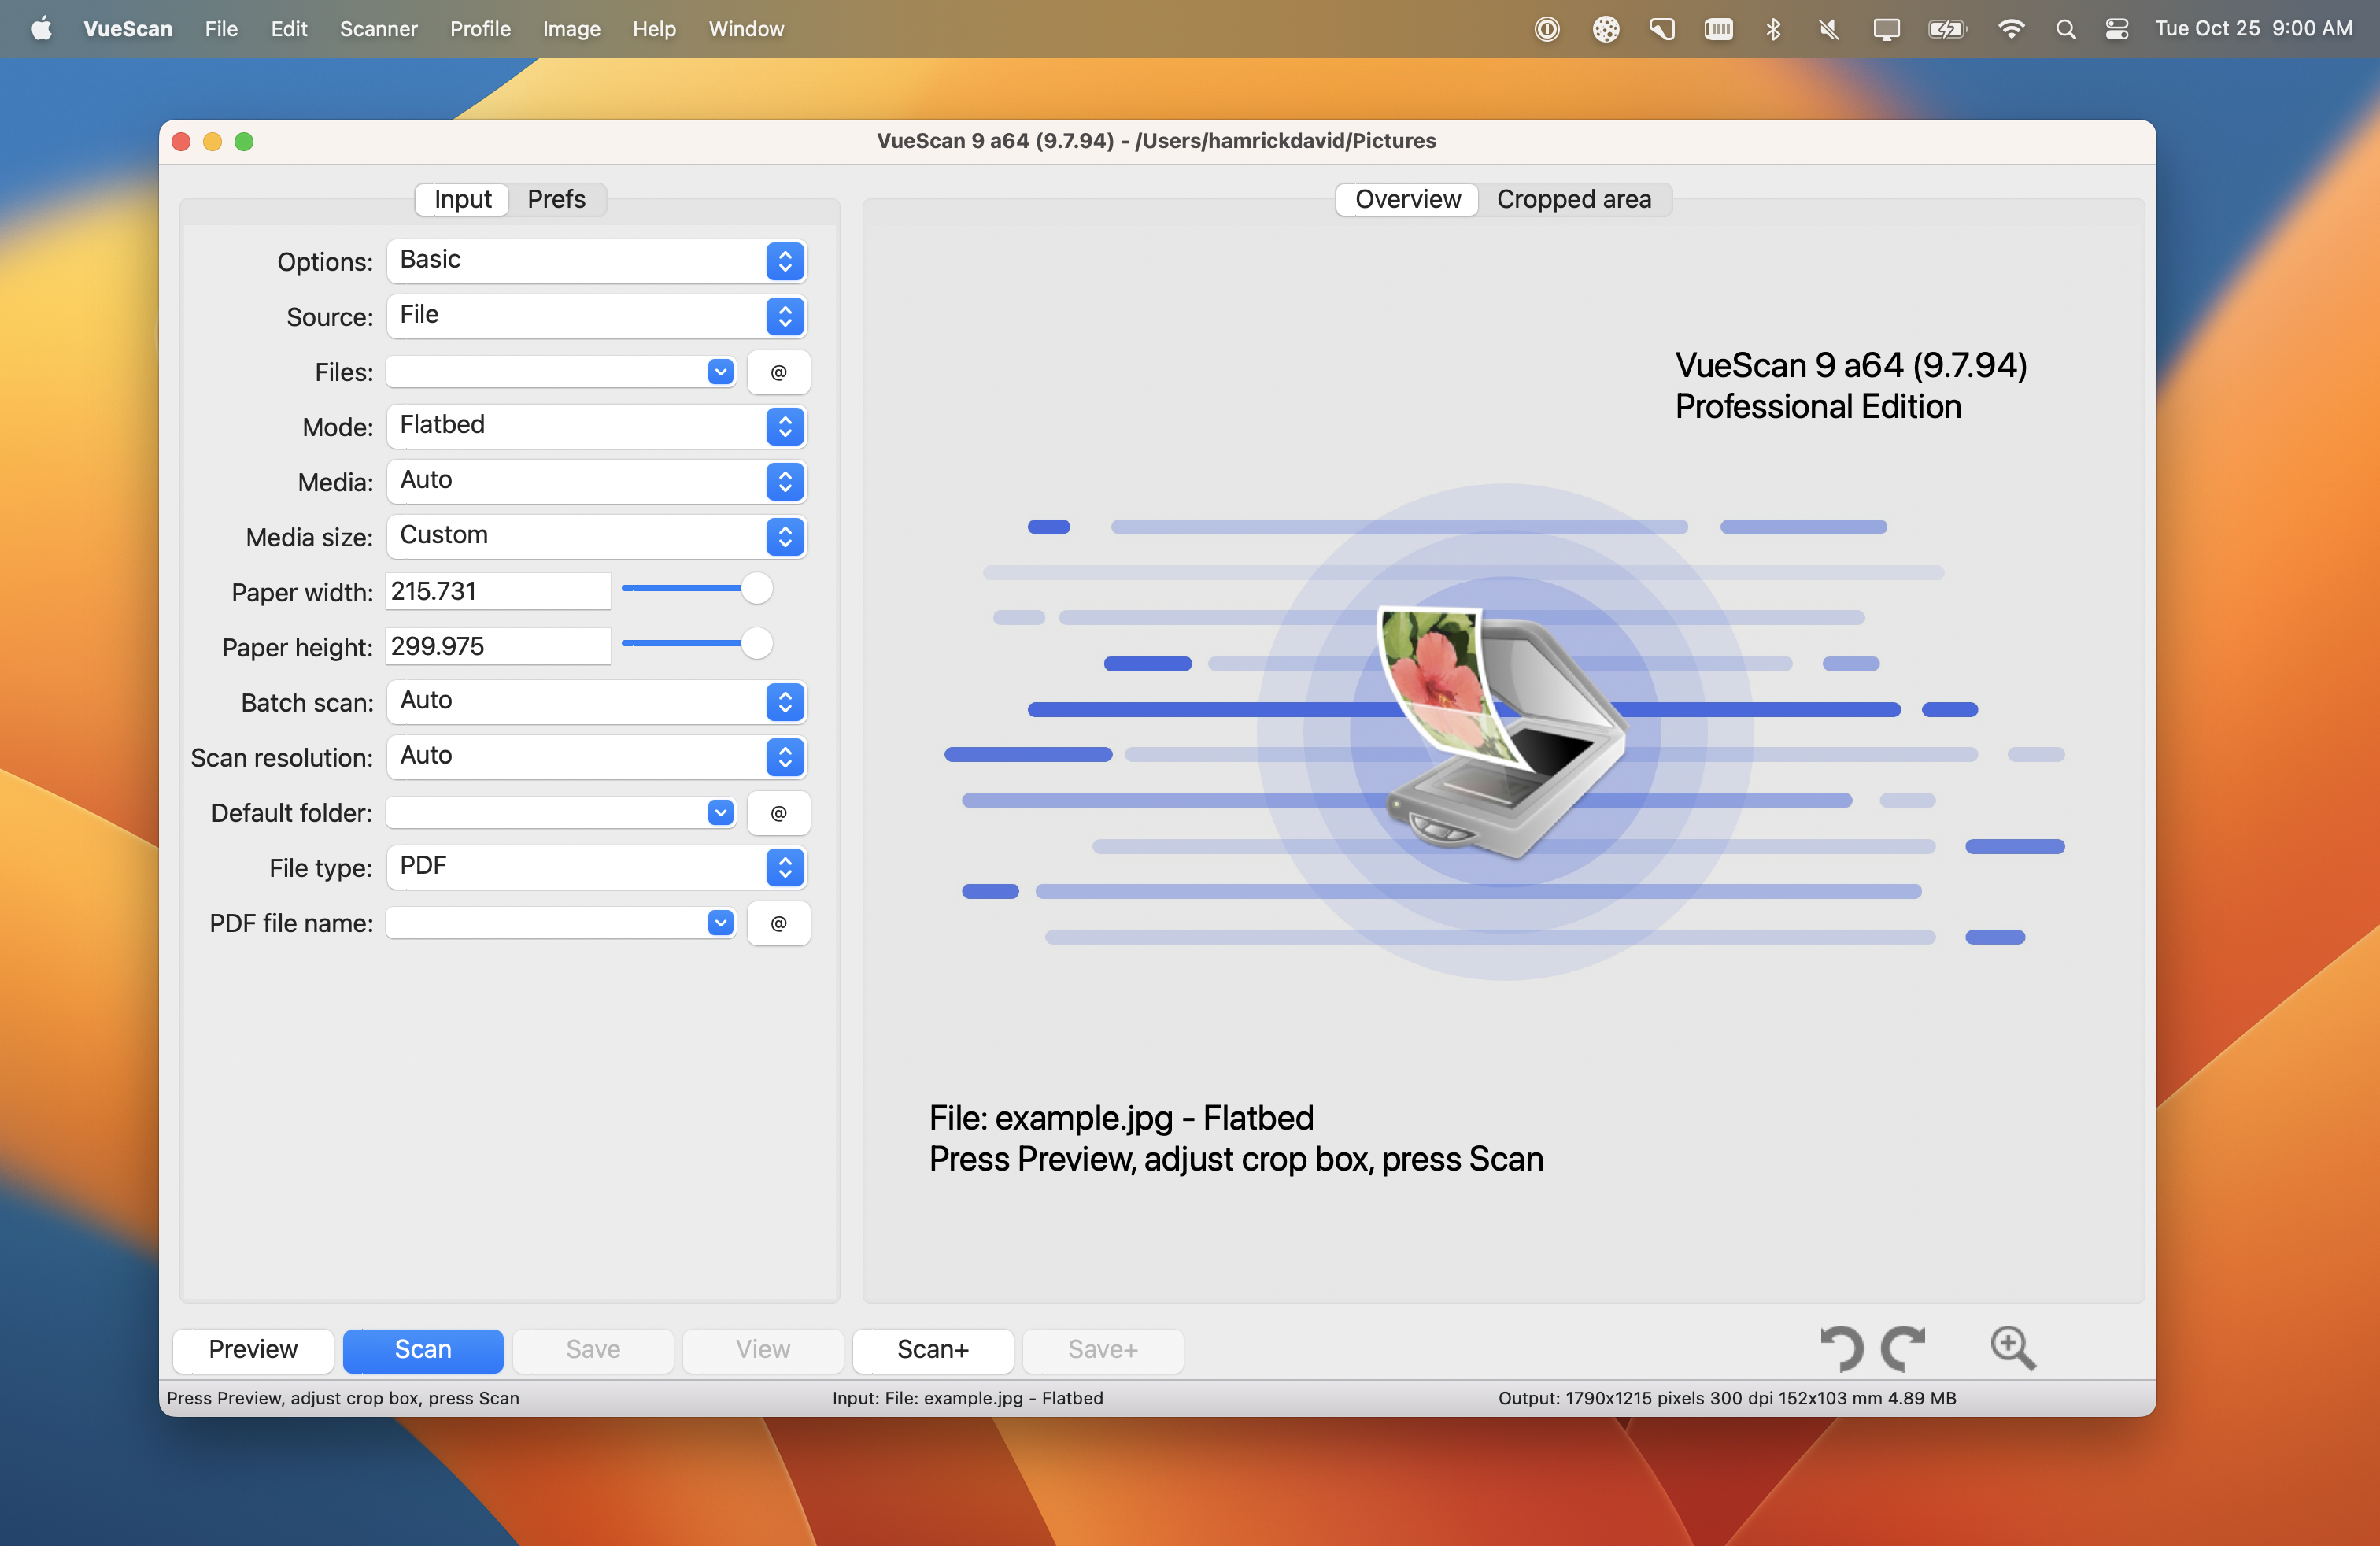
Creating a Windows 10 bootable USB on Mac without BootCamp is quick and easy with PassFab 4WinKey. To get started, simply download and install the software on your Mac. Once installed, connect your USB drive to your Mac and launch PassFab 4WinKey. From there, you can select the “Create Bootable USB” option from the main menu. The app will then guide you through the steps of downloading an official Windows 10 ISO and burning it to your USB drive. Once complete, simply restart your Mac with the USB drive inserted to boot into Windows 10.
Conclusion
In conclusion, installing Windows on a 2011 MacBook Pro with Boot Camp is possible with the proper steps. First, you must disable El Capitan’s System Integrity Protection, modify Bootcamp to allow creation of a bootable USB, and download the Bootcamp Windows Support Software. Then, create the bootable Windows 10 USB and bootcamp partition. Next, delete the Hybrid MBR and install Windows. Once the installation is complete, check for macOS updates and confirm your macOS version and processor. Finally, turn off FileVault, use Boot Camp Assistant to install Windows 10, configure it properly and create your Windows administrator account. With thse steps followed correctly you will be able to successfully install Windows on a 2011 MacBook Pro running High Sierra 10.13.6 or earlier versions via Boot Camp.


