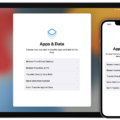
Backing up your iPhone on your Macbook is a great way to keep all of your important data safe and secure. It allows you to make sure that if anything happens to your device, your data will still be available. There are several methods for backing up an iPhone on a Macbook, including using iCloud, iTunes, or Finder.
Using iCloud:
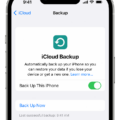
One way to back up an iPhone on a Macbook is to use iCloud. This method requires the user to have an active Apple ID and be signed into their account on both the device and the computer. Once this is set up, simply open the Settings app on your iPhone and go to iCloud. From here you can select “Back Up Now” which will start backing up your data immediately. You can also customize settings such as which types of files are backed up, how ofen they are backed up, and more.
Using iTunes:
Another way to back up an iPhone on a Macbook is by using iTunes. To do this, connect your device to your computer with a cable and launch iTunes. From here you can select the device icon in the top-left corner of the window and choose “Back Up Now” from the menu that appears. You can also configure settings such as whether or not iTunes shoud back up automatically when it detects that your device is connected via USB or Wi-Fi.
Using Finder:
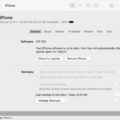
If you’re running macOS 10.15 or later, you can use Finder to back up an iPhone on a Macbook instead of using either iCloud or iTunes. To do this, open Finder on your Macbook and connect your device with a cable if necesary (some models may require this). Select it in the sidebar of Finder once it appears, then click “Back Up Now” from the options that appear at the bottom of the window. You can also configure settings such as whether or not Finder should back up automatically when it detects that your device is connected via USB or Wi-Fi.
No matter whih method you choose for backing up an iPhone on a Macbook, make sure that you always keep regular backups so that if anything does happen to your device, you’ll have access to all of its most recent data!
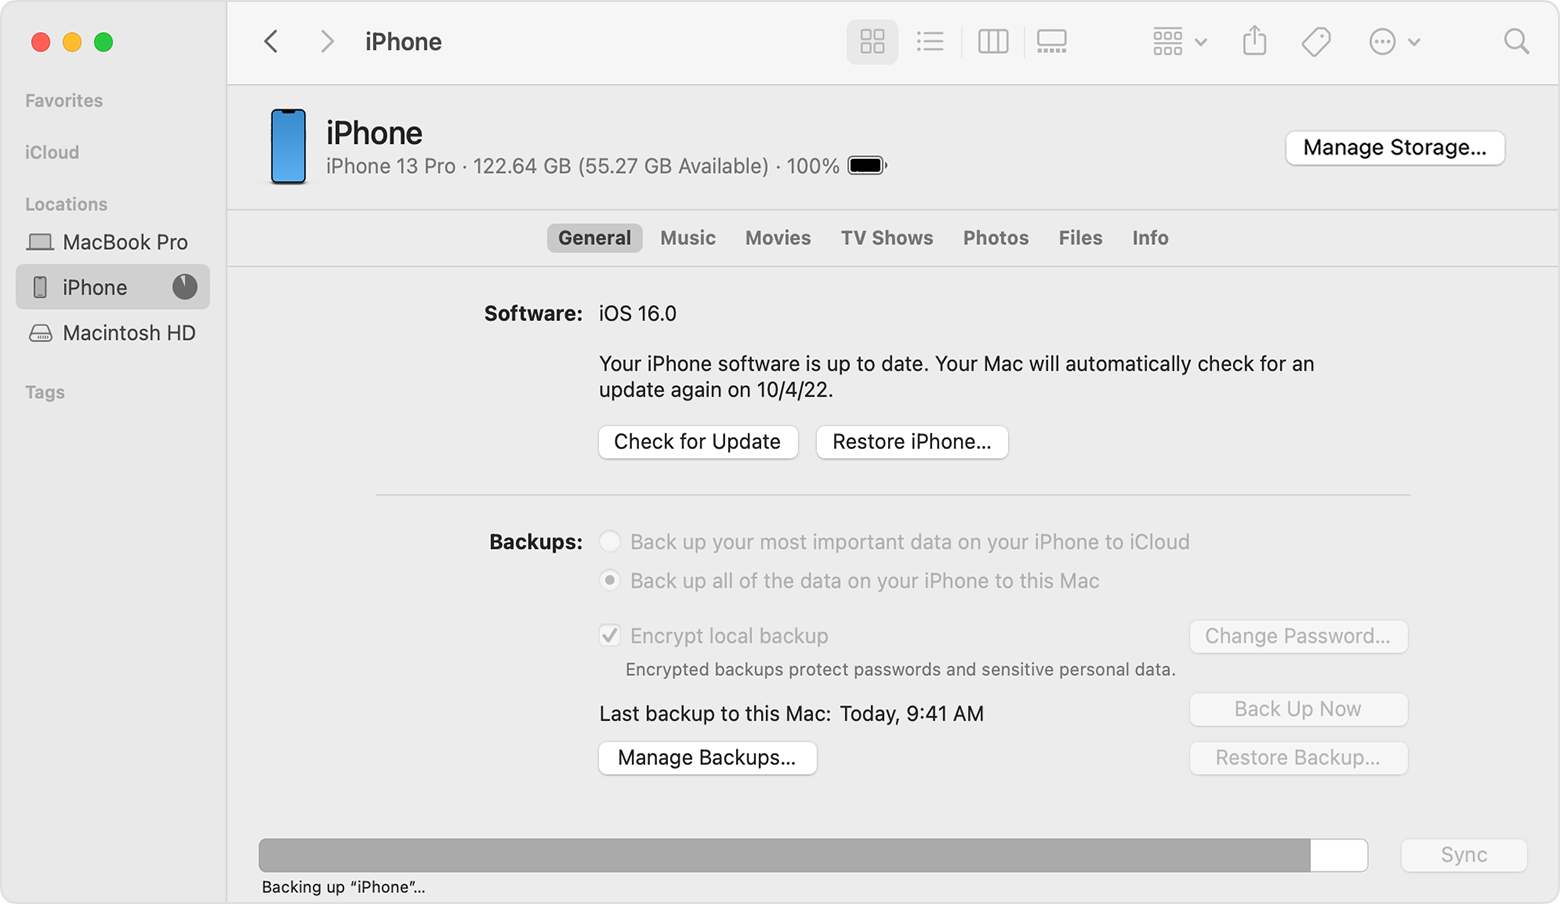
Backing Up an iPhone from a Macbook
Yes, you can backup your iPhone from your Macbook. To do this, you will need to connect your iPhone and your computer with a cable. Then, in the Finder sidebar on your Mac, select your iPhone. If you are using macOS 10.15 or later, you can use the Finder to back up your iPhone. If you are using an earlier version of macOS, you will need to use iTunes to back up your iPhone instead.
Locating an iPhone Backup on a Macbook
If you are looking for your iPhone backup on your Macbook, it can be found in the iTunes directory. To access this directory, open up iTunes and go to Preferences. Once you are in the Preferences window, select Devices and you will see all of your stored backups. Select “Show in Finder” and you will be able to copy the backup to wherever you like on your computer. It is important to remember that this backup contins all of your information, so make sure that it is kept safe and secure!
Backing Up an iPhone to a Macbook Wirelessly
To back up your iPhone to your Macbook wirelessly, first connect them together with a USB or USB-C cable. Then open iTunes on your Macbook and select your device from the sidebar. In the Summary tab, check the box next to “Sync with this iPhone over Wi-Fi.” When you’re ready, click the Apply button to save the changes.
From now on, whenever your iPhone is connected to the same Wi-Fi network as your Macbook, iTunes will automatically detect it and initiate a backup. To customize how ofen backups occur, go back into iTunes and select Preferences > Devices. Here you can choose whether to back up every time you connect or only when manually requested.
Backing Up an iPhone to a Mac Without iCloud
Backing up your iPhone to your Mac without iCloud is easy. To begin, plug your iPhone into your Mac with a USB cable. Open iTunes and select your device when it appears in the upper left-hand corner of the window. On the main device page, select ‘Back Up Now’ and iTunes will back up all of your data from your iPhone, including photos, messages, call logs, application data, settings, memos, calendar and bookmarks. You can also choose to encrypt the backup for added security. After the backup is complete, you can disconnect your iPhone from your Mac.
Inability to Backup iPhone to Mac
There are several possible reasons why you may not be able to backup your iPhone to your Mac.
First, make sure that you have the latest version of iTunes installed on your Mac. If you do not have the latest version, download and install it from the Apple website.
Second, make sure that your Mac and iPhone are both up-to-date with the latest software updates. To check for updates on your Mac, open the App Store and click on Updates in the toolbar at the top of the window. For your iPhone, open Settings > General > Software Update to check for any availble updates.
Third, make sure that you are using a USB cable that is compatible with both devices. If you’re using a third party cable, try switching to an Apple-certified cable instead.
Finally, try restarting both devices and then attempt to back up again. If none of these steps resolve the issue, contact Apple Support for furter assistance.
Backing Up an iPhone to a Laptop
To back up your iPhone on your laptop, you will need to connect your device to the laptop with eiter a USB or USB-C cable, or through a Wi-Fi connection. Once the device is connected, open the iTunes app on your laptop and click the “Device” button near the top left of the window. On this page, click “Summary” and then select “Back Up Now” beneath the Backups section. This will begin backing up all of your data from your iPhone to your laptop. When it has finished, you can disconnect your device and you will have a complete backup of all data stored on your iPhone.
Transferring Data from iPhone to Macbook
Transferring everything from your iPhone to your Macbook is easy with the right tools. First, make sure your iPhone and Macbook are connected to the same Wi-Fi network. Next, open the Finder on your Macbook, select your iPhone in the sidebar and click “Trust” on the prompt that appears on your iPhone. Once you have trusted your computer, you will be able to access all of the contents of your iPhone from within the Finder window.
To transfer files from your iPhone to your Macbook, simply drag and drop them into a folder on your computer. To transfer files from your Macbook to your iPhone, open iTunes and connect both devices with a USB cable. From within iTunes, select “File Sharing” and drag any files you want to copy over into the folder for each app specified in iTunes. When you’re done transferring files, disconnect both devices from iTunes and unplug the USB cable.
Syncing an iPhone to a Macbook Without a USB Connection
Syncing your iPhone to your MacBook wthout using a USB cable can be done using Bluetooth. To do this, first make sure that Bluetooth is turned on both on your iPhone and your Macbook. On your iPhone, go to Settings > General > Bluetooth and toggle it on. Similarly, on your Macbook, go to Apple Menu > System Preferences > Bluetooth and turn it on. Once both devices are connected via Bluetooth, you can select what type of data you want to sync between the two devices. This can include photos, contacts, music, and more. You can also set up automatic syncing so that data is transferred whenever new content is added or edited.
Backing Up an iPhone Without iTunes or iCloud
Yes, you can back up your iPhone without iTunes or iCloud. To do so, simply connect your iPhone to your computer and open Finder. After unlocking and trusting your phone, click on your iPhone’s name under Locations. Finally, click on “Back Up Now” to start the process of backing up your iPhone to your computer without using iTunes or iCloud.
Backing Up an Entire iPhone
To back up your entire iPhone, connect your device to a Wi-Fi network. Then go to Settings > [your name], and tap iCloud. Tap iCloud Backup and then tap Back Up Now. Make sure that you stay connected to the Wi-Fi network unil the process is complete. Once it’s finished, you’ll be able to see the date and time of your last backup under Back Up Now. This will ensure that all of the data on your iPhone is securely backed up in iCloud.
Backing Up an iPhone: The Best Way
The best way to backup your iPhone is to use iCloud. This is a fast, secure and reliable way to store your data and protect it from beig lost. To start a backup, connect your iPhone to Wi-Fi and then go to Settings > Apple ID/iCloud tab at the top. If you’re not signed in, take a moment to do so and then tap on iCloud. You can also choose which apps and data you want backed up in iCloud. After that, your iPhone will automatically back up when it’s connected to Wi-Fi and the battery is charged.
Conclusion
Backing up your iPhone on your Mac is a straightforward process. With macOS 10.15 or later, you can use the Finder to back up iPhone data, while with earlier versions of macOS you must use iTunes. Your backups can be accessed though iTunes Preferences or by turning on Wi-Fi syncing and selecting the settings you want. Finally, iTunes allows you to back up all of your photos, images, media files not purchased from iTunes, messages, call logs, application data, settings, memos, calendar and bookmarks. By taking advantage of these methods for backing up your iPhone on your Macbook you can ensure that all of your important data is secure and easily accessible if needed.

