Are you looking for an easy way to unzip Lightroom presets on your iPhone or iPod touch? If so, you’re in the right place! Unzipping Lightroom presets can be a tricky process, but with the right steps, you can get it done quickly and easily. Here’s what you need to know.
First, make sure that you have the right app installed on your device. To unzip Lightroom presets, you’ll need the Files app (or a similar file manager) installed on your iPhone or iPod touch. Once that’s taken care of, it’s time to get started!
Next, find the ZIP file or archive containing your Lightroom preset and tap on it. This will create a folder containing all of the files from within the ZIP file. You can then open this folder and rename it if desired.
Now that you have your folder set up, it’s time to apply your new preset! Open up the photo to which you want to apply the preset and tap on the Presets panel at the bottom of the screen. Then select Yours and choose the Preset Group in which you saved your new preset. Finally, select your preset and tap the icon to apply it.
And there you have it – that’s how easy it is to unzip Lightroom presets on your iPhone or iPod touch! With just a few simple steps, you can quickly and easily apply any preset that comes in a ZIP file directly onto photos stored on your device. Happy editing!
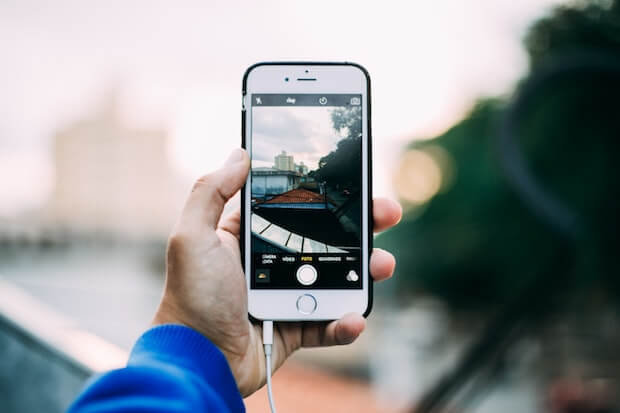
Opening a Zip Preset in Lightroom
In order to open a ZIP preset in Lightroom, you will need to first make sure that you have downloaded the ZIP file to your device. Once the file is downloaded, open Lightroom and go down to the bottom of the toolbar. Then press the Presets tab located on the right-hand side of the window. After this, click on the three dots icon and select ‘Import Presets’. Now, navigate to the folder where you have previously downloaded your ZIP file and select it to import. Your ZIP preset should now be visible within Lightroom Mobile!
Unzipping Files on an iPhone
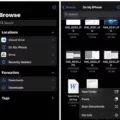
To unzip files on your iPhone, you need to open the Files app and find the ZIP file or archive you want to uncompress. Tap the ZIP file or archive and a folder will be created containing all the files. To change its name, touch and hold on to the folder, then tap Rename. Finally, tap to open the folder and access all of its contents. You can now work with these files as needed.
Importing Presets Into Lightroom Mobile on iPhone
Firstly, you will need to download and install the Lightroom mobile app on your iPhone. Once the app is installed, open it and select ‘Presets’ from the bottom menu. Here you will see a list of preset folders and individual presets. To import presets into Lightroom mobile iPhone, tap on the ‘+’ icon at the top right corner of the screen. This will open a new menu with two options – ‘Import from Files’ and ‘Import from Creative Cloud’. Select ‘Import from Files’ if you wish to import presets from your device’s photo library or iCloud Drive, or select ‘Import from Creative Cloud’ if you wish to import presets directly from Adobe Creative Cloud. Select your preferred option and follow the on-screen instructions to complete the importing process.
Unzipping ZIP Files
Unzipping ZIP files is a very simple process. First, you’ll need to locate the ZIP file you want to unzip. Once you have found it, you can double-click on it or right-click and select “Extract All” from the menu. You will then be prompted with a few options. The most important one is to select where you want the files to be extracted. After that, simply click “Extract” and your ZIP file will be unzipped into the location of your choice. You can also drag and drop individual files or folders from the ZIP folder onto a new location if you only want to extract specific items.
Installing Zip Presets in Lightroom
Installing zip presets into Lightroom is a quick and easy process. First, make sure that you have downloaded the zip file containing the presets to your computer. Once the zip file is downloaded, open Adobe Lightroom Classic. Then, from the menu bar at the top of the screen, select File > Import Profiles & Presets. In the Import dialog that appears, browse to the directory where you saved your zip file and select it. Click Import and Lightroom will automatically unzip and install all of your presets into Lightroom. You can then access them from the Develop module in Lightroom’s main window.
Unable to Unzip Files on iPhone
If you are unable to unzip files on your iPhone, it is likely because you are using an outdated version of iOS or iPadOS. Unzipping files requires modern versions of iOS and iPadOS, such as version 13 or later. This feature was introduced in these versions, so if you are running an earlier version, you may not be able to unzip files on your iPhone. To access this feature, you will need to update your device’s software to the latest version available.
The Best Unzip App for iPhone
The best unzip app for iPhone is Zip & RAR File Extractor. This top-rated app for iOS devices is ideal for extracting zip files from your iPhone. It has an intuitive user interface and can open a wide range of archive formats, including .zip, .rar, .7z, .tar, and more. It also allows you to preview the content of the files before extraction and supports password-protected archives. In addition, it features a built-in viewer that allows you to view the images stored within the zip files without extracting them first. It’s a great choice for anyone looking for an easy and reliable way to unzip the files on their iPhone.
Using an App to Open ZIP Files on an iPhone
IZip is a great app for opening ZIP files on iPhone. It offers a powerful and easy-to-use interface that makes it easy to unzip files from ZIP format, including password-protected and AES-encrypted ZIP files. Furthermore, it can unzip many other kinds of compressed files, such as RAR, 7Z, ZIPX, TAR, GZIP, BZIP, TGZ, TBZ, ISO, DEB, CAB, JAR, RPM, and CBS. iZip also offers features such as file previews and cloud storage support. With its intuitive design and helpful features, iZip is an excellent choice for managing your ZIP files on iPhone.
Adding Presets to iPhone Photos
Creating presets on your iPhone photos is easy! First, open the photo in the Loupe view, and then select the Edit panel at the bottom of the screen. Tap on the Presets icon, which looks like three overlapping circles. This will launch a pop-up window with a variety of preset options. To create your own preset, tap on the three-dots ( ) icon at the upper-right corner of this pop-up window and select Create Preset. Now you can customize and save your own preset to use again in the future!
Installing Lightroom Presets on Mobile Devices Without Desktop
Getting Lightroom presets on your phone without the need for a desktop is easy! First, you’ll need to download the DNG preset files to your phone. These will usually come in a downloadable zip file format. Once you have downloaded the preset files, open Lightroom Mobile and go to the ‘Presets’ tab. Tap on the ‘+’ icon at the top right of the screen and select ‘Add Presets’ from the menu. Select your downloaded DNG files from your phone’s photo library, then tap ‘Done’. You can now use these presets in Lightroom Mobile by tapping on them and adjusting their settings as desired. When you’re finished, make sure to save your settings as presets so that you can use them again in future edits!
Transferring Lightroom Presets to Mobile Devices
Yes, you can transfer Lightroom presets to mobile. To do so, first import them into the Lightroom Desktop App. Once imported, they will sync automatically to the cloud and then to the Lightroom mobile app. In the Lightroom Desktop application, click File > Import Profiles & Presets to get started. Once your presets are imported into the desktop app, they will be available in the mobile app as well.
Conclusion
In conclusion, unzipping Lightroom presets on an iPhone or iPod touch is relatively easy. All you need to do is open the Files app, find the ZIP file or archive, tap it, and then a folder will be created containing the files. To change its name, touch and hold on to the folder and then tap Rename. Once opened, you can apply the new preset by tapping on the Presets panel at the bottom of the screen and selecting Yours followed by choosing the Preset Group in which you saved your new preset. Finally, select your new preset and tap on the icon to apply it.

