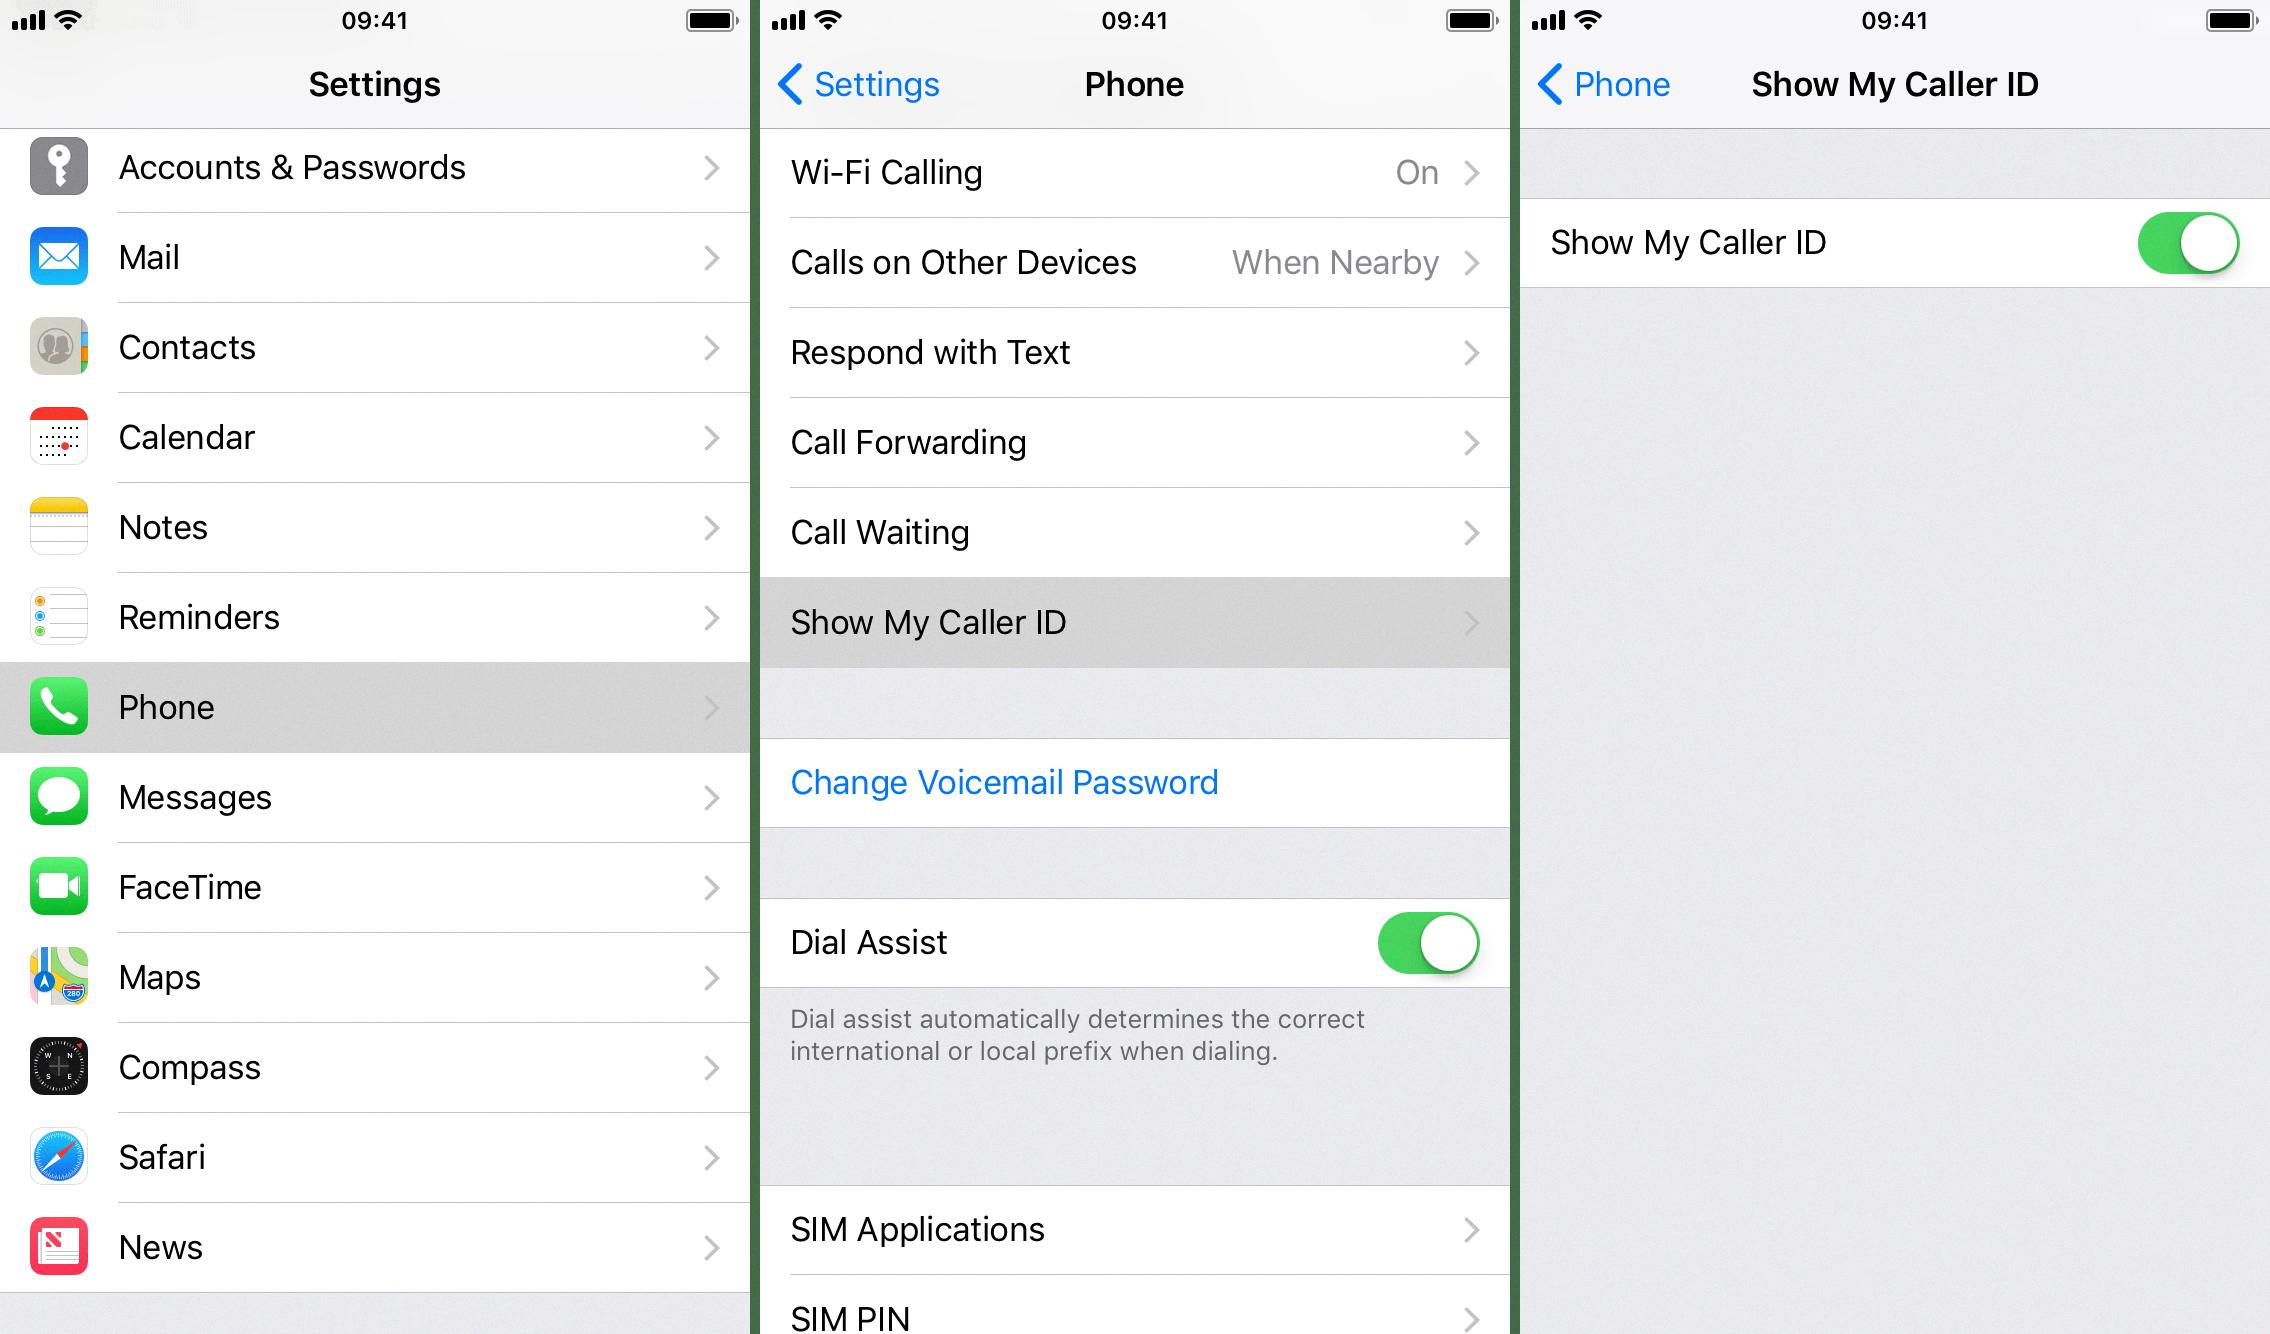
In this article, we will provide a comprehensive guide on how to turn on Caller ID on your Android device. Caller ID allows you to see the phone number or contact name of incoming calls, giving you the ability to identify who is calling before answering the call. This feature can be particularly useful in avoiding unwanted or spam calls. Follow the steps below to enable Caller ID on your Android device.
Step 1: Open the Phone App
To begin, open the standard Phone App on your Android device. This app is typically pre-installed on your device and can be found in the app drawer or on the home screen.
Step 2: Access the Settings
Once you have the Phone App open, look for the menu icon in the top right corner of the screen. This icon is usually represented by three vertical dots. Tap on this icon to open the menu.
Step 3: Navigate to Call Settings
From the menu, select the “Settings” option. This will open a new page with various settings related to your phone calls.
Step 4: Find Additional Settings
Within the Call Settings page, look for the option labeled “Additional Settings.” Tap on this option to access further settings related to your phone calls.
Step 5: Enable Caller ID
Within the Additional Settings, you will find various options related to your phone calls. Look for the option labeled “Caller ID” and tap on it.
Step 6: Select “Show Number”
In the Caller ID settings, you will have different options to choose from. To enable Caller ID and display the phone number or contact name of incoming calls, select the option “Show Number.” This will ensure that Caller ID is turned on for all incoming calls.
That’s it! You have successfully enabled Caller ID on your Android device. Now, whenever you receive an incoming call, you will be able to see the phone number or contact name associated with the call. This can be extremely helpful in identifying who is calling before you answer, allowing you to prioritize and manage your calls more efficiently.
Note: The steps provided in this article are based on a generic Android device. The exact steps may vary slightly depending on your device’s make, model, and operating system version. However, the general process should be similar across most Android devices.
Turning on Caller ID on your Android device is a simple process that can greatly enhance your call management experience. With Caller ID enabled, you can easily identify incoming calls and make informed decisions on whether to answer or ignore them. By following the steps outlined in this article, you can quickly enable Caller ID and enjoy the benefits of this useful feature.
How Do I Turn My Caller ID Back On?
To turn your caller ID back on, follow these steps:
1. Open the Phone app on your Android device.
2. Tap the menu icon (three vertical dots) in the top right corner of the screen.
3. From the menu that appears, select “Settings”.
4. In the settings menu, tap on “Calls”.
5. Look for the option called “Additional Settings” and tap on it.
6. Within the additional settings, locate and tap on “Caller ID”.
7. A list of options will be displayed. Select “Show number” to turn your caller ID back on.
By following these steps, you will be able to enable your caller ID and display your number when making calls from your Android device.

How Do I Turn On Caller ID For Incoming Calls?
To turn on caller ID for incoming calls on your Android device, follow these steps:
1. Open the Phone app on your Android device.
2. Tap the three dots in the top right corner of the screen to open the menu.
3. From the menu, select “Settings” or “Call settings” (the exact name may vary depending on your device).
4. Look for “Caller ID & spam” or a similar option in the settings menu and tap on it.
5. You will see a toggle switch to enable or disable caller ID. Make sure the toggle switch is turned on to show caller ID on incoming calls.
6. Additionally, you may find other options related to spam protection and blocking unwanted calls. You can enable these features if desired.
Note: The steps provided are generic and may vary slightly depending on the Android device and operating system version you are using.
Why Is My Caller ID Not Showing?
There can be several reasons why your caller ID is not showing. Here are some possible explanations:
1. Caller ID Blocking: The person calling you may have chosen to block their caller ID, which prevents their information from being displayed on your phone.
2. Network Issues: Sometimes, the network you are using may experience technical difficulties, causing caller ID information to not display correctly.
3. Call Forwarding: If you have call forwarding enabled on your phone, it may interfere with the caller ID display. Check your call forwarding settings to ensure they are not causing any issues.
4. Compatibility Issues: In some cases, certain phone models or service providers may not be fully compatible with caller ID display. This can result in information not being shown or being displayed incorrectly.
5. App or Software Glitches: Occasionally, there may be a glitch or bug in the phone app or software that is preventing the caller ID from showing. Updating your phone’s software or the phone app itself may help resolve this issue.
6. Phone Settings: It’s possible that your phone’s settings are configured to not display caller ID information. Make sure that your caller ID settings are set to show the caller’s information.
7. Caller ID Subscription: Some service providers require a subscription for caller ID services. If you don’t have an active subscription, the caller ID may not show.
8. Phone Number Format: If the incoming call is from a number that is not in a recognized format or is an international number, the caller ID may not display correctly.
9. Phone Compatibility: If you recently switched to a new phone, it’s possible that the new device is not fully compatible with your carrier’s caller ID system.
If you are experiencing issues with caller ID not showing, it’s recommended to try the following troubleshooting steps:
– Restart your phone: Sometimes, a simple restart can resolve temporary software glitches.
– Check your network signal: Ensure that you have a strong network signal, as weak signals can affect caller ID display.
– Update your phone software: Make sure you have the latest software updates installed on your device.
– Check caller ID settings: Verify that your caller ID settings are enabled and correctly configured.
– Contact your service provider: If the issue persists, reach out to your service provider for further assistance.
Note: The exact steps and options may vary depending on your specific phone model and service provider.
Conclusion
Enabling Caller ID on your Android device is a simple process that can provide you with valuable information about incoming calls. By following the steps mentioned earlier, you can easily turn on Caller ID and ensure that the phone number of the incoming caller is displayed on your screen. This feature can be particularly helpful in identifying unknown numbers or screening calls from potential spam or telemarketers. By having Caller ID enabled, you have better control over who you choose to answer or ignore. So, take a moment to enable Caller ID on your Android phone and enjoy the added convenience and peace of mind it provides.


