Are you looking to transfer photos from your Nikon D5600 camera to a Mac computer? If so, you’ve come to the right place. In this blog post, we’ll walk you through the steps for transferring photos from your Nikon D5600 camera to a Mac.
Before you get started, make sure that your Nikon D5600 camera is turned off and that you have a memory card inserted. You’ll also need a USB cable (available separately). To begin the transfer process, connect one end of the USB cable to your Nikon D5600 camera and then plug the other end into your Mac computer. Then turn on your Nikon D5600 camera.
Once connected, launch the Nikon Transfer 2 component of ViewNX-i on your Mac computer. This will allow you to select which photos or videos you want to transfer from your camera to the computer. Select the photos or folder that you want to import and then click Review for Import. If multiple photos or videos were selected, select which ones you want imported and then click Import [number] Selected or Import All.
After selecting the files you want to transfer over, click Start Transfer. The files should now be transferred from your camera to your Mac computer! Once all of the files have been transferred over, terminate the connection by unplugging both ends of the USB cable.
And there you have it – that’s how easy it is to transfer photos from a Nikon D5600 camera to a Mac computer! With just a few simple steps, you can now enjoy all of those amazing memories in digital form!
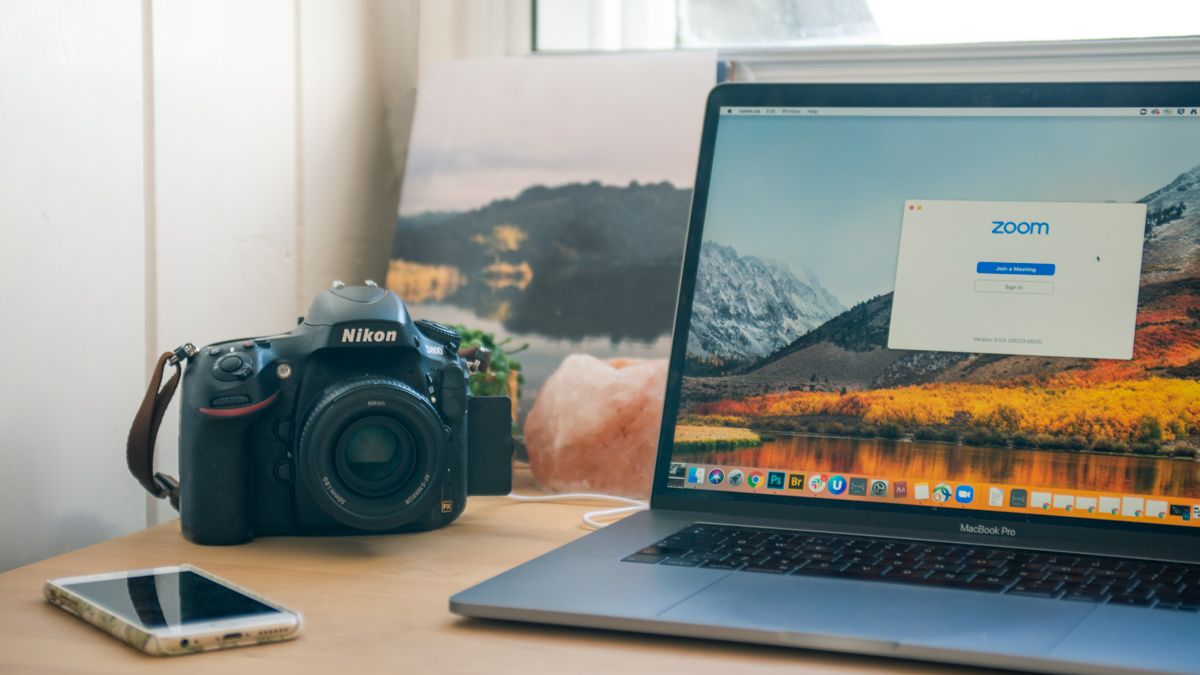
Transferring Photos from Nikon D5600 to Macbook Air
To transfer photos from your Nikon D5600 to your MacBook Air, you’ll need a USB cable or an SD card reader.
If you’re using a USB cable, connect the small end of the USB cable to the port on your camera and the larger end to one of the USB ports on your MacBook Air. Then turn on your camera. Your Mac should recognize the camera and open a window that shows its contents. You can then select which photos you want to transfer, then drag and drop them onto your computer’s desktop or into a folder of your choice.
If you’re using an SD card reader, remove the memory card from your Nikon D5600 and insert it into the SD card reader. Then plug the card reader into one of the USB ports on your MacBook Air. A window should open that contains all of the photos stored on the memory card. You can then select which photos you want to transfer, then drag and drop them onto your computer’s desktop or into a folder of your choice.
Source: bhphotovideo.com
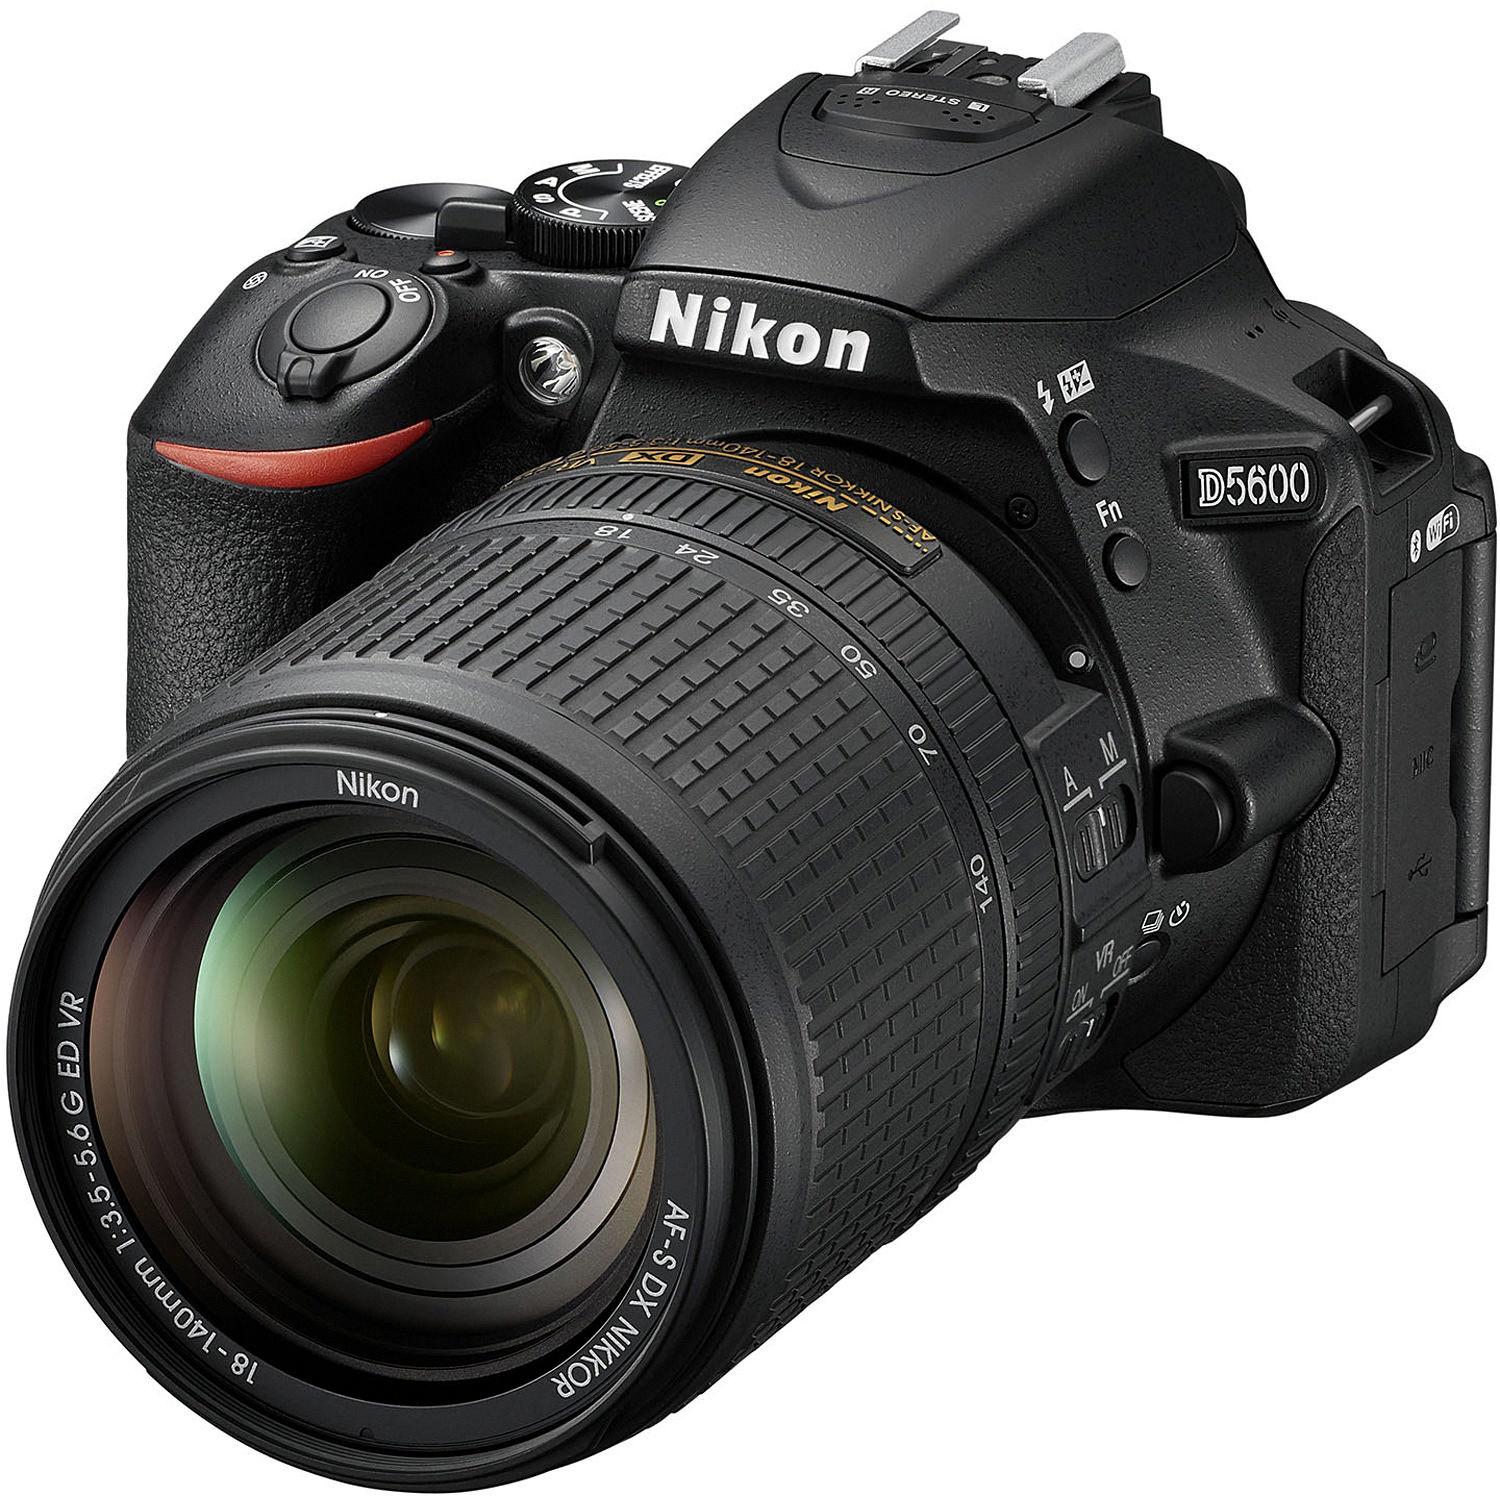
Transferring Photos from Nikon D5600 to Computer
To transfer photos from your Nikon D5600 to your computer, first, make sure your memory card is inserted and the camera is turned off. Then, connect a USB cable (available separately) to the camera and your computer. Next, turn on the camera and launch the Nikon Transfer 2 component of ViewNX-i. After that, click Start Transfer to begin transferring the pictures from your camera to your computer. Finally, when you are finished transferring the photos, disconnect the USB cable from both devices.
Connecting a Nikon Camera to a Mac
To get your Mac to recognize your Nikon camera, you need to make sure the USB or USB-C cable is securely plugged into both your camera and your computer. If this doesn’t work, try plugging the cable into a different USB port on your computer. Additionally, check to make sure your camera is turned on and set to the correct mode for importing photos. Refer to the instructions provided with your camera for more information.
Transferring Photos From Nikon D5000 to Mac
Transferring photos from your Nikon d5000 to your Mac is a simple process. You have two options:
Option 1: Use a USB-C to USB-A adapter to connect the camera or existing card reader to the new iMac. Once connected, you can transfer the photos from your Nikon d5000 to your Mac by opening the Photos app on your Mac and selecting Import.
Option 2: Get a USB-C card reader, remove the SD card from the camera, and plug it into the card reader. Then open the Photos app on your Mac, select Import, and select the photos you want to transfer from the SD card.
Whichever option you choose, make sure that you safely eject any external devices before unplugging them from your Mac.
Downloading Photos from Nikon D5600 Camera
To get pictures off your Nikon D5600 DSLR camera, you will need to use a UC-E20 Micro USB Cable (not included). Connect one end of the cable to your camera and the other end of the cable to your computer. Once connected, turn on your camera and open up the image-editing software that is installed on your computer. On the software, locate the “Import” option and select it. This will allow you to browse through all of the images stored on your camera’s memory card and select which ones you would like to import onto your computer. After selecting all desired images, click “Start Import” and wait for them to be transferred.
Alternatively, you can also take out the SD card from your camera’s memory slot and insert it into an SD card slot reader connected to your computer. Once inserted, open up a file browser window on your computer and locate the memory card drive. From there, you can manually copy and paste any desired images from the card onto a folder on your computer.
Connecting Nikon D5600 Camera to Laptop
To connect your Nikon D5600 to your laptop, you will need a USB cable and an HDMI cable. First, connect the USB cable to the camera and the laptop. Then connect the HDMI cable to the camera’s HDMI port (located on the opposite side from the other connection ports, above the SD card slot) and into your laptop’s HDMI port. Once the cables are connected, you should be able to view and transfer photos from your D5600 onto your laptop.
Source: youtube.com
Transferring Photos From Camera to Mac Wirelessly
To transfer photos from your camera to your Mac wirelessly, first, select the Menu option on your camera. Then select Setup and Access Point Setting. Select the wireless access point you would like to use, then press the Playback button on the camera. Press the Menu button and select Send to Computer. You will then be provided with instructions on how to save the images to your Mac computer.
Source: cnet.com
Importing Photos From Camera to Mac Without Iphoto
To import photos from your camera to your Mac without iPhoto, open the Preview app on your Mac and choose File > Import from [camera name]. If more than one camera is connected to your Mac, choose File > Import from Camera > [camera or device name]. This will open a window with thumbnail images of all the photos on your camera. Select the images you wish to import, then click “Import Selected”. You can also click “Import All” to import all images from the camera. The imported photos will be saved in a new folder in your Pictures folder.


