Are you trying to find the best way to import photos from your iPhone to your Mac? With so many options available, it can be difficult to decide which one is right for you. In this blog post, we will discuss how to import photos from iPhone to Mac without iPhoto, as well as some other options that are available.
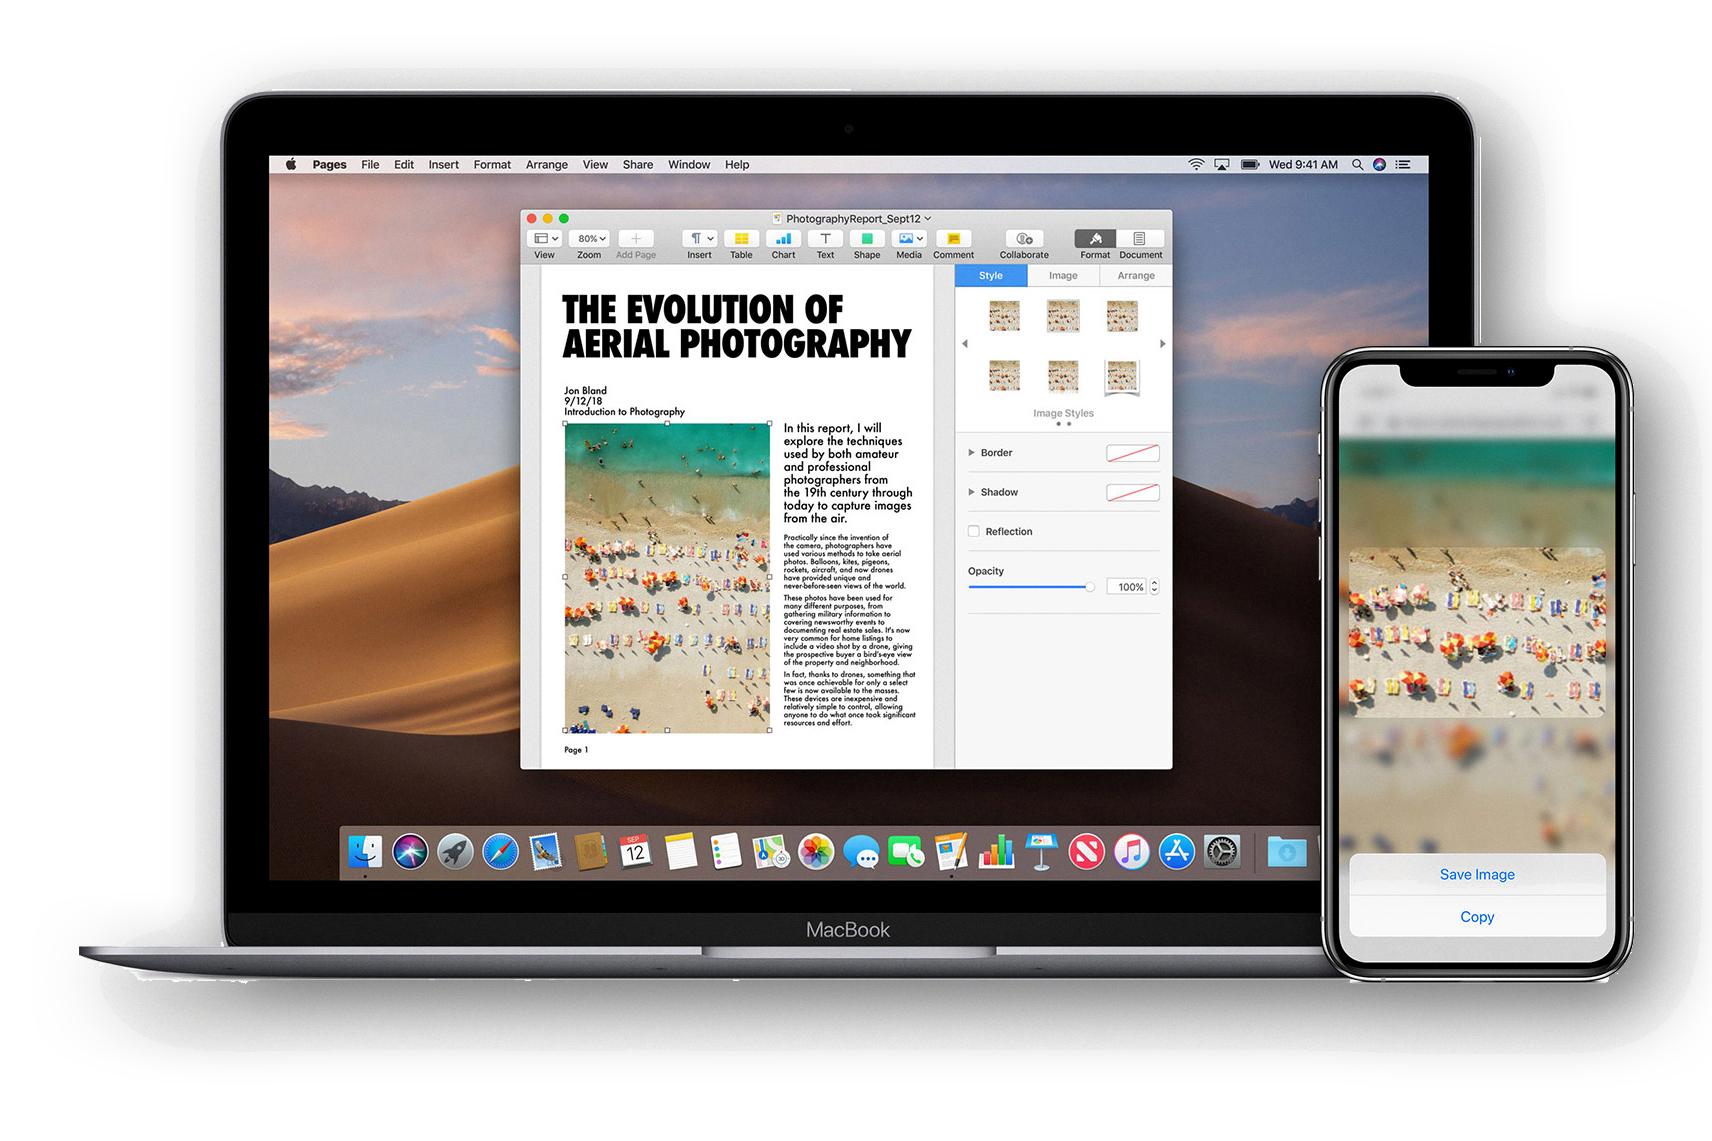
The first option for importing photos from iPhone to Mac is through AirDrop. This is an Apple feature that allows users to quickly and easily transfer files between Apple devices. To use AirDrop, open the Photos app on your iPhone and select the photos you want to import. Then, click the Share button and select your Mac’s name in the AirDrop section. The photos will then be transferred directly from your iPhone to your Mac without having to use iPhoto.
Another option for importing photos from iPhone to Mac is through Finder. Connect your iPhone and Mac with a cable, then open Finder on your Mac and locate your phone under Devices. Click on your phone, then at the top of the page click “Photos”. Check the box next to “Sync photos” and select whether you want to sync all of them or only specific albums. Once you have selected what you want to be synced, click “Sync Now” at the bottom of the window and wait for it to finish transferring all of the photos over.
If you are having trouble getting your phone recognized by Finder or if you get an error message when attempting to add photos, it may be due to a connection error caused by location and privacy settings on your device. To fix this issue, go into Settings > General > Reset/Transfer or Reset iPhone > Reset Location & Privacy on your device before attempting again.
Now that we’ve discussed how to import photos from iPhone to Mac without iPhoto, let’s take a look at some other ways that you can transfer files between devices:
• Using iCloud: You can use iCloud Drive or Photo Stream (which comes with iOS 5 or later) as another way of transferring files between Apple devices without having to use wires or cables.
• Using Dropbox: Dropbox is a cloud-based storage solution that allows users easily share files across multiple devices using their Dropbox account.
• Using USB cables: If none of these options work for you, then using a USB cable is probably still the simplest way of transferring files between devices while keeping them organized in folders just like they were on your computer or device before being transferred over.
Ultimately it comes down to what works best for each user depending on their needs and preferences – hopefully, this blog post has given you enough information about how importing photos from iPhone to Mac without iPhoto works so that you can decide which method fits best with what you need!
Transferring Photos from iPhone to Computer without iPhoto
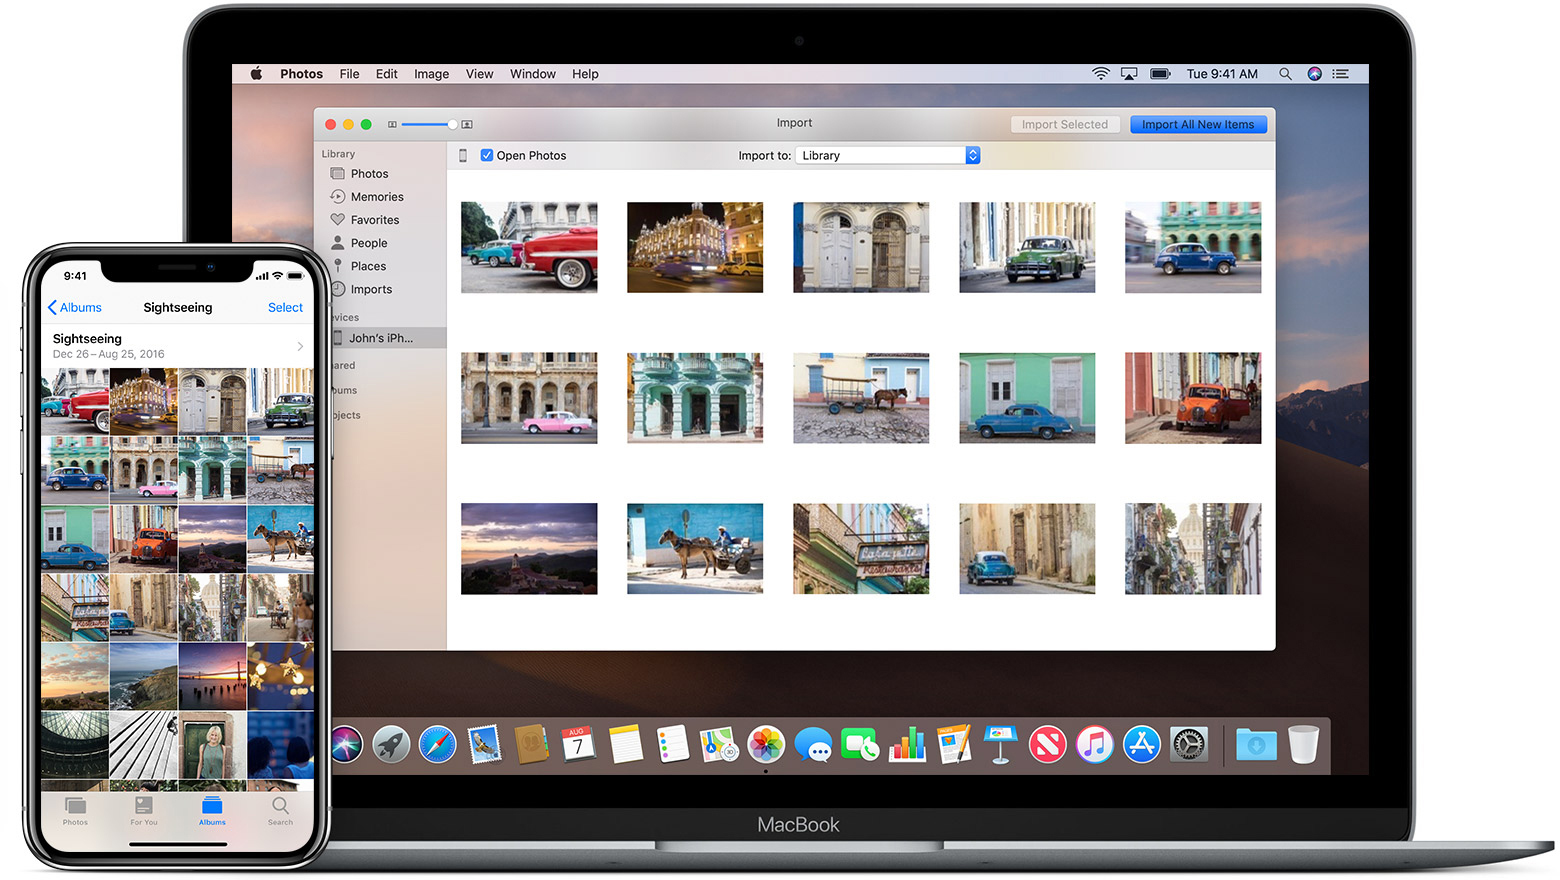
Transferring photos from your iPhone to your computer without iPhoto is easy! First, launch the Photos app on your iPhone. Select the photos you wish to transfer, then tap the Share button. From here you can AirDrop them to your computer – simply select its name in the AirDrop section. Alternatively, you can use a USB cable to connect your iPhone to your computer and transfer the photos directly from there. Lastly, you can use iCloud or other cloud storage services such as Google Drive or Dropbox – simply upload the photos from your iPhone and download them onto your computer.
Source: cnbc.com
Importing Photos From iPhone to Mac Without Photos App
To import photos from your iPhone to your Mac without using the Photos app, you will need to connect your iPhone to your Mac with a cable. Once connected, open Finder and locate your phone under Devices. Click on your phone and select ‘Photos’ at the top of the page. Uncheck the box next to ‘Sync Photos’ and instead select ‘Copy Photos from iPhone’. You can then choose which albums or photos you want to import and select where they should be copied to on your Mac.
Troubleshooting Issues with Importing Photos from iPhone to Mac
The most likely reason why your Mac won’t let you import photos from your iPhone is due to a connection error caused by your location and privacy settings. To resolve this issue, you will need to go to Settings > General > Reset/ Transfer or Reset iPhone> Reset Location & Privacy on your iPhone. This should allow your Mac to recognize and add photos from your iPhone.
Forcing an iPhone to Import Photos to a Mac
In order to force your iPhone to import photos to your Mac, you will need to use the Photos app on your Mac. First, open the Photos app and select the device to which you wish to transfer photos. Once the device is selected, click on the Photos tab located below its information in the sidebar. Next, check the box next to “Sync photos to your device from” and select either Photos or a folder on your Mac. Finally, choose whether you’d like to sync all of your photos and albums or just specific albums.
Transferring Photos from iPhone to Computer Quickly
The fastest way to transfer photos from an iPhone to a computer is to use the USB cable that came with your device. First, connect your iPhone to your computer using the USB cable. Then, unlock your phone and turn it on. On your PC, open the Photos app and select Import > From a USB device. Follow the instructions from there and you should be able to quickly transfer photos from your iPhone to your computer.
Source: macworld.com
Transferring Photos Directly From iPhone to Computer
Yes, you can transfer photos directly from iPhone to the computer. To do so, you will need to connect your iPhone to your computer using a USB cable. Once connected, Windows Explorer should automatically open on your computer. Find your iPhone in the “Portable devices” section and open the “DCIM” folder. Then simply drag and drop the photos from the “DCIM” folder onto your computer in order to transfer them directly from your iPhone.
Transferring Thousands of Photos from iPhone to Mac
Transferring thousands of photos from your iPhone to your Mac can be done in a few simple steps. First, connect your iPhone to your Mac using the appropriate charging cable. Once your device is connected, open the Photos app on your Mac. From here, you can select the photos you want to transfer by using the importing tool. Select ‘Import All’ or choose specific photos for transfer by marking them with a checkmark. After all of the desired photos have been selected, click ‘Import Selected’ and they will begin transferring to your Mac. This process may take some time depending on how many photos are being transferred. Once all of the photos are finished transferring, they will appear in a folder on your computer that can be accessed by double-clicking it in the Finder window.
Transferring Photos from iPhone to Computer Without iCloud
Transferring photos from your iPhone to another device without using iCloud is easy with the help of EaseUS MobiMover. Start by connecting both your old and new iPhones to your computer. Then, run EaseUS MobiMover, and choose “Phone to Phone” from the main interface. Next, select the source iPhone (the device where your photos are stored) and target iPhone (the device you want to transfer your photos to). Then check the files you’d like to copy and click the “Transfer” button to start importing photos from one iPhone to another.
Exporting Photos from an iPhone Manually
To manually export photos from your iPhone, you’ll need to first connect your device to your computer using a USB cable. Once the two are connected, open the iTunes app on your computer and select your iPhone from the list of devices.
Next, select Photos in the left sidebar, then check the box next to Sync Photos. You can choose which photos you want to be synced by selecting one of the options in the drop-down menu next to this option. For example, you can choose to only sync certain albums or all of them. Once you’ve made your selection, click Apply at the bottom right-hand corner of the window.
Finally, select where you’d like to save the photos on your computer. This could be a folder on your hard drive or an external drive — once selected, click Sync in iTunes and wait for all of your photos to be exported over. When finished syncing, you should now have all of your photos saved in the chosen location on your computer.
Troubleshooting Issues with Loading Photos from Phone to Mac
It’s possible that your photos aren’t loading from your phone to your Mac because you have not enabled iCloud Photo Library on both devices. This feature allows you to sync photos across all of your Apple devices. To enable it, make sure that your Mac is connected to the internet, open System Preferences, click iCloud, and sign in with the same Apple ID that you use on your phone. Then, open the Photos app and enable iCloud Photo Library. Once this is done, all of your photos should begin syncing between both devices.
Transferring Files Manually From iPhone to Mac
To manually transfer files from your iPhone to your Mac, you’ll need to use the built-in AirDrop feature on both devices. First, open the file you want to share from your iPhone and tap the Share icon – the square icon with an arrow pointing up. Next, choose either the Mac or AirDrop icon depending on what appears on your device. Then select your Mac to begin the transfer. Once your Mac has received the file, you can save it wherever you’d like.
Syncing Photos From iPhone to Mac Without iCloud
To sync photos from your iPhone to your Mac without iCloud, you will need to use iTunes. First, plug your iPhone into your Mac with a USB cable. Then, open iTunes and select your device. In the left sidebar, click Photos and then check Sync Photos. Select the folder on your Mac that contains the photos you want to sync to your iPhone and click Apply. Your photos will then be synced from your Mac to your iPhone.
Conclusion
In conclusion, importing photos from iPhone to Mac is a straightforward process. You can use AirDrop or Finder to transfer photos from your iPhone to your Mac. With AirDrop, you can quickly share files between your iOS devices and Mac computers. With Finder, you can sync all of your photos or select albums of photos from your iPhone to your Mac. Regardless of the method you choose, make sure to check the location and privacy settings on both devices before attempting to transfer photos.

