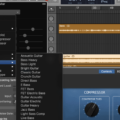
Are you looking for an easy way to save your GarageBand creations to your iTunes library? If so, you’ve come to the right place! Transferring your GarageBand songs to iTunes can be a great way to share them with friends or take them with you on the go.
The first step is setting up the connection between GarageBand and iTunes. Make sure both programs are open on your computer, then choose “Preferences” from the “GarageBand” menu in the top bar. Under “Export”, select “iTunes” as your export destination. This will allow GarageBand to transfer songs directly to iTunes without any extra steps.
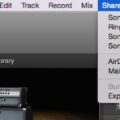
Next, open the song you want to transfer in GarageBand and select “Share” from the top bar. Choose “Send Song To iTunes” and make sure that all of your settings (format, bit rate, etc.) are correct for what you want. When you are finished, click “Send Song To iTunes” again and it will automatically start transferring it over.
When it is finished, you can find it in your regular music library on iTunes! Simply click on the song title and it will start playing for you instantly. You can also drag it onto any device (like an iPhone or iPad) that is connected to your computer or add it to a playlist so that you can listen to it anywhere!
That’s really all there is to save a song from Garageband into iTunes! It’s an easy process that can help make sure all of your music is accessible no matter where you go or what device you are using. Give it a try today and see how much simpler sharing music can be!
Adding GarageBand Songs to iTunes on iPhone
To put GarageBand songs on iTunes on your iPhone, you will need to first connect your device to your computer using a USB cable. Then launch iTunes on the computer and select your device from the list of options. Once connected, click the “File Sharing” option in the left-hand sidebar of iTunes. You should then see a list of apps that support file sharing. Select GarageBand from this list and then you will be able to drag and drop your GarageBand songs into the file-sharing window for transfer to your device. After this is done, disconnect your device and open up the Music app on your iPhone. Your songs should now be available in the Music Library!
Transferring Music from GarageBand to iTunes on iPad
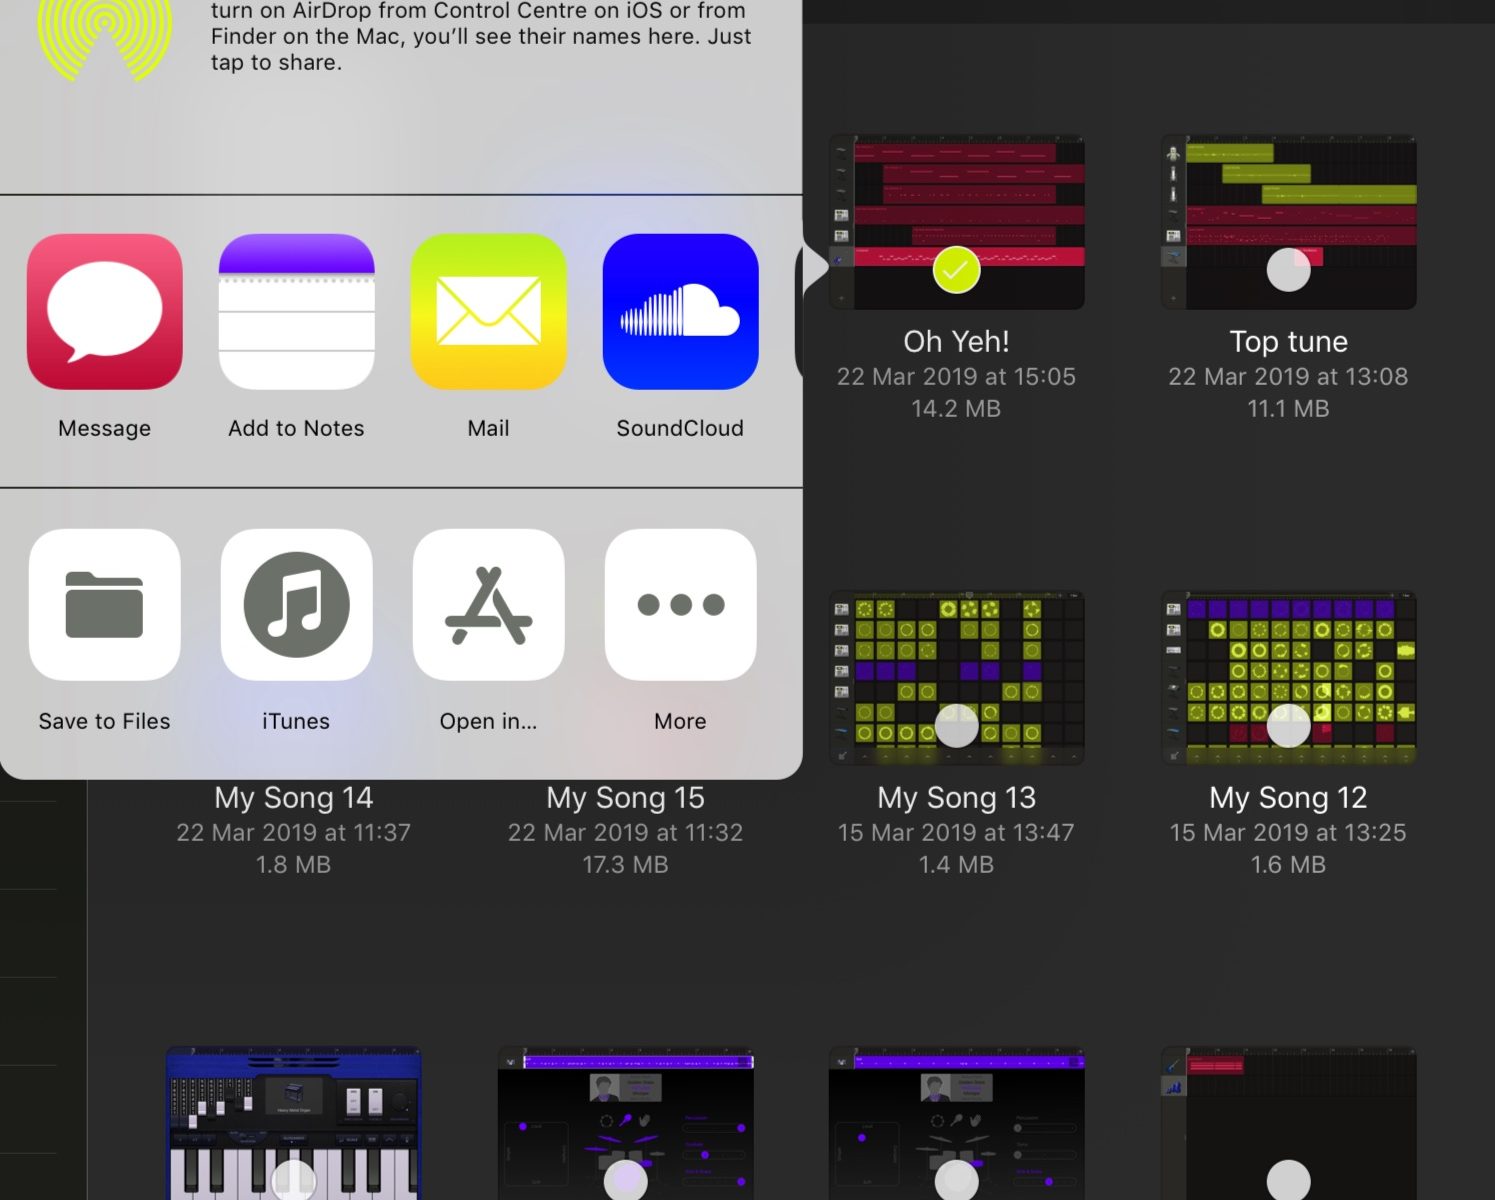
To transfer music from GarageBand to iTunes on iPad, open the GarageBand app and select the song you would like to transfer. Tap the “Share” button located at the top right of your screen and select “Song” from the options. Choose the “Highest Quality iTunes Plus” option. This will export your song as a stereo audio file which can be played in iTunes. To add this file to your iTunes library, simply drag and drop it into iTunes or use the “Add to Library” menu located under File > Add File to Library. Your song will now be accessible in your iTunes library for playback or sharing with other devices.
Exporting Music From GarageBand
Exporting music from GarageBand is easy to do. First, open the project you’d like to export. Then, click the Share menu and select Export Song to Disk. You’ll then be prompted to choose a file format. AAC and MP3 are compressed, smaller files while AIFF (Mac compatible) and WAVE (Mac & Windows compatible) are uncompressed, higher-quality files. Once you’ve chosen your file format, you can save your project to a flash drive or cloud-based storage platform.
Source: youtube.com
Conclusion
In conclusion, saving GarageBand songs to iTunes is a great way to ensure that your music is available across all of your devices. With the help of this guide, you should now have a better understanding of how to properly export and save GarageBand songs to iTunes. This process requires you to export the song from GarageBand, choose a format and location, and then save your custom sounds in GarageBand for iPhone. By following these steps, you can easily access and share your music with others.

