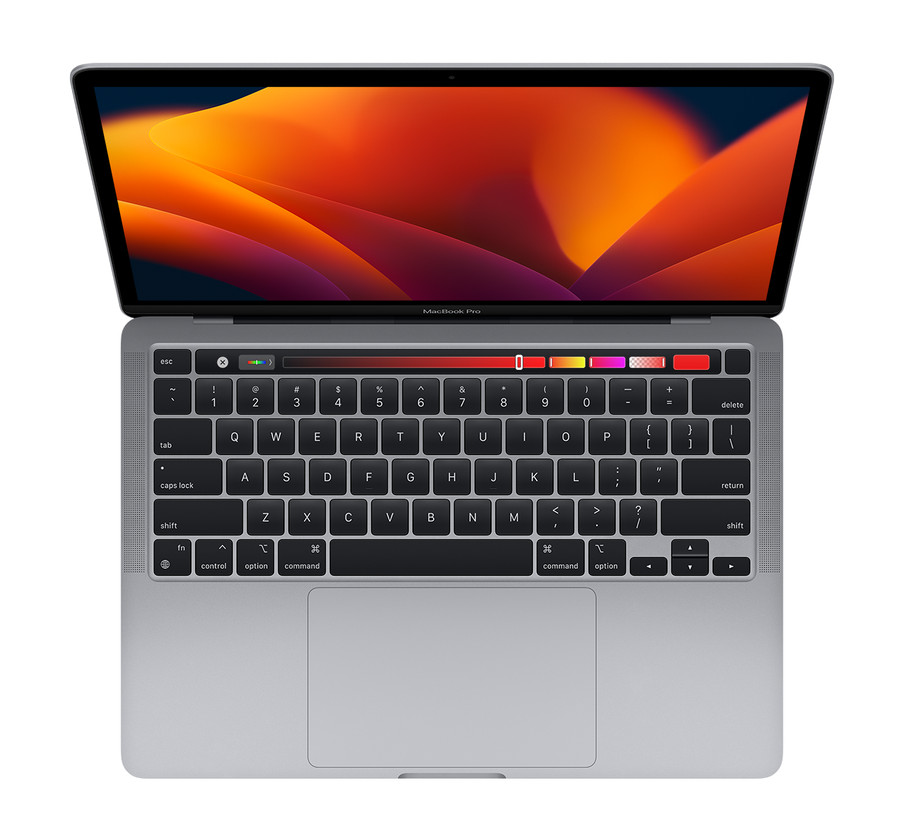
Are you seeing purple lines on your Mac screen? If so, you’re not alone. Many Mac users have reported this issue, and while it can be annoying, there are a few steps you can take to try and fix the problem.
The most common cause of purple lines on a Mac screen is hardware incompatibility or software incompatibility. This means that either the hardware inside your computer or the software installed on your computer may not be compatible with each other, resulting in display errors.
To diagnose the issue further, you should check the connection of your external monitor. If it’s connected securely at both ends then this could be the source of your problem. You may want to try a different cable if available just to rule out any cable issues.
If the external monitor is not connected or faulty cables aren’t causing the issue then you should check for any software updates or patches that may be available for your Mac system. You can do this by opening System Preferences from the Apple menu and selecting Software Update from within System Preferences.
If all else fails, you may need to reset your NVRAM (non-volatile random-access memory) or SMC (system management controller). NVRAM stores certain settings related to display resolution and startup disk selection so resetting it may help resolve any issues with these settings that could be causing purple lines on your screen. To reset NVRAM/SMC:
1) Shut down your computer
2) Press and hold Option + Command + P + R keys together while pressing the power button
3) Keep holding until you hear a second startup sound
4) Release all keys when prompted with “Your computer has restarted” message
Hopefully one of these solutions will help resolve your purple line issue so that you can get back to using your Mac as usual!

Troubleshooting a Purple Screen on a Mac
A purple screen on your Mac can be caused by a variety of reasons. It could be due to hardware incompatibility or software incompatibility or bugs. It could also be due to display errors such as faulty display cables, an incorrect video card driver, or a defective display. If you’re running an older version of macOS, you may also want to check for updates and make sure the OS is up-to-date. Additionally, it’s possible that software conflicts or incorrect settings may cause the purple screen issue. If you’re having trouble troubleshooting the problem yourself, you should contact Apple Support for assistance.
Diagnosing Lines on a Mac Screen
It is possible that your Mac screen is showing lines due to a faulty cable connection. Make sure the cable connecting your external monitor to your Mac is securely connected at both ends. If you have an extra cable, try using it to see if the same issue occurs. If the lines persist, it could be due to a hardware issue with the monitor or graphics card and you may need to take it in for service.
Removing Purple Lines from a MacBook
The best way to get rid of the purple lines on your MacBook is to power it off and leave it off for at least 30 minutes. Then, when you turn it back on, check the display for any residual lines. If they’re still there, try closing the lid and pressing down on the front of the display for several minutes. You can also try shaking the laptop gently in order to help dissipate any static electricity that may be causing the lines. If none of these steps work, then you may need to take your laptop in for professional repairs.
Fixing Pink Lines on a Mac Screen
The first step to troubleshooting the pink lines on your Mac screen is to update the operating system. You can do this by clicking on the Apple icon in the upper left corner of your screen and selecting ‘Software Update’, or alternatively by downloading and running the appropriate installer from Apple’s website. Next, you should perform an SMC (System Management Controller) and NVRAM (Non-Volatile Random Access Memory) reset. To do this, shut down your computer completely then simultaneously press and hold the Command + Option + P + R keys for at least 20 seconds. Finally, if none of these steps resolve your issue, you may need to erase and reinstall macOS on your computer. To do this, restart your Mac while pressing the Command + R keys until you see the macOS Utilities window, then select ‘Reinstall macOS’. Follow all on-screen instructions to complete the reinstallation process.
Conclusion
The purple lines on a MacBook Air/Pro screen are usually caused by hardware compatibility, software compatibility or bugs, or display errors. To fix this issue, it is important to check the connection and make sure that the cable is connected securely at both ends. If the issue persists, you may need to use a different cable. It is also advised to check your device for any software updates or other fixes that can help resolve this issue.


