If you’re a Logic Pro X user, you know how powerful the software is and all of the amazing features it has to offer. One of those features is the ability to easily change the velocity of multiple notes in a track. This can be especially useful when you want to create unique sounds or adjust the dynamics of your track. In this blog post, we’ll discuss how to change velocity in Logic Pro X and how to use it effectively in your music production.
Changing velocity in Logic Pro X is actually quite simple. All you need to do is select one or more notes in your Piano Roll Editor, then drag the Velocity slider in the header left or right. You can also select multiple notes at once and drag their markers up or down for maximum or minimum velocities. This is particularly helpful if you want to set a group of notes so that they have identical velocities. It’s also possible to draw identical velocities for all notes within a grid tile by using Draw Mode.
Another way to adjust velocity in Logic Pro X is by using the Velocity Tool. You can access this tool from the Tool menu or temporarily change your Pointer into the Velocity Tool by pressing Control-Command on your keyboard. Once selected, simply hold down Ctrl and Shift keys simultaneously and then select the notes you want to adjust before scrolling up and down respectively for increasing or decreasing their velocity levels.
Once you’ve mastered changing velocity levels in Logic Pro X, you’ll find that it opens up a whole new world of creative possibilities for your music production. From creating unique sounds to adjusting dynamics, using this feature will help bring out exactly what you want from your tracks!
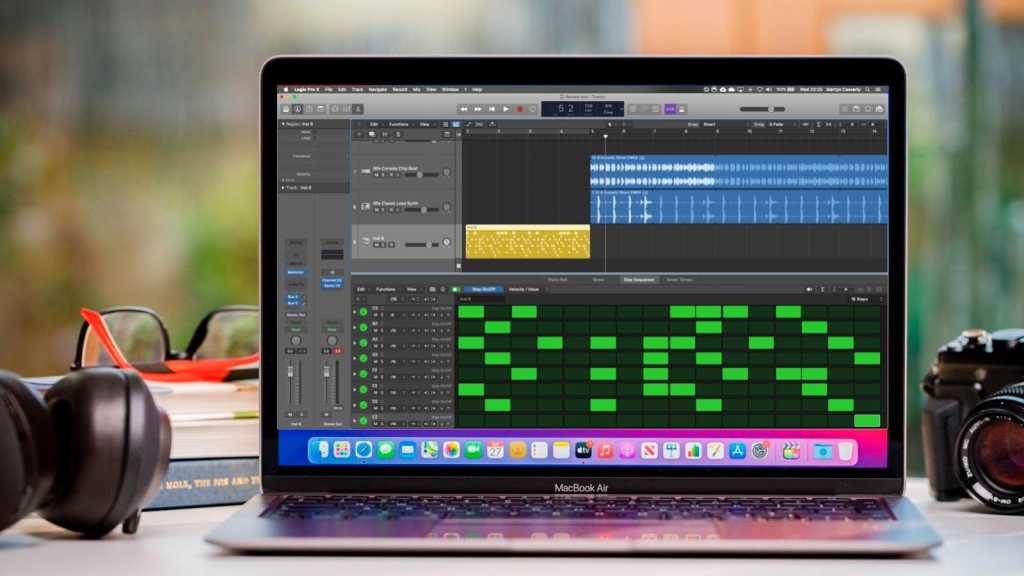
Changing the Velocity of Multiple Notes in Logic Pro
To change the velocity of multiple notes in Logic Pro, select one or more notes in the Piano Roll Editor and then drag the Velocity slider in the header left or right. Alternatively, you can press Control-Command to temporarily switch to the Velocity tool, which will allow you to drag over a note vertically with the Velocity tool to adjust its velocity.
Changing Velocity of Multiple Notes
To change the velocity of multiple notes at once, you will need to first select all of the notes that you want to adjust. This can be done by holding down the Ctrl and Shift keys on your keyboard and then selecting the notes that you want to change. Once they are selected, you can adjust their velocity by scrolling up or down with your mouse wheel or touchpad. Scrolling up will increase their velocity while scrolling down will decrease it. You can also use the arrow keys on your keyboard for finer control over which velocity setting is applied to each note. Keep in mind that these changes are cumulative, so multiple adjustments might be needed if you want an exact value for the velocity of each note.
Making All MIDI Notes the Same Velocity
To make all MIDI notes the same velocity, you’ll first want to select all of the note markers in the Velocity Editor. Then, drag them to either maximum or minimum velocity and adjust the value to your desired setting. You can also use Draw Mode in the Velocity Editor to draw identical velocities for all notes within a grid tile.
Selecting Multiple Notes in Logic
In Logic Pro, you can select multiple notes in several ways. The most straightforward way is to click and drag your mouse over the desired notes to select them. You can also hold down the Command key while clicking each note you want to select. To quickly select all notes of the same pitch, use the Shift+S keyboard shortcut (or Edit > Select Similar Events). Finally, if you have a specific range of notes that you want to select, you can use the Marquee tool by clicking and dragging your mouse over the area containing those notes.
Changing the Velocity of a MIDI Note
To change the velocity on a MIDI note, you need to first select the note by either clicking the “V” icon or pressing Alt + Ctrl/Cmd. Once you have selected the note, a numeric velocity value will appear next to it. You can then adjust the velocity value by dragging up or down with your mouse. The higher the velocity value, the louder and more powerful the sound of your MIDI note will be.
Conclusion
Logic Pro X is a powerful and versatile digital audio workstation that provides users with an intuitive and comprehensive platform for music production. It offers an array of features such as virtual instruments, MIDI editing, sequencing, mixing and mastering tools, effects plugins, creative sound design capabilities, and more. With its user-friendly interface and easy-to-use tools, Logic Pro X makes it easy for producers of all levels to create professional-sounding mixes. Furthermore, its extensive library of loops and samples provides users with the perfect starting point for crafting unique sounds. In conclusion, Logic Pro X is a great choice for both beginner and advanced producers looking to take their music production to the next level.


